Reverse Engineering an API
In this module, I will discuss a process that can be used to reverse engineer an API. If an API is not documented or the documentation is unavailable to you, then you will need to build out your own collection of requests. I will demonstrate two different methods that can be deployed to build out our own collection. First, we will use Postman to collect API requests and manually build out a collection. This method often requires more time but is worth knowing in case you are in a pinch. The second method we will learn is to automatically build out an API specification using mitmproxy2swagger.
Building a Collection in Postman
In the instance where there is no documentation and no specification file, you will have to reverse-engineer the API based on your interactions with it. Mapping an API with several endpoints and a few methods can quickly grow into quite a large attack surface. To manage this process, build the requests under a collection in order to thoroughly hack the API. Postman can help you keep track of all of these requests. There are two ways to manually reverse engineer an API with Postman. One way is by constructing each request. While this can be a bit cumbersome, it will allow you to add the precise requests you care about. The other way is to proxy web traffic through Postman, then use it to capture a stream of requests. This process makes it much easier to construct requests within Postman, but you’ll have to remove or ignore unrelated requests. Later in this module, we'll review a great way to automatically document APIs with mitmproxy2swagger.
First, let's launch Postman.
$ postman
Next, create a Workspace to save your collections in. For this course, we will use the ACE workspace.
To build your own collection in Postman with the Proxy, use the Capture Requests button, found at the bottom right of the Postman window.

In the Capture requests window, select Enable proxy. The port should match with the number that is set up in FoxyProxy (5555). Next, enable the Postman Proxy, add your target URL to the "URL must contain" field, and click the Start Capture button.

Open up your web browser, navigate to crAPI's landing page, and use FoxyProxy to enable the Postman option. Now you can meticulously use the web app as intended. Meticulous, because you want to capture every single bit of functionality available within the application. This means using all of the features of the target. Click on links, register for an account, sign in to the account, visit your profile, post comments in a forum, etc. Essentially click all the things, update information where you can, and explore the web app in its entirety. How thorough you use the web app will have a domino effect on what endpoints and requests you will later test. For example, if you were to perform the various actions of the web app, but forgot to test the community endpoints then you will have a blindspot in the API attack surface.

For example, make sure to perform all of the actions on the my-profile page:
add a profile picture
upload a personal video
change the account email address
use the three horizontal dots to find additional options to:
change video
change video name
share video with community
Also, use the crAPI MailHog server to get the most out of this app. The MailHog server is located on port 8025 and will be used for registering user vehicles, resetting passwords, and where "change email" tokens are sent.

Once you have captured all of the features you can find with manual exploration then you will want to Stop the Proxy. Next, it is time to build the crAPI collection. First, create a new collection by selecting the new button (top left side of Postman) and then choose Collection.

Go ahead and rename the collection to crAPI Proxy Collection. Navigate back to the Proxy debug session and open up the Requests tab.

Select all of the requests that you captured and use the "add to Collection" link highlighted above. Select the crAPI Proxy Collection and organize the requests by Endpoints. With all of the captured requests added to the crAPI Proxy Collection, you can organize the collection by renaming all of the requests and grouping similar requests into folders. Before you get too far into this exercise, I would recommend checking out the automated documentation instructions below.
Automatic Documentation
First, we will begin by proxying all web application traffic using mitmweb.
Simply use a terminal and run: $ mitmweb
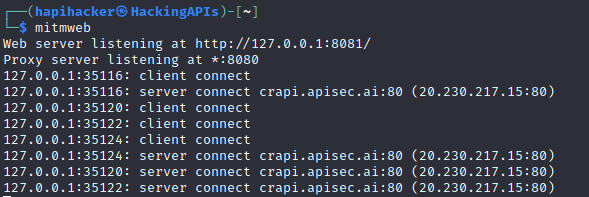
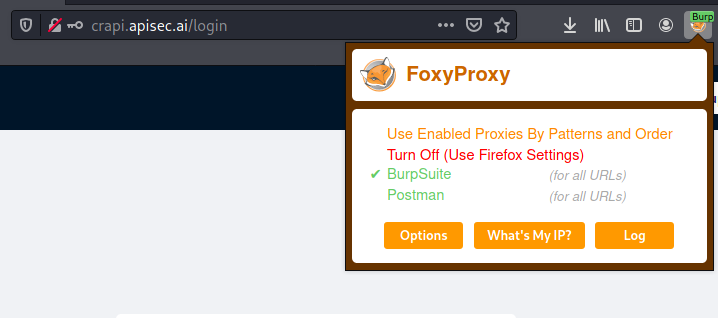
This will create a proxy listener using port 8080. You can then open a browser and use FoxyProxy to proxy your browser to port 8080 using our Burp Suite option.
Once the proxy is set up, you can once again use the target web application as it was intended.
Note: if you are reverse engineering crapi.apisec.ai you may run into certificate issues if you have not yet added the mitmweb cert. Please return back to Kali Linux and More MITMweb Certificate Setup for instructions.
Every request that is created from your actions will be captured by the mitmweb proxy. You can see the captured traffic by using a browser to visit the mitmweb web server located at http://127.0.0.1:8081.
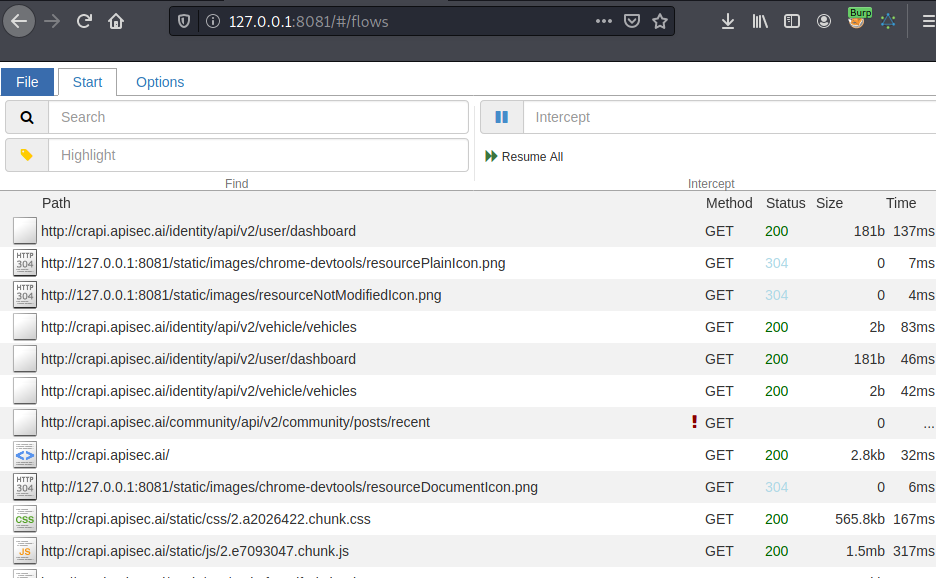
Continue to explore the target web application until there is nothing left to do. Once you have exhausted what can be done with your target web app, return to the mitmweb web server and click File > Save to save the captured requests.
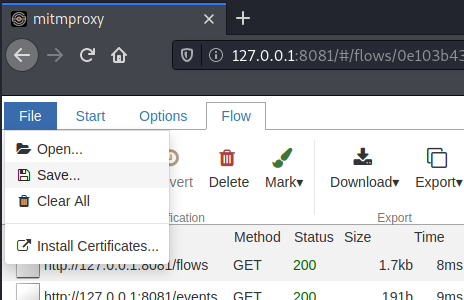
Selecting Save will create a file called flows. We can use the "flows" file to create our own API documentation. Using a great tool called mitmproxy2swagger, we will be able to transform our captured traffic into an Open API 3.0 YAML file that can be viewed in a browser and imported as a collection into Postman.
First, run the following:
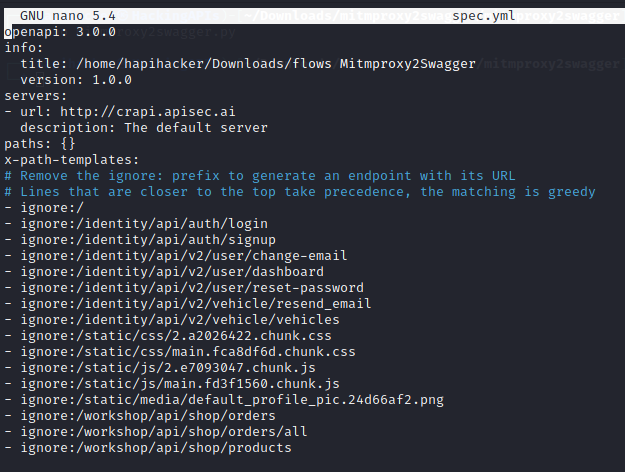
$sudo mitmproxy2swagger -i /Downloads/flows -o spec.yml -p http://crapi.apisec.ai -f flow

After running this you will need to edit the spec.yml file to see if mitmproxy2swagger has ignored too many endpoints. Checking out spec.yml reveals that there are several endpoints that were ignored and the title of the file can be updated.
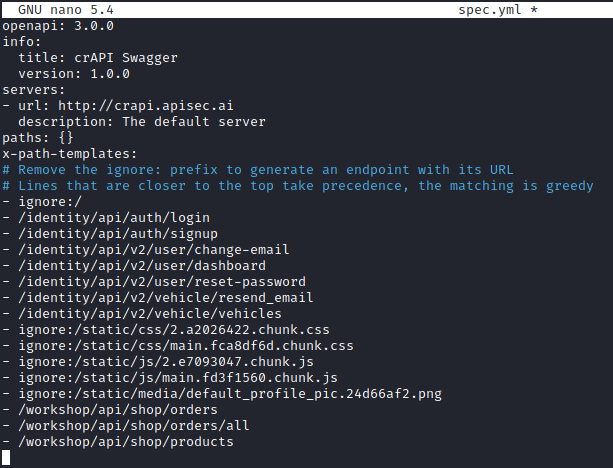
Update the YAML file so that "ignore:" is removed from the endpoints that you want to include. Once you have edited the file it should look something similar to the image below. Note that the "title" has been updated to "crAPI Swagger" and that the endpoints no longer contain "ignore:".
Save the updated spec.yml file and run the mitmproxy2swagger again. This time around add the "--examples" flag to enhance your API documentation.

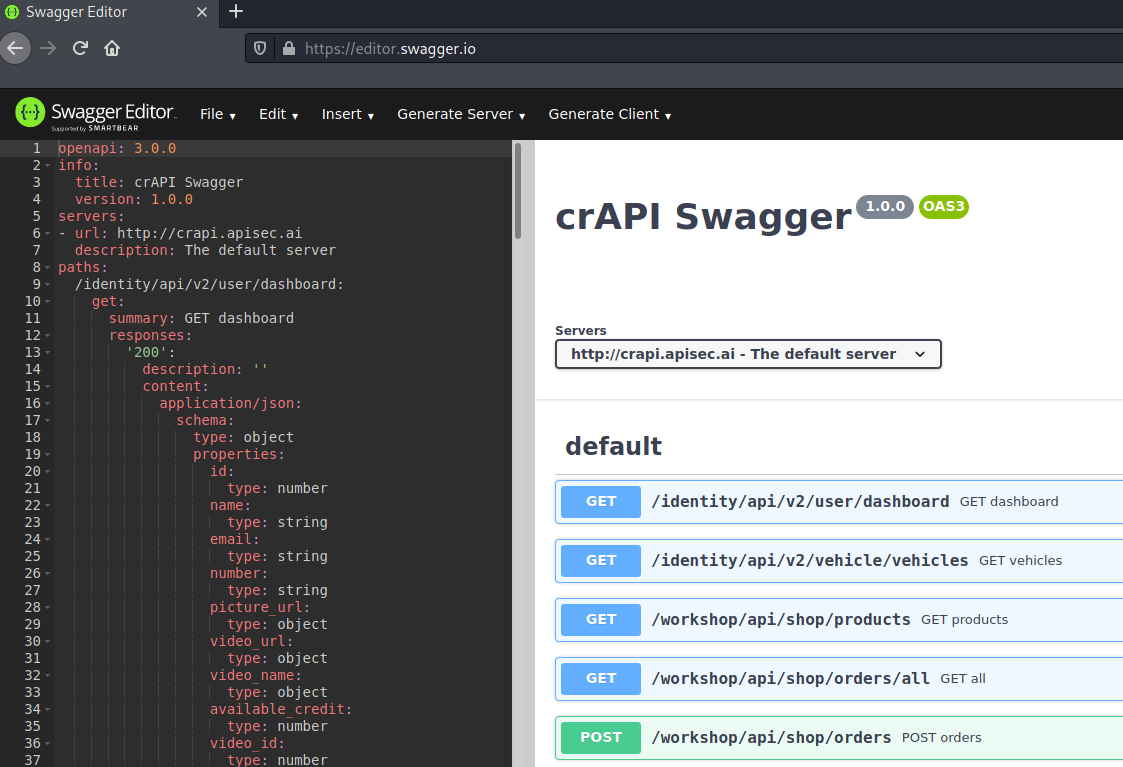
After running mitmproxy2swagger successfully a second time through, your reverse-engineered documentation should be ready. You can validate the documentation by visiting https://editor.swagger.io/ and by importing your spec file into the Swagger Editor. Use File>Import file and select your spec.yml file. If everything has gone as planned then you should see something like the image below. This is a pretty good indication of success, but to be sure we can also import this file as a Postman Collection that way we can prepare to attack the target API.
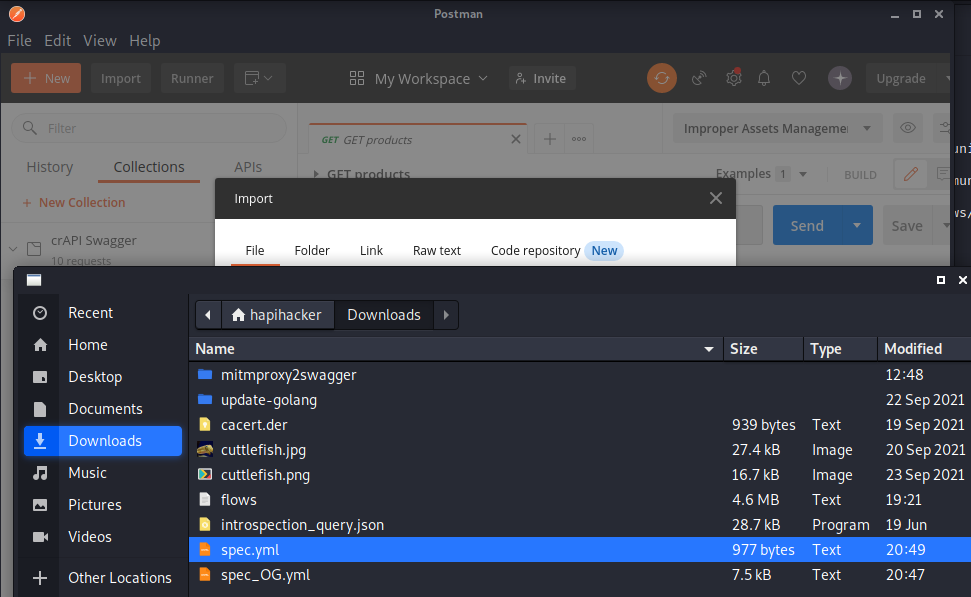
To import this file as a collection we will need to open Postman. At the top left of your Postman Workspace, you can click the "Import" button. Next, select the spec.yml file and import the collection.
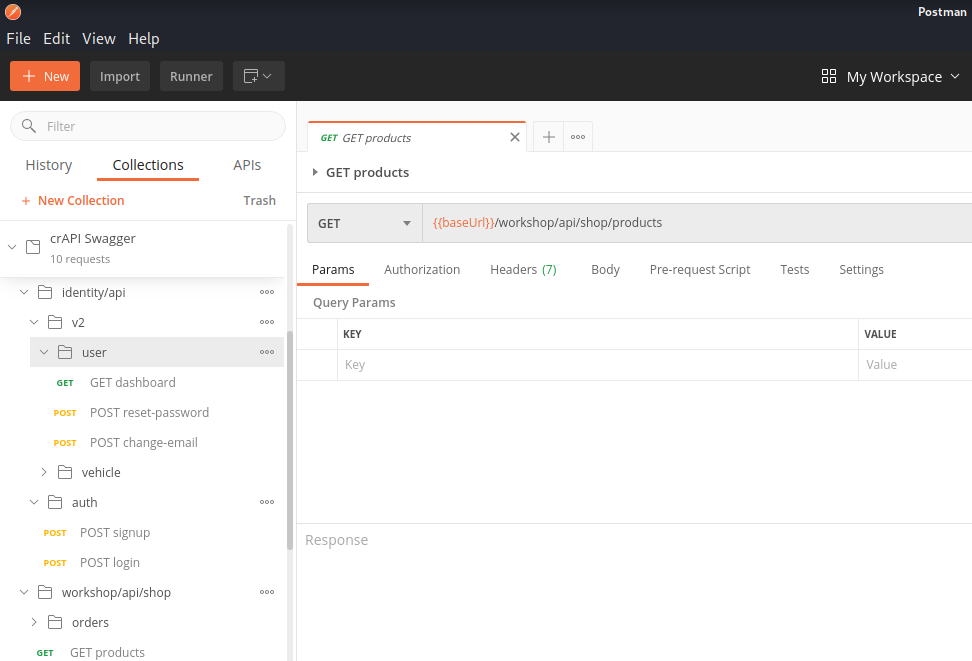
Once you import the file you should see a relatively straightforward API collection that can be used to analyze the target API and exploit with future attacks.
With a collection prepared, you should now be ready to use the target API as it was designed. This will enable you to see the various endpoints and understand what is required to make successful requests. In the next module, we will get begin working with the API and learn to analyze various requests and responses.
Last updated