SwagShop Writeup w/o Metasploit

Reconnaissance
First thing first, we run a quick initial nmap scan to see which ports are open and which services are running on those ports.
-sC: run default nmap scripts
-sV: detect service version
-O: detect OS
-oA: output all formats and store in file initial
We get back the following result showing that 2 ports are open:
Port 22: running OpenSSH 7.2
Port 80: running Apache httpd 2.4.29
Before we start investigating these ports, let’s run more comprehensive nmap scans in the background to make sure we cover all bases.
Let’s run an nmap scan that covers all ports.
No other ports are open.
Similarly, we run an nmap scan with the -sU flag enabled to run a UDP scan.
This scan took too long to run, so I don’t have UDP scan results for this blog.
Before we move on to enumeration, let’s make some mental notes about the nmap scan results.
The OpenSSH version that is running on port 22 is not associated with any critical vulnerabilities, so it’s unlikely that we gain initial access through this port, unless we find credentials.
Ports 80 is running a web server, so we’ll perform our standard enumeration techniques on it.
Enumeration
I always start off with enumerating HTTP first. Visit the web application.
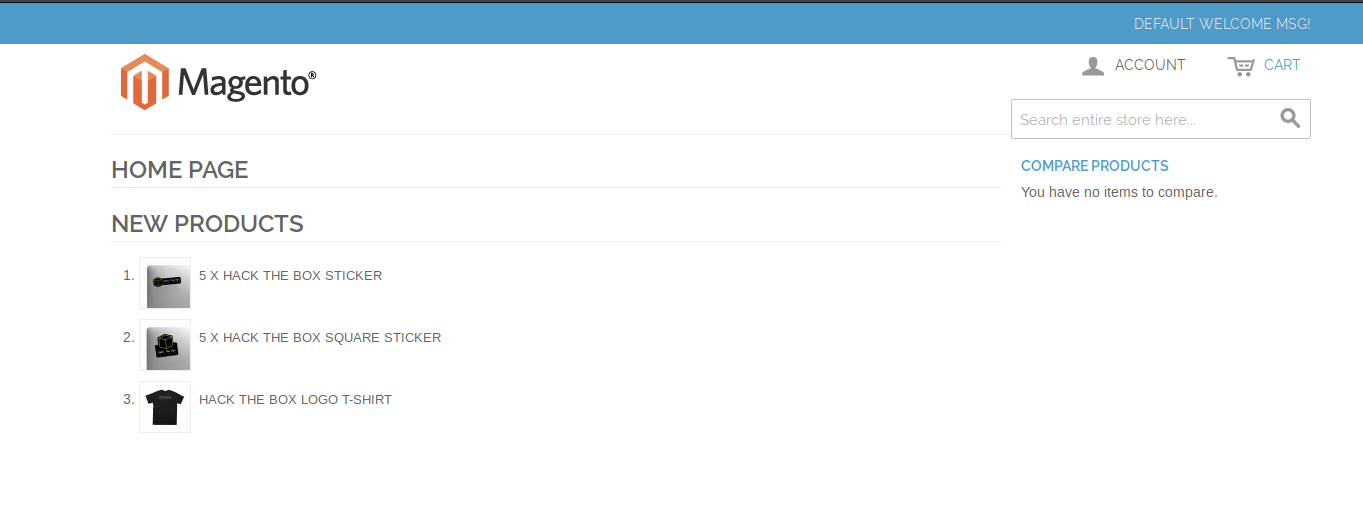
It’s running Magento, which is an open-source e-commerce platform written in PHP. Considering that it is an off the shelf software, we’ll probably find reported vulnerabilities that are associated to it. But first, we need to get a version number. Notice that at the bottom of the page, it has a copyright detailing the year 2014, which is 6 years ago, so it’s very likely to be vulnerable.
Just like there is a scanner for WordPress applications (WPScan), there is one for Magento applications that is called Mage Scan. Let’s use it to run a scan on the application.
-vvv: increase the verbosity to level 3
scan:all: run all scans
We get back the following result (truncated).
It reports the version number being 1.9.0.0 or 1.9.0.1 and they’re using the Community edition. There are no installed modules, so if we find any public vulnerabilities that are associated to modules, we can discard them. As for the unreachable path check, the last two paths don’t give us anything useful. However, the first path, gives us an xml file that leaks the swagshop mysql database username and password.
This might come in handy later. Next, let’s run searchsploit.
We get back the following result.

The first three exploits don’t match our version, so we’ll ignore them. The next two might be useful. Since Mage Scan didn’t report plugins, we’ll ignore the plugin vulnerabilities. The two after that might be relevant to our version. Lastly, we’ll also ignore the eBay Magento exploits.
We narrowed down our exploits to four possible options: 39838,37811,19793 and 37977. We’ll start off with looking into exploit number 37977 because it doesn’t require authentication and it is an RCE vulnerability.
Initial Foothold
Copy the exploit to our current directory.
-m: mirror an exploit to the current working directory.
After skimming through the code of the exploit, it seems to be chaining several SQL injection vulnerabilities together that eventually create an administrative account on the system with the username/password forme/forme.
To get the code working on our application, we need to make a few changes:
Remove all the uncommented comments & explanation (or you’ll get compilation errors)
Change the target variable to http://10.10.10.140/
Change the username/password to random/random (optional).
Run the exploit.
It didn’t work and it doesn’t give us much of an explanation why. So let’s redirect all the traffic from the script to Burp. To do that, perform the following steps.
In Burp, visit Proxy > Options > Proxy Listeners > Add. In the Binding tab, set the Bind port to 8081 and and in the Request Handling tab, set the Redirect to host option to 10.10.10.140 and the Redirect to Port option to 80. Make sure to select the newly added listener once you’re done.
Go back to the script and change the target to http://localhost:8081.
In Burp set intercept to be on.
This way all the traffic of the script will go through Burp first. Run the script again and send the request to Repeater. In Repeater, execute the request.
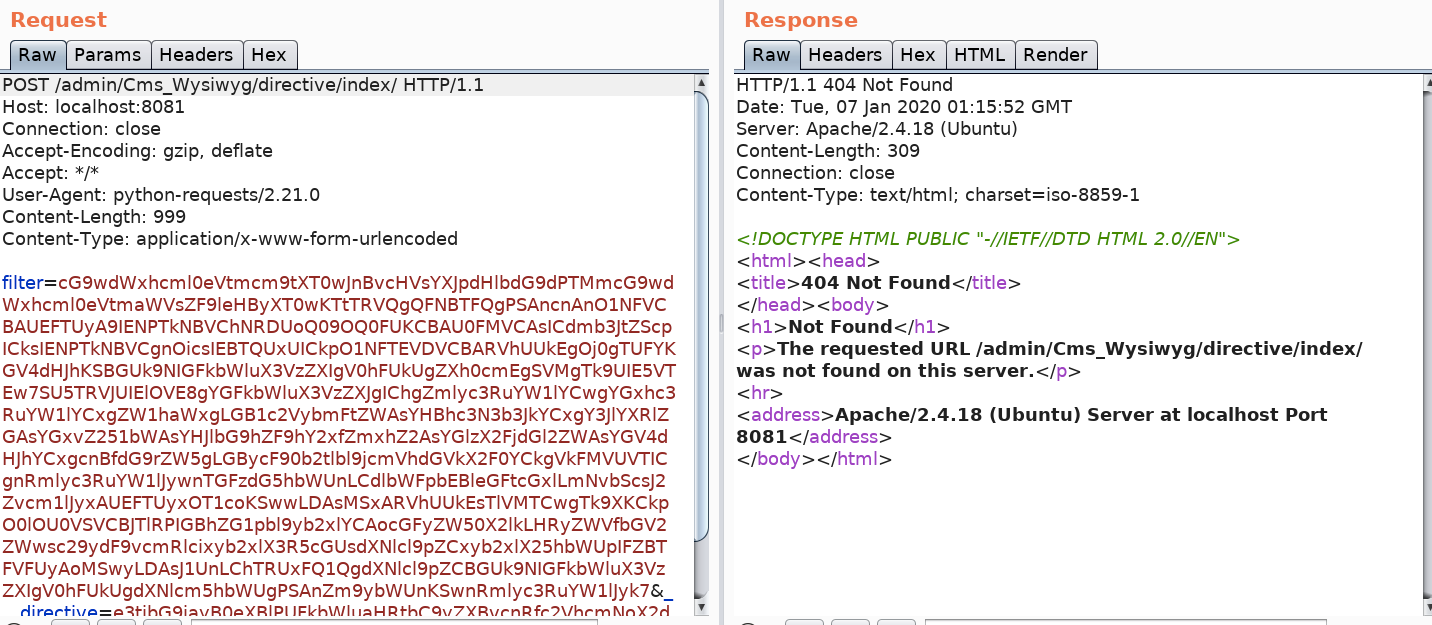
As shown in the above image, the script is failing because it’s not finding the URL. Let’s try it in our browser.
Doesn’t work. Let’s visit other links in the website and see how the URL changes. If we click on the Hack the Box sticker we get the following link.
It seems to be appending index.php to all the URLs. Let’s add that in our script. So now our target would be:
Run the script again.
It worked! Let’s visit the link and log in with our newly added credentials.
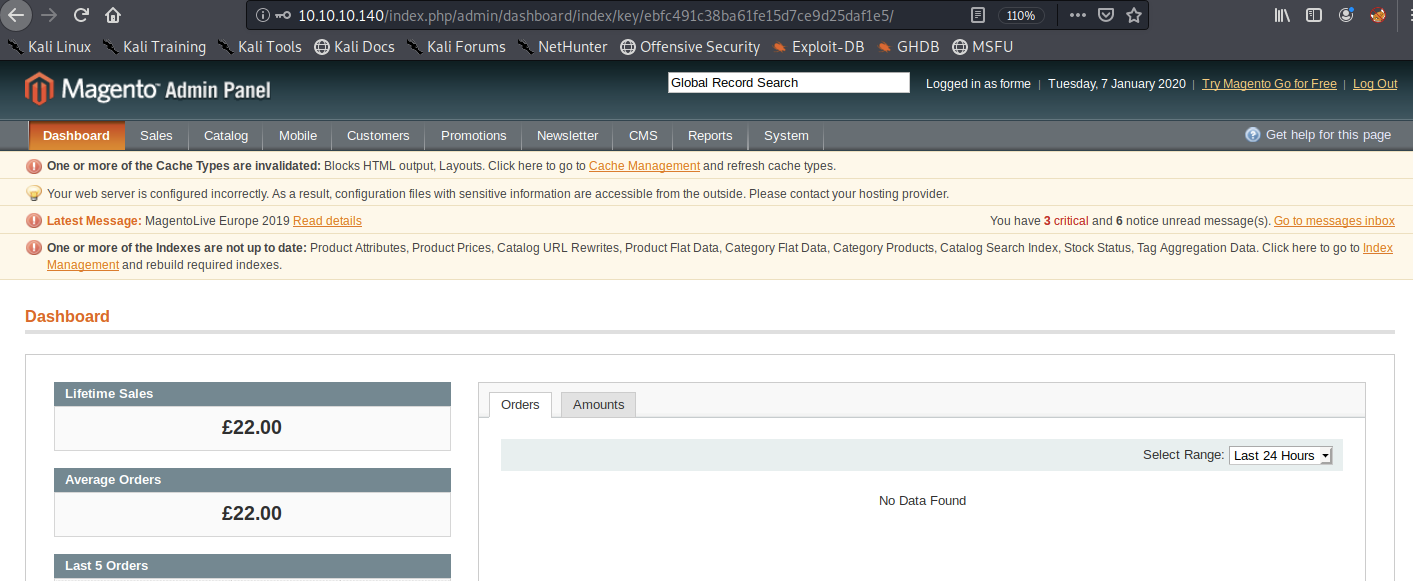
We’re in! From here we need to somehow get command execution. Recall that in our searchsploit results there was an authenticated RCE exploit. Transfer it to the current working directory.
After skimming through the code of the exploit, it seems to be a PHP Object Injection in the administrator interface that leads to remote code execution.
To get the code working on our application, we need to make a few changes:
Add the username/password random/random.
Change the install date to the exact date from /app/etc/local.xml.
As per the included instructions, run the script using the following command:
We get a “mechanize._form_controls.ControlNotFoundError”. We run it through Burp like we did previously and we find out that it’s not even logging in with the admin credentials we created.
After spending some time googling the error, I found a post on stackoverflow stating that the issue is that “there is only one form from the code provided and multiple username, passwords fields which is where the Ambiguous error comes from”. Therefore, we need to use and index parameter for selecting the form. Make the following changes to the code.
Let’s run it again. This time we get a different error.
Let’s try and figure out what the error means using Burp. The script already contains code that allows you to send a traffic through a proxy.
In the HTTP history sub tab, we can see that the script is making 5 requests.

The last request it makes before it reaches an error is the following.
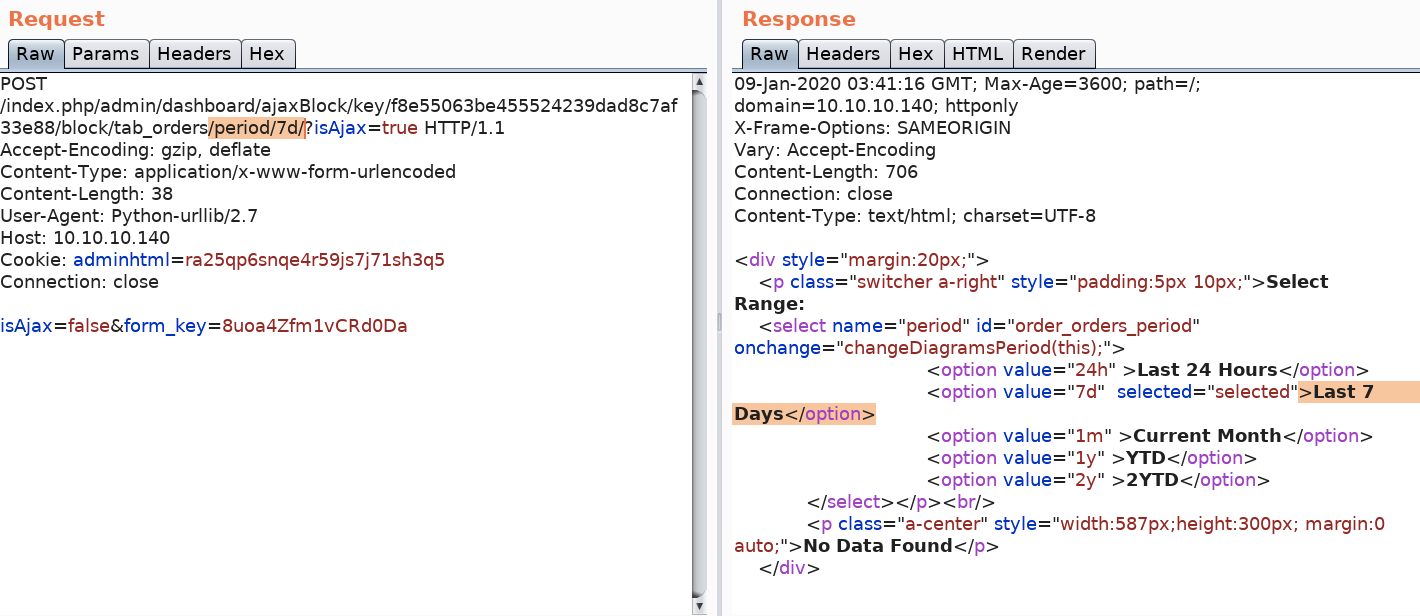
Notice that the POST request is setting a period of 7 days (7d in the URL), however, that’s generating a response of “No Data Found”.
Now, if we go back to the error, it was generated in line 74.
The first line in the above code is the request that we saw in Burp. The second line seems to be doing some kind of regex, looking for the string “ga=” in the response. Then the third line (line 74) does a match on the first parenthesised subgroup of the tunnel parameter. Since it’s finding nothing, we’re getting the ‘NoneType’ error.
Let’s visit that URL in the browser to see what’s going on. In Burp, right click on the request, select Request in browser > In original session.
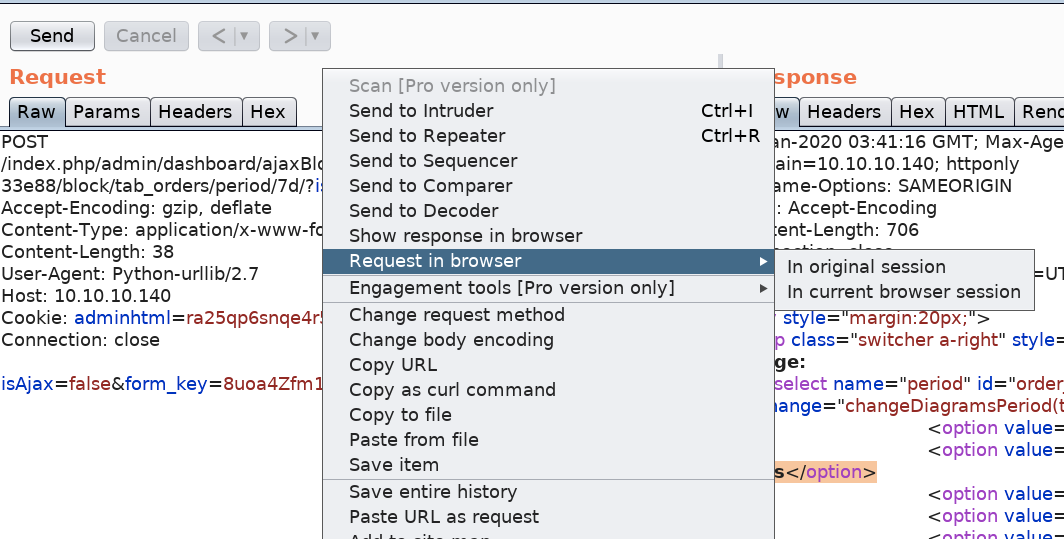
Then click on the Copy button and try the URL in the browser (you have to have your browser configured to go through Burp). We get the following page.

That’s the rendered version of the code we saw in the Response tab of Burp. I tried selecting the range in the drop down menu but that wasn’t sending any requests, so I started manipulating the value in the URL. I tried all the possible values (24h, 7d, 1m,1y and 2y), all of them gave me the same response with the exception of the 2y option, I get the following page.
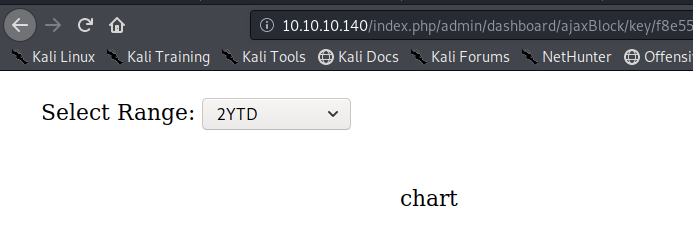
If you view the source code, you’ll find the following URL.
The url includes the “ga=” regex string that the script was looking but couldn’t find! So if we change the period to “2y” in the script, we should get a working exploit!
Run the script again.
We have command execution! Change the payload to include a reverse shell from pentestmonkey.
Setup a listener to receive the reverse shell.
Run the script.

We have a shell! Let’s upgrade it to a better shell.
This gives us a partially interactive bash shell. To get a fully interactive shell, background the session (CTRL+ Z) and run the following in your terminal which tells your terminal to pass keyboard shortcuts to the shell.
Once that is done, run the command “fg” to bring netcat back to the foreground.
Grab the user.txt flag.

Privilege Escalation
To grab the root.txt flag, we need to escalate our privileges to root.
Run the following command to view the list of allowed commands the user can run as root without a password.
We’re allowed to run the vi command on any file in /var/www/html/ as root. If you’re not sure if you can escalate privileges with vi, you can simply check on this website. Since we’re restricted to a specific path, we’ll have to slightly modify the command.
The above command opens up a shell in the “bla” file and since we ran the command with sudo, the shell is running with root privileges!
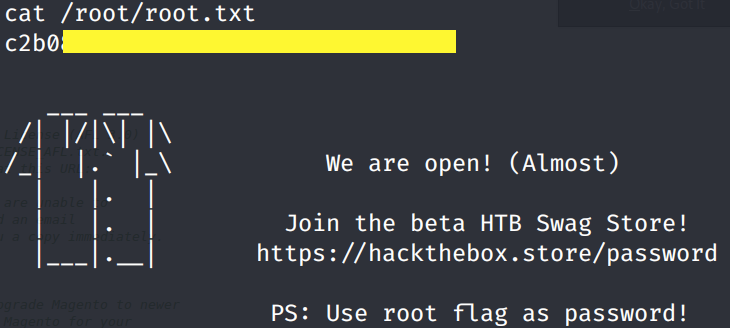
Grab the root.txt flag.
Lessons Learned
To gain an initial foothold on the box we exploited four vulnerabilities.
Broken access control and sensitive information disclosure. The /app/etc/local.xml file is exposed to unauthenticated users. It not only leaked the mySQL password but also the install date which we required in order to get our exploit working. Proper access control should be applied on all sensitive directories and files.
Known SQL injection vulnerability that allowed an unauthenticated user to create an admin account. This is because a vulnerable version of the software was used. The administrators should have updated the application once a patch was made available.
Known PHP Object Injection that allowed an authenticated user to run arbitrary commands on the host of the application. Again, this was because a vulnerable version of the software was used. The administrators should have updated the application once a patch was made available
Security misconfiguration of the www-data user privileges. Why was the web daemon user (www-data) allowed to access the directories of a higher privileged user? The administrator should have conformed to the principle of least privilege and the concept of separation of privileges.
To escalate privileges we exploited one vulnerability.
Security misconfiguration of the vi binary. A non-root user was given the ability to run vi with root privileges. Since vi has the ability of running a shell, we were able to exploit that to run a shell with root privileges. Again, the administrator should have conformed to the principle of least privilege.
Last updated