SolidState Writeup w/o Metasploit
Reconnaissance
First thing first, we run a quick initial nmap scan to see which ports are open and which services are running on those ports.
-sC: run default nmap scripts
-sV: detect service version
-O: detect OS
-oA: output all formats and store in file initial
We get back the following result showing that 5 ports are open:
Port 22: running OpenSSH 7.4p1
Port 25: running JAMES smtpd 2.3.2
Port 80: running httpd 2.4.25
Port 110: running JAMES pop3d 2.3.2
Port 119: running JAMES nntpd
Before we start investigating these ports, let’s run more comprehensive nmap scans in the background to make sure we cover all bases.
Let’s run an nmap scan that covers all ports.
We get back the following result showing that one other port is open.
Port 4555: running JAMES Remote Admin 2.3.2
Similarly, we run an nmap scan with the -sU flag enabled to run a UDP scan.
I managed to root the box and write this blog while the UDP scan did not terminate. So I don’t have UDP nmap scan results for this box.
Before we move on to enumeration, let’s make some mental notes about the nmap scan results.
The OpenSSH version that is running on port 22 is not associated with any critical vulnerabilities, so it’s unlikely that we gain initial access through this port, unless we find credentials.
Ports 80 is running a web server, so we’ll perform our standard enumeration techniques on it.
Ports 25, 110, 119 and 4555 are running Apache James. Apache James is an open source SMTP and POP3 mail transfer agent and NNTP news server. Port 4555 immediately catches my eye since it’s a remote administration tool. We’ll need to run searchsploit on it to check if it is associated with any critical vulnerabilities.
Enumeration
I always start off with enumerating HTTP first.
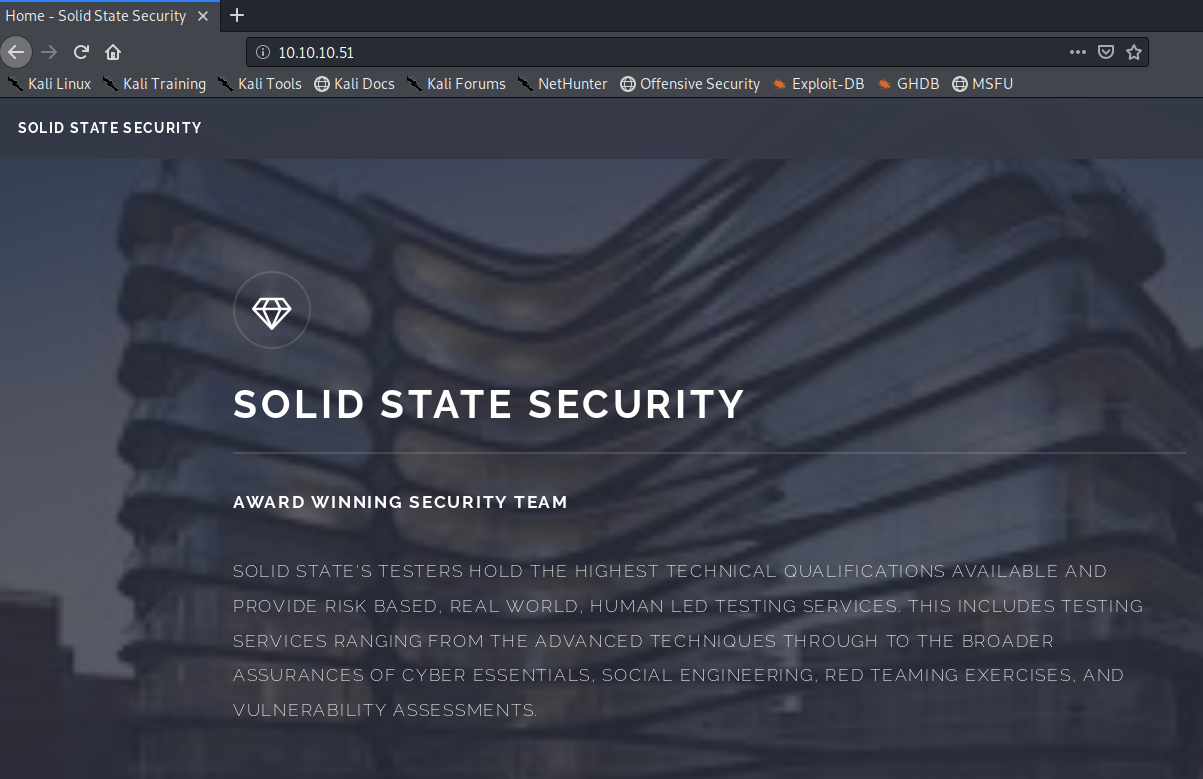
Port 80
Visit the application in the browser.
I visited all the pages in the application and didn’t find anything useful. Next, let’s run gobuster.
dir: uses directory/file brute forcing mode
-w: path to the wordlist
-u: target URL or domain
We get back the following result.
Nothing useful, so let’s move on to enumerating port 4555.
Port 4555
Run searchsploit on the software name and version.
We get back the following result.

Jackpot! Transfer the exploit to our current directory.
You should never run scripts that you haven’t reviewed first, so let’s view the content of this exploit.
After reviewing the script, I made a few notes:
This is an authenticated exploit, so we need credentials. The exploit uses the default credentials root/root that are probably shipped with the software. We’ll have to connect to the server to find out if these credentials are valid before we run this exploit.
When running the exploit we have to pass the IP address as an argument. The script by default connects to port 4555 which is good since our server is running on that port.
The script first creates a user with username “../../../../../../../../etc/bash_completion.d” and password “exploit”. It then connects to the SMTP server and sends that user a payload. Right off the bat, this doesn’t make much sense, so we’ll have to research the vulnerability.
After a bit of research we find that the vulnerability is in the adduser functionality. When a new user is added, the server creates a new subdirectory to store incoming and outgoing emails for that user. However, the username field is not properly validated. Therefore, when we’re creating a user with the username “../../../../../../../../etc/bash_completion.d”, any mail that gets sent to that user will be stored in that directory path. Why is that dangerous? Long story short, anything under the directory /etc/bash_completion.d is automatically loaded by Bash for all users! To learn more about bash completion scripts, refer to this article.
Therefore, if we create a user with a username that leads to the /etc/bash_completion.d directory, when we send an email to that user, our email gets saved in the bash_completion.d directory and the content of our email is automatically loaded by Bash when any user logs into the machine. So if we include a reverse shell in the email, all we have to do is wait for a single user to log in and we have access to the machine!
Now that we’ve done our research, we’re ready to move on to the exploitation phase.
Initial Foothold
First, let’s test the root/root credentials on the James Remote Admin server.
It works, good! List the available commands using the HELP command.
Use the listusers command to display existing accounts.
We have 5 accounts. Since this is an admin account, we can set a user’s password and then access their account. If this was a real penetration test, you probably don’t want to do that. You’ll raise a lot of red flags when a bunch of users no longer can access their accounts. However, since this is a practice environment, I’m going to go all out. Let’s start by changing the mailadmin user’s account.
Now that we reset the password for the mailadmin account, let’s access his email using telnet.
He does not have any mail. Next, I’m going to reset the passwords of all the other accounts.
James, Thomas and John didn’t have any emails too. Mindy on the other hand had two emails stored in her account.
The first email was useless but the second email gives us SSH credentials! Let’s SSH into Mindy’s account.
We’re in! However, we seem to be in a restricted bash shell (rbash). A restricted shell is a shell that restricts a user by blocking/restricting some of the commands. That’s why the “whoami” command didn’t work for us.
The “ls” and “cat” commands work, so we can at least view the user.txt flag.

There are several things you can do to try and break out of a restricted shell. I tried a bunch of them, but nothing worked. I’m not even allowed to change directories!
We seem to have reached a dead end, so let’s go back to the RCE exploit we found earlier. I’m going to exploit this manually instead of using the script on exploitdb.
Log back into the James Remote Admin server and create a user with the username “../../../../../../../../etc/bash_completion.d” and password “password”.
Now let’s send this user an email that contains a reverse shell.
If you’re not familiar with using telnet for SMTP communication, refer to this guide. One thing to note is the single quote we added in the MAIL FROM field and after the FROM field. This is so that the file is interpreted properly at the backend and our reverse shell runs.
Next, set up a listener to receive the reverse shell.
Then SSH into Mindy’s account so that the content of the bash_completion directory is loaded.
We get a shell that’s no longer restricted by the rbash shell!

Let’s upgrade it to a better shell.
This gives us a partially interactive bash shell. To get a fully interactive shell, background the session (CTRL+ Z) and run the following in your terminal which tells your terminal to pass keyboard shortcuts to the shell.
Once that is done, run the command “fg” to bring netcat back to the foreground.
Now we need to escalate privileges.
Privilege Escalation
Let’s transfer the LinEnum script from our attack machine to the target machine.
In the attack machine, start up a server in the same directory that the script resides in.
In the target machine, move to the /tmp directory where we have write privileges and download the LinEnum script.
Give it execute privileges.
Run the script.
We don’t get anything useful. Next, let’s try pspy. If you don’t have the script, you can download it from the following github repository.
We know that the system is a 32 bit system so make sure you run pspy32. Upload it and run it on the attack machine in the same way we did for LinEnum.
After a minute we see an interesting process pop up.

If you view the permissions on the /opt/tmp.py file, you’ll see that everyone has read/write/execute privileges on it.

Therefore all we need to do is change the content of the file to send a reverse shell to our attack machine and then we simply wait for the cron job to send a privileged shell back.
Change the content of the file to send a reverse shell to our attack machine.
Set up a listener to receive the reverse shell.
Wait a minute for the cron job to run.

We have a shell! Grab the root.txt flag.

Lessons Learned
To gain an initial foothold on the box we exploited three vulnerabilities.
Use of default credentials. The administrator used the default password that is shipped with the application. Since default credentials are publicly available and can be easily obtained, the user should have instead used a sufficiently long password that is difficult to crack.
Information disclosure. SSH credentials are stored in plaintext in one of the user’s emails. If it is necessary that the password be transmitted by email, the user should have changed the password upon the first login.
A Remote Code Execution (RCE) vulnerability with the James Remote server that allowed us to gain initial access to the machine. This could have been avoided if the user had patched the system and installed the most recent version of the software.
To escalate privileges we exploited one vulnerability.
A security misconfiguration of file permissions. There was a scheduled task that ran a file with root privileges although everyone had write access to that file. This allowed us to change the content of the file and get a privileged reverse shell sent back to our attack machine. To avoid this vulnerability, the file permissions should have been restricted to only root level access.
Last updated