Kotarak Writeup w/o Metasploit

Reconnaissance
Run the nmapAutomator script to enumerate open ports and services running on those ports.
All: Runs all the scans consecutively.
We get back the following result.
We have four ports open.
Port 22: running OpenSSH 7.2p2
Port 8009: running Apache Jserv
Port 8080: running Apache Tomcat 8.5.5
Port 60000: running Apache httpd 2.4.18
Before we move on to enumeration, let’s make some mental notes about the scan results.
The OpenSSH version that is running on port 22 is not associated with any critical vulnerabilities, so it’s unlikely that we gain initial access through this port, unless we find credentials.
Port 8080 is running Apache Tomcat and the nmap scan found the /manager/html page, which is the login page to the Manager interface. We’ll have to test that for default credentials. If we do get access to the application we can simply deploy a war file that sends a reverse shell back to our attack machine.
Port 8009 is running Apache Jserv. This hosts the same functionality as port 8080, with the difference being that port 8080 communicates over HTTP, whereas, port 8009 communicates with the Apache JServ Protocol. So this would be our go to port if port 8080 doesn’t pan out.
Port 60000 is also running a web server and the gobuster scan discovered the pages index.php, info.php and url.php. We’ll have to test those pages for LFI, RFI, SSRF and SQLi vulnerabilities depending on what we find out in the enumeration phase.
Enumeration
We’ll start off with enumerating port 8080.
Port 8080: Apache Tomcat
Visit the application in the browser.
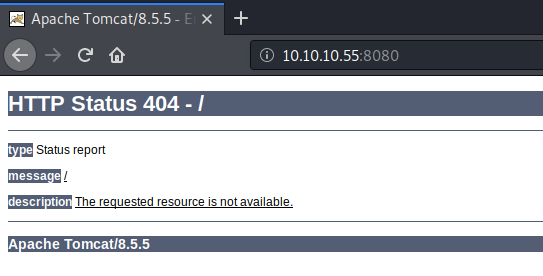
We get a 404 error. Next visit the /manager/html page.
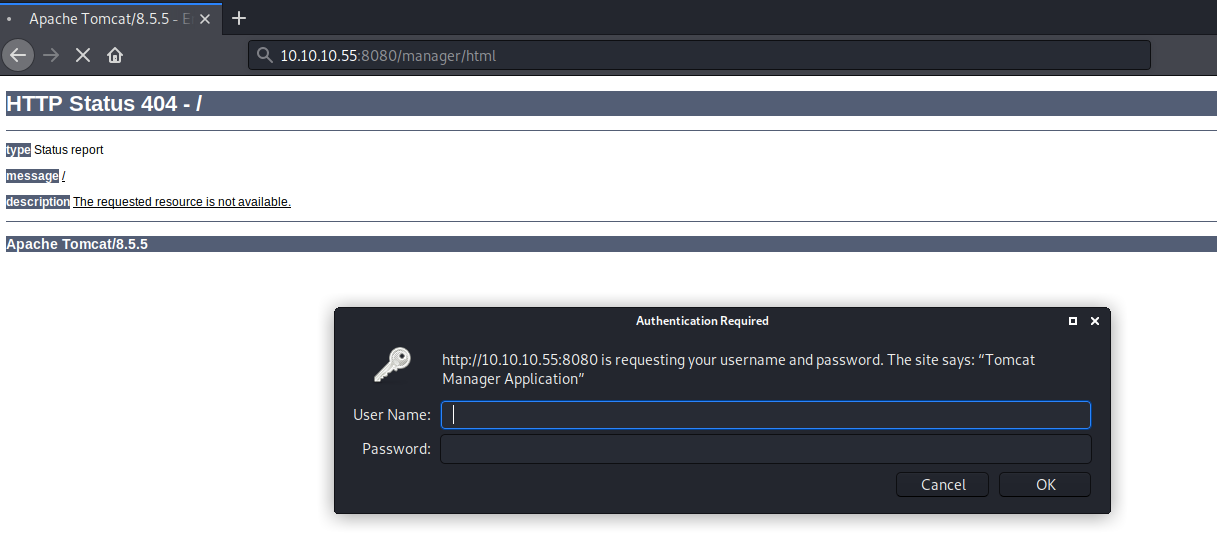
We get prompted for credentials. I tried the common credentials: admin/admin, admin/password and tomcat/tomcat but that didn’t work. Next, I tried the default Apache Tomcat credentials, but none of them worked. Since this is an off the shelf application that probably has built in brute force protection, I won’t run hydra on it.
For now, let’s move on to enumerating port 60000.
Port 60000: Apache httpd
Visit the application in the browser.
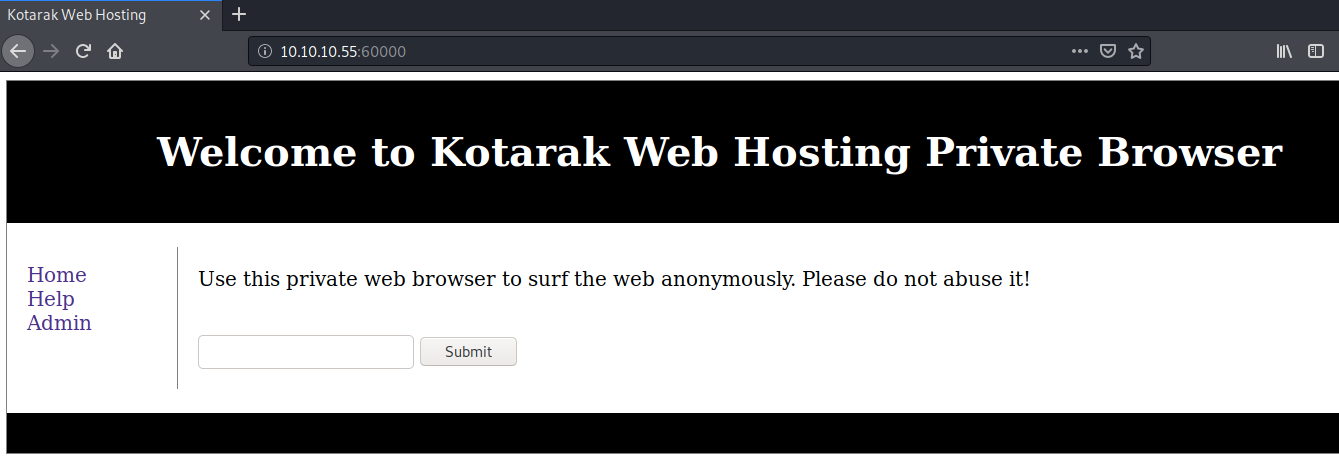
It provides a private web search functionality. Let’s see what it is doing when we give it a URL and hit the Submit button.
Right click on the Submit button and select Inspect Element.![]()
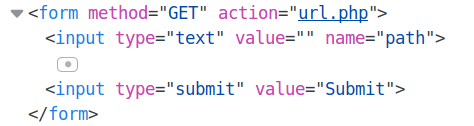
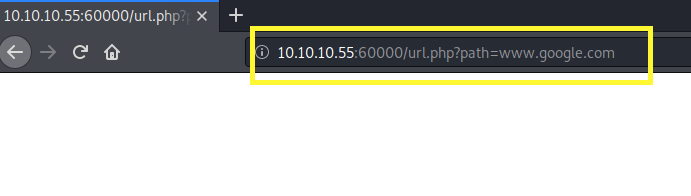
The form is doing a GET request and passing the path parameter to the url.php script. Let’s enter www.google.com and hit submit.
The page displays nothing. I tested this out for LFI / RFI vulnerabilities but the application doesn’t seem to be vulnerable. If you’re not familiar with how to test for these type of vulnerabilities refer to the Poison writeup. Next, let’s try Server Side Request Forgery (SSRF) attacks.
SSRF is a type of attack where an attacker abuses a vulnerable functionality of an application by sending crafted requests from the backend server. This can lead to sensitive information disclosure vulnerabilities where you get access to resources that are not otherwise accessible from the external network.
There are many ways to test for SSRF vulnerabilities, of which several of them are listed in this article. The first thing I usually try is the file URL scheme (file://) to view the /etc/passwd file.

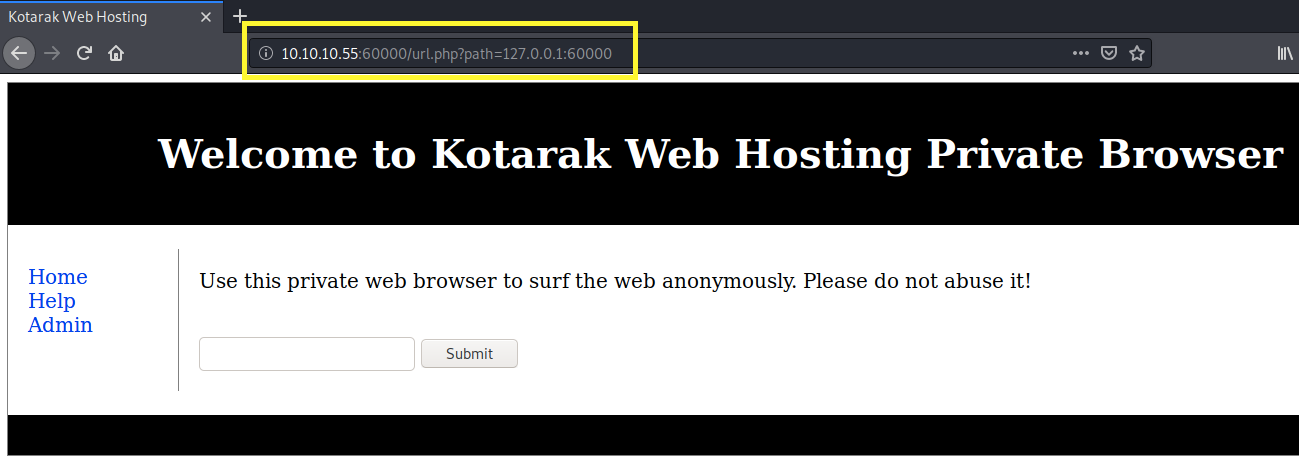
We get a “try harder” output message. This leads me to believe that there is some kind of filtering on the “file” string. But at least now we know that it is probably vulnerable to SSRF and that we’re on the right track. Next, I tried a couple of the other URI schemas mentioned in the article but nothing worked. So, let’s try and see if we can enumerate services running on the loopback interface (127.0.0.1).
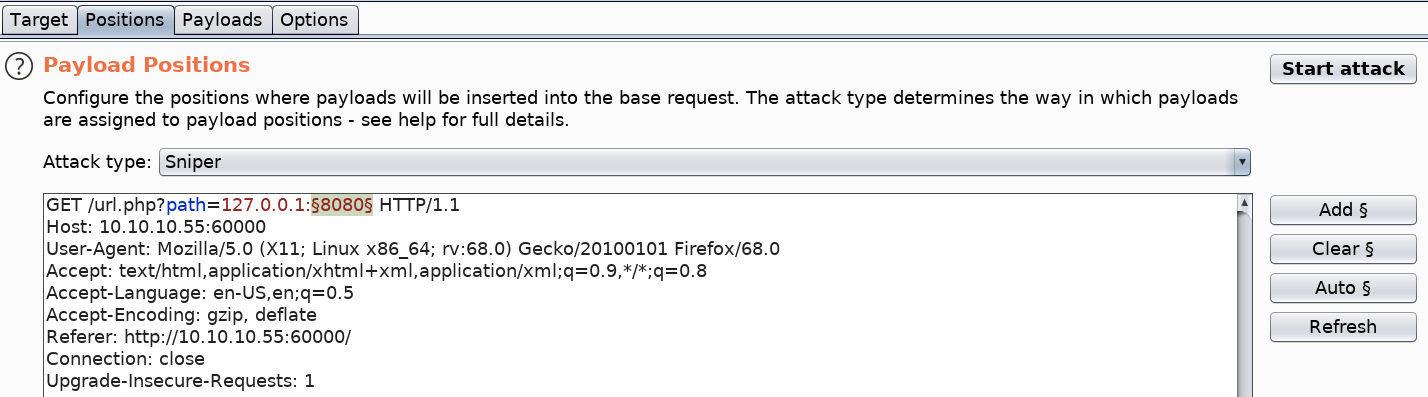
Perfect, this proves to us that we are able to enumerate services that are running locally. To test out all the possible ports, intercept the request in Burp and send it to Intruder. In Intruder, click the Clear button to clear all payloads. Then add only the port payload field as the new payload marker.
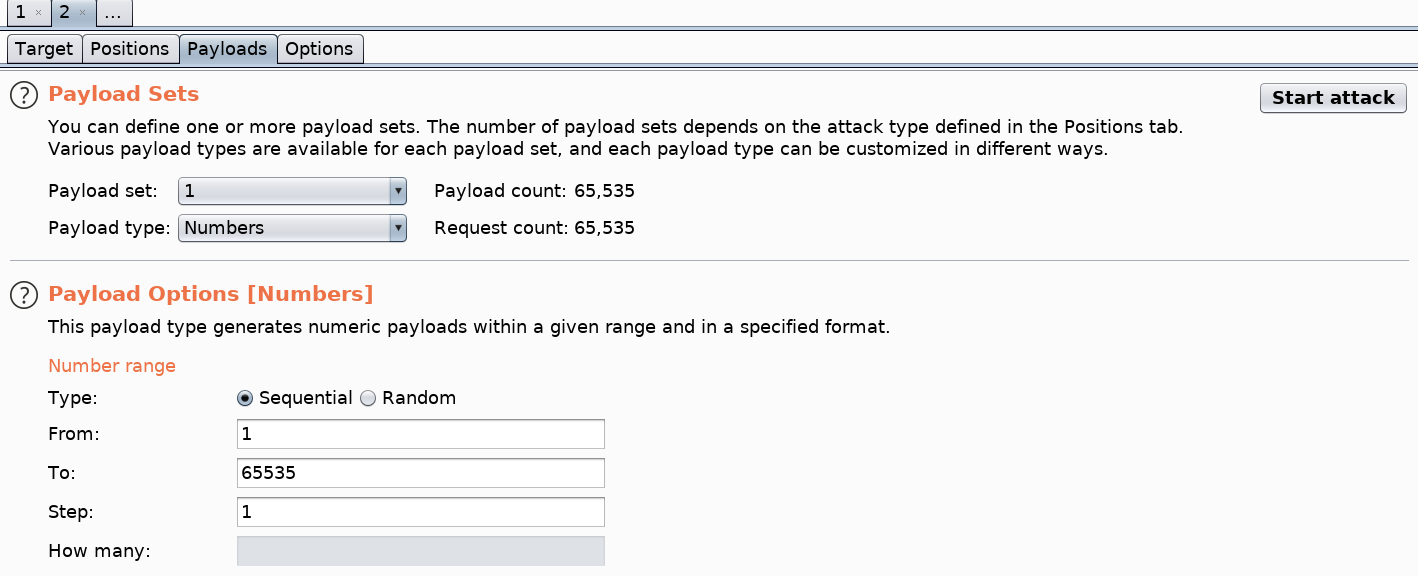
Next, select the Payloads sub tab > select the Payload type option to be Numbers > the Type to be Sequential from the range 1 to 65535. This will loop through all the possible ports.
Then click Start attack. We know that responses with response length 168 give us a blank page indicating that the port is not open.
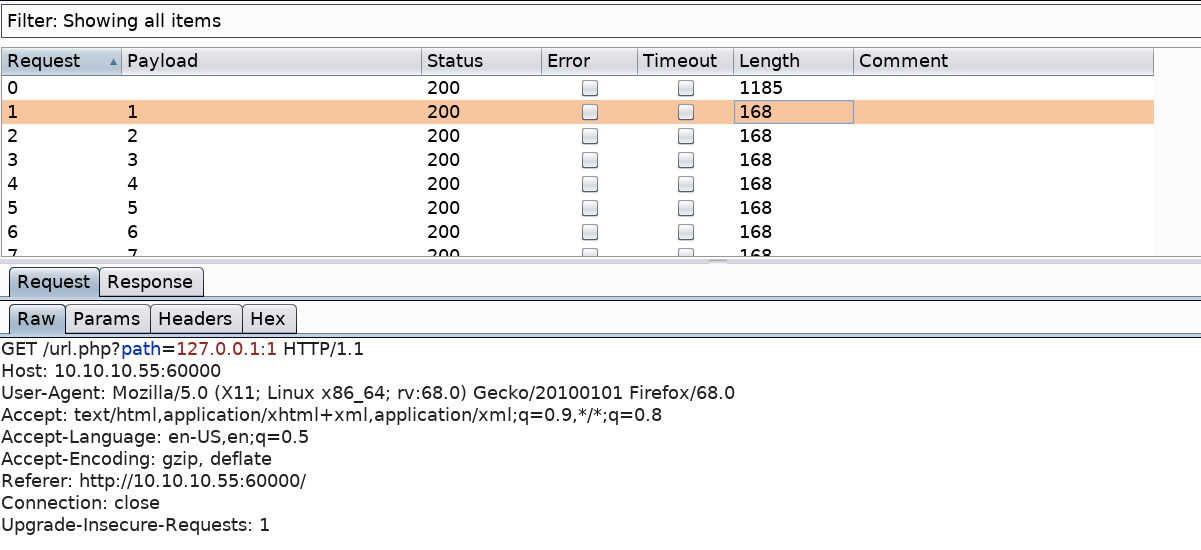
So we’re looking for results that give us an output of any other length. Click on the length field to display all the results in descending order.

All the above results give us a response length greater than 168. Therefore, something got displayed on those page. Let’s test out port 888.
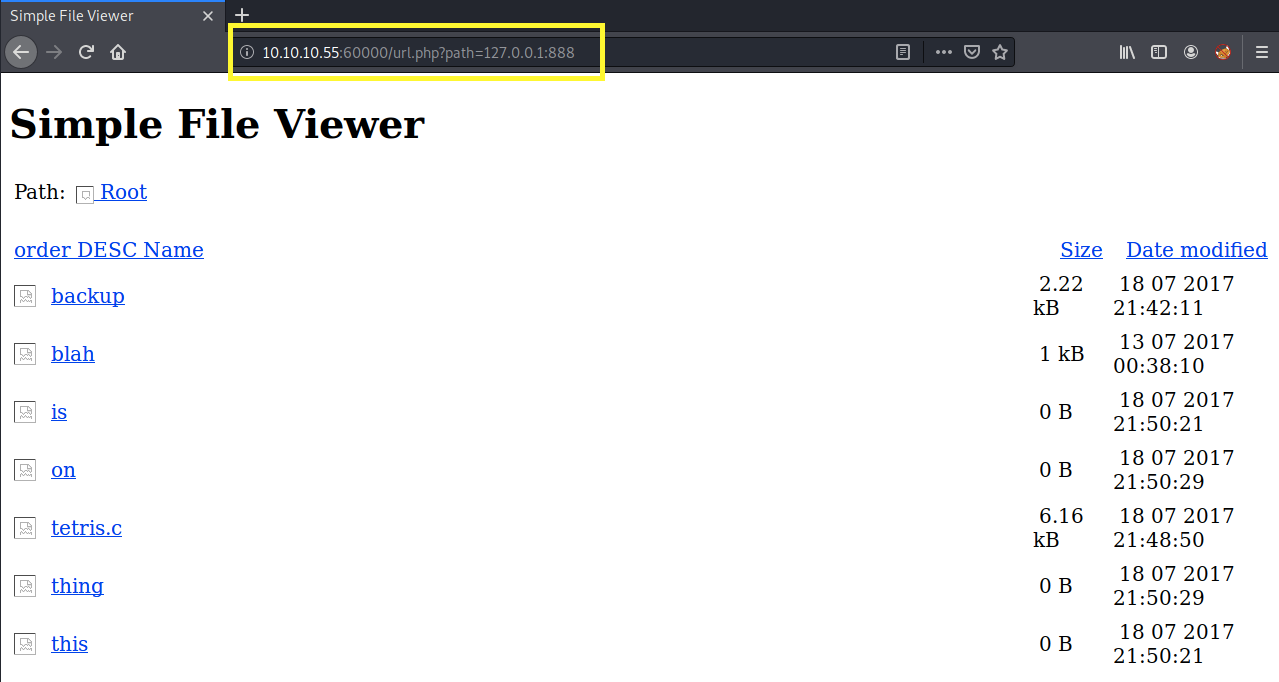
It seems to be hosting some kind of simple file web server. I assume something similar to the python simple server. Let’s look at the backup page.
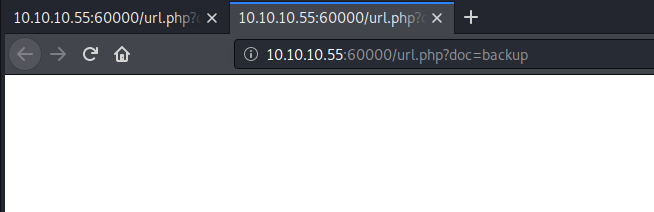
We get nothing. However, let’s try and include that in the path field that is vulnerable to SSRF.
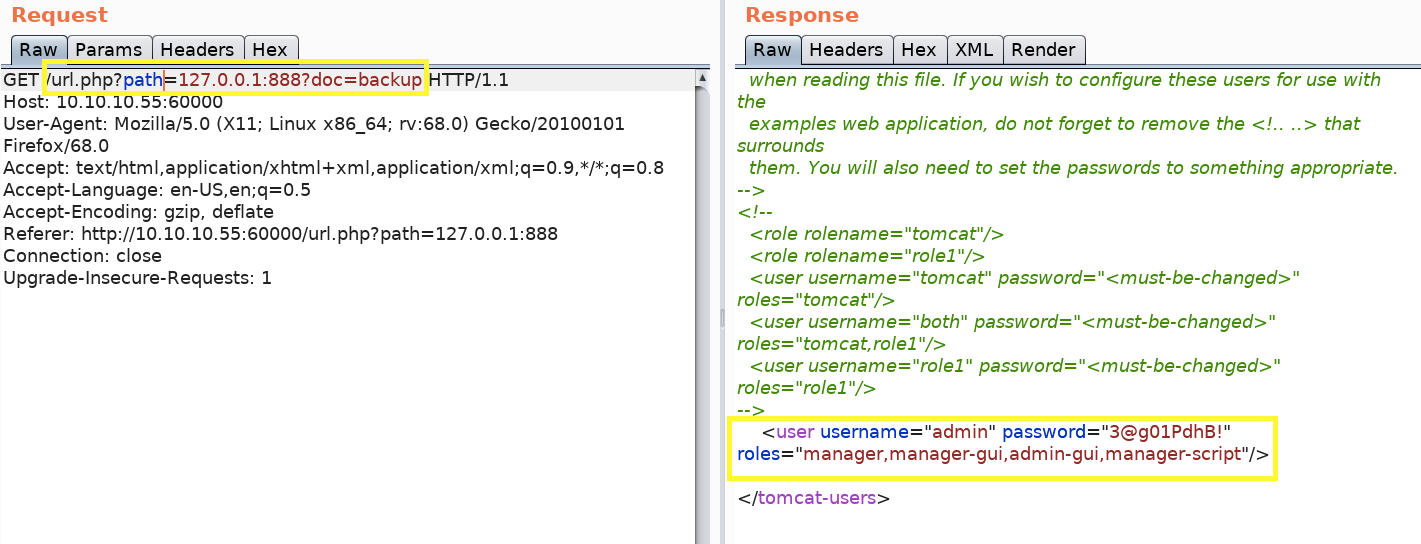
We get back a page that contains the tomcat manager’s credentials!
Log into the Tomcat Manager Application using the above credentials.
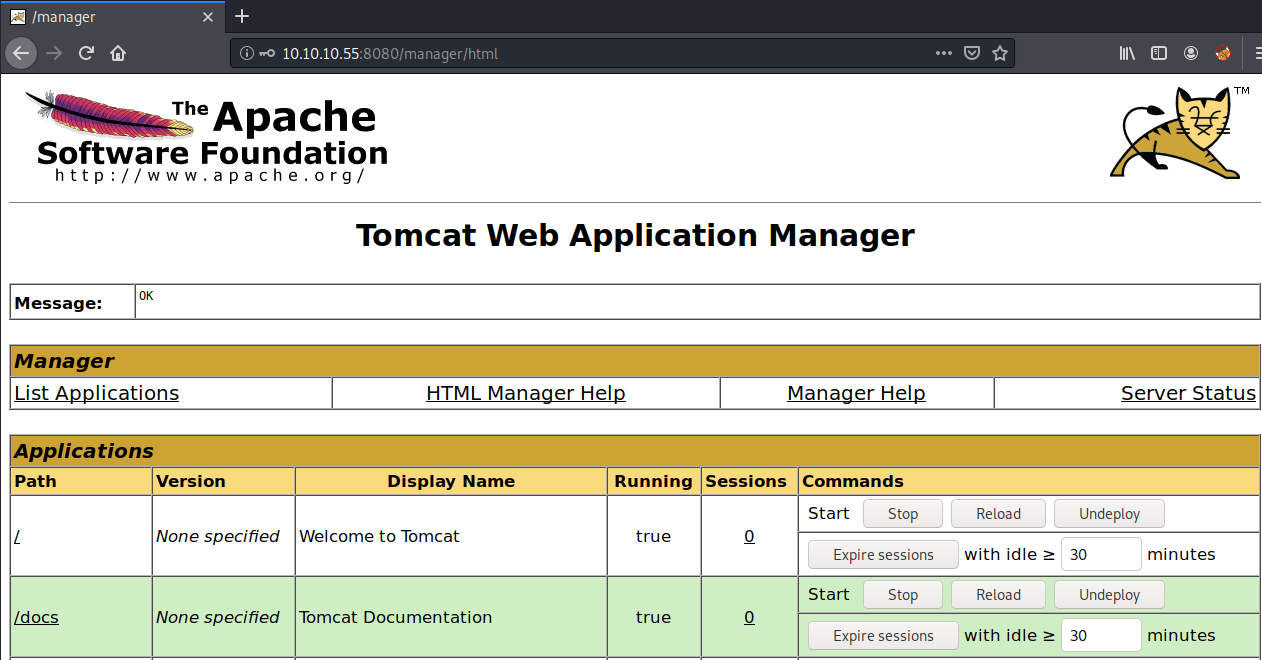
We’re in! Now all we have to do is generate a malicious war file and upload it through the manager.
Initial Foothold
Generate a war file that contains a reverse shell using msfvenom.
Upload the file on the Tomcat Application Manager and deploy it.

Set up a listener on the target machine.
Click on the war file in the Tomcat Application Manager to execute our shell.

We get a shell! Let’s upgrade it to a better shell.
This gives us a partially interactive bash shell. To get a fully interactive shell, background the session (CTRL+ Z) and run the following in your terminal which tells your terminal to pass keyboard shortcuts to the shell.
Once that is done, run the command “fg” to bring netcat back to the foreground. Then use the following command to give the shell the ability to clear the screen.
Unfortunately, we’re running as the user tomcat and we don’t have privileges to view the user.txt flag.
Let’s view the content of the directory we’re in.
View the content of the backup directory.
We don’t have permission. Next, view the content of tomcat’s home directory.
The pentest_data directory seems to contain the ntds.dit and SYSTEM registry hive files. We can use these files to extract Active Directory password hashes. First, let’s confirm the file types.
Next, transfer these files to our attack machine. Set up a python server on the target machine.
Then download the files on the target machine.
Use Impacket’s secretdump script to extract passwords.
This gives us a dump of hashes of which only two are of interest to us.
Extract the hashes and crack them using CrackStation.
It cracked both passwords.

Let’s try su-ing into atanas’s account using the password “Password123!”. It doesn’t work. Next, let’s try the administrator’s password.
We’re in! Grab the user.txt flag.

Now we need to escalate our privileges to root.
Privilege Escalation
View the content of the root directory.
We own the app.log and flag.txt files. Let’s view the flag.txt file.
View the app.log file.
It seems like the IP address 10.0.3.133 is making a GET request to port 80 (default port if it is not specified) to our target machine every 2 minutes. The wget version used is 1.16 which we know from the Falafel machine, is vulnerable to an arbitrary file upload vulnerability. Since the log of this cron job is saved in the root directory, then we can assume that the cron job might be running with root privileges. If so, we’ll use this vulnerability to escalate our privileges to root.
First, let’s confirm that the cron job does run every two minutes.
We get a permission denied error because we’re not allowed to bind to ports less than 1024 without root privileges. So let’s see if authbind is installed on this box.
Perfect, it is installed and we have execute privileges to it. What this program does is it allows a program which does not have root privileges to bind to low-numbered ports.
Rerun the netcat command using authbind.
We get a hit back from 10.0.3.133 confirming that it is a cron job that is running every two minutes.
Now let’s run our exploit. View the exploit instructions on exploitdb. There’s a couple of steps we need to do.
First, prepare a malicious .wgetrc file on your attack machine.
Second, start up an FTP server in the directory that the .wgetrc file resides in.
Third, copy the exploit and save it in the file wget-exploit.py. Change the configuration to send a reverse shell back to your attack machine.
Then transfer the exploit to the attack machine and run it.
Setup a listener on the attack machine and wait a couple of minutes for the exploit to completely run.
We get a shell! If you run the ifconfig command, you’ll see that we’ve pivoted to the 10.0.3.133 box and now are running with root privileges.
Grab the root.txt flag.

Alternative Solution
There’s an alternative easier solution to solving this box. If you run the id command, you’ll see that the atanas user is part of the disk group.
We know from the Falafel box that that essentially gives the user full access to any block devices contained within /dev/. Having access to this is almost equivalent to having root privileges. Refer to the Falafel writeup to see how you can use this misconfiguration to escalate privileges.
Lessons Learned
To gain an initial foothold on the box we exploited four vulnerabilities.
Server Side Request Forgery (SSRF). The application was vulnerable to an SSRF vulnerability that allowed us to enumerate services running locally and eventually gave us access to a file that contains cleartext credentials. Remediations for this vulnerability include input validation, proper response handling and disabling unused URL schemas.
Cleartext credentials. One of the internal services was running a simple file viewer that gave us access to file that contains the Tomcat Application Manager’s credentials. This allowed us to access the Tomcat Manager interface, upload a malicious war file and gain initial access on the machine. Sensitive information should not be stored in cleartext and permission restrictions should be put in place that prevent an unauthorized user from accessing files that contain sensitive information.
Sensitive Information Disclosure. The tomcat directory contained left over results from a penetration test that included the ntds.dit and SYSTEM registry hive files. We used these file to extract Active Directory password hashes. Again, permission restrictions should be put in place to prevent unauthorized users from accessing files that contain sensitive information.
Weak credentials that are not salted. The password hashes we extracted from the ntds.dit file and SYSTEM registry hive, were cracked in a matter of seconds using an online password cracker. This allowed us to pivot to the user atanas. The user should have used a strong password that is difficult to crack.
To escalate privileges we exploited one vulnerability.
Known arbitrary file upload vulnerability in the wget version that was being used. Since a wget request was running as a cron job with root privileges, we were able to exploit this vulnerability to escalate our privileges to root. This could have been avoided if the administrator used the patched version of the wget program.
Last updated