LaCasaDePapel Writeup w/o Metasploit
Reconnaissance
Run the nmapAutomator script to enumerate open ports and services running on those ports.
All: Runs all the scans consecutively.
We get back the following result.
We have four ports open.
Port 21: running vsftpd 2.3.4
Port 22: running OpenSSH 7.9
Port 80: running Node.js over HTTP
Port 443: running Node.js over HTTPS
Before we move on to enumeration, let’s make some mental notes about the scan results.
The vsftpd version running is associated with a backdoor command execution vulnerability. Although I’m pretty sure that the nmap vuln scan does test for this CVE, from past experience it almost always reports it as a false negative. Therefore, I always check for this vulnerability manually.
The OpenSSH version that is running on port 22 is not associated with any critical vulnerabilities, so it’s unlikely that we gain initial access through this port, unless we find credentials.
Port 80 & 443 are running the Node.js Express framework. Port 80 returns a 200 status code whereas port 443 returns a 401 status code. Since they’re returning different codes, we’ll have to enumerate both of them.
The nmap scan leaks the domain name lacasadepapel.htb. We’ll have to add that to our /etc/hosts file.
I terminated the nikto and gobuster scans because they were taking too long to run and weren’t generating any useful results. For this box, the enumeration will be a little bit more manual.
Enumeration
Add the domain name to the /etc/hosts file.
I always start off with enumerating HTTP.
Port 80 HTTP
Visit the web application.
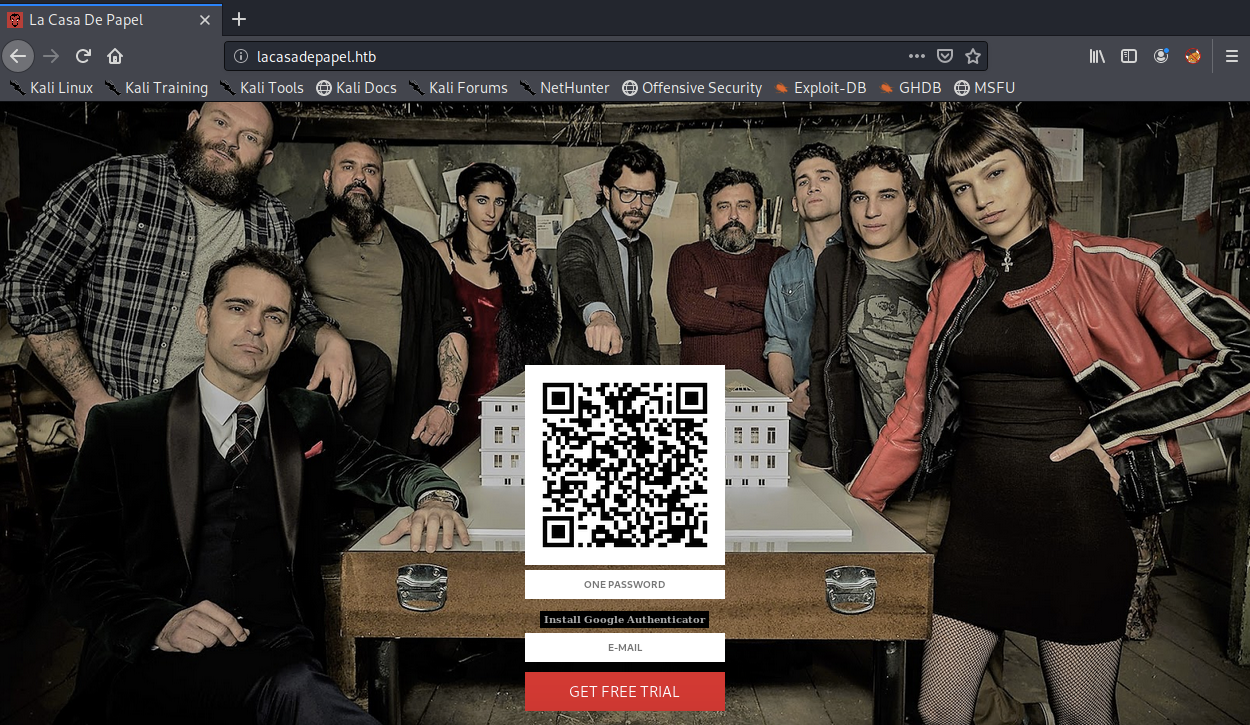
View the page source. We don’t get anything useful. Next, play around with the E-MAIL and ONE PASSWORD field. There doesn’t seem to be anything unusual there, so let’s move on to the next port.
Port 443 HTTPS
Visit the web application.
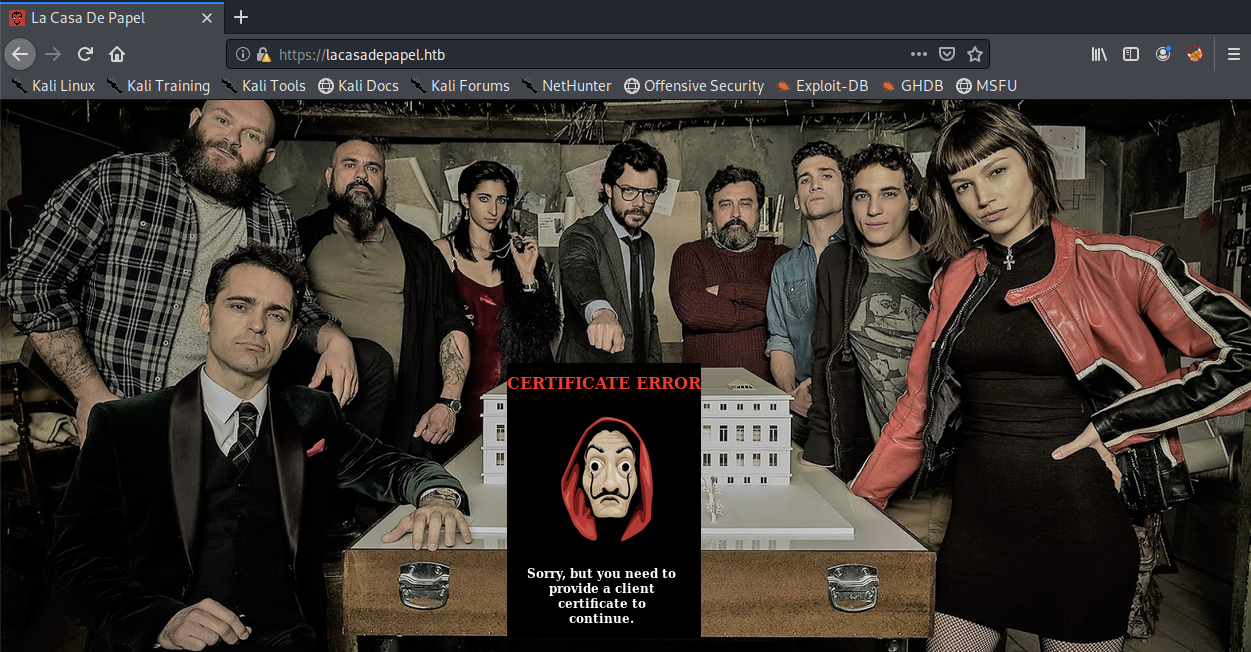
We get a certificate error informing us that we need to provide a client certificate before we can view any other content. Interesting. This is the first time I encounter an HTB machine that is using mutual TLS authentication.
If you don’t know what that is, here is a quick run down. Every time you use a web browser to connect to an HTTPS site, you’re using a cryptographic protocol known as Transport Layer Security (TLS) or it’s predecessor SSL. SSL/TLS guarantees that all communication between your web browser and the server you’re connecting to is encrypted, thereby preventing an attacker from reading or modifying the communication. This is done through the use of SSL certificates which are installed on the server. When your browser connects to a server, the server sends its certificate to the browser, the browser checks the validity of the certificate and if all is good, a secure session is established between the two parties.
In the above scenario (which is the default functionality), the server proves its identity to the client (browser). It is possible to add additional security by also enabling client-to-server authentication, where the client also needs to prove its identity to the server. In order to do that, the client has to provide the server with a certificate.
How does this work? Here’s a good article that explains it. The bottom line is if we get hold of the Certificate Authority’s (CA) private key, we can generate a client side certificate and authenticate to the server. We’ll keep that in mind while enumerating the host.
Next, let’s view the page source to see if it leaks any information. We don’t get anything useful. Similarly, the certificate used by the site doesn’t leak any sensitive information.
Let’s move on to the next port.
Port 21 VSFTPD
A quick google search shows us that this version of vsftpd is famously vulnerable to a backdoor command execution that is triggered by entering a string that contains the characters “:)” as the username. When the backdoor is triggered, the target machine opens a shell on port 6200.
This exploit is simple enough to exploit manually.
This should have triggered the backdoor. Run a quick nmap scan to see if port 6200 opened up.
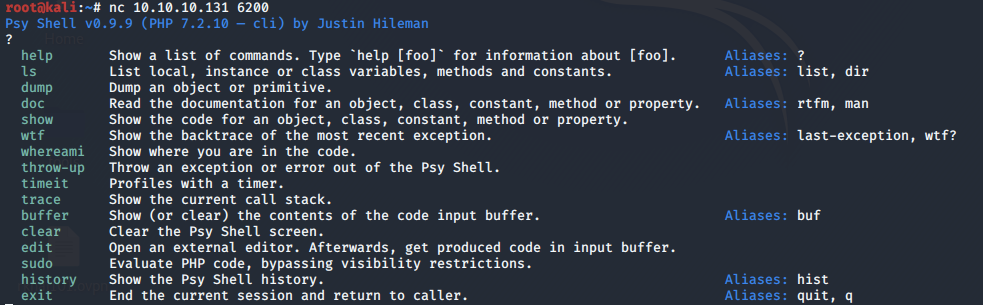
Perfect! Connect to the port using netcat.
We’re in! It’s a psy shell, which is a PHP shell.
Run the “?” command to see which commands we’re allowed to run.
Let’s run the ls command.
There’s a set variable $tokyo. Let’s view it using the show command.

We get the path to the Certificate Authority (CA) key! Let’s dump the content of the file.
Before we use the key to generate a client side cert, let’s see what other information we can gather from this shell.
The only user’s that have shells are professor, berlin, dali, postgres, operator and root. We can safely deduce that we’re running as dali since this is the only user that is assigned the /usr/bin/psysh shell.
Let’s see what’s in the home directory using the scandir() function.
The user.txt flag is in berlin’s directory. So we need to figure out a way to own that user.
Initial Foothold
Let’s go back to the ca.key we found. A quick google search on “generate client side ssl certificate” gives you this result. We already have a certificate authority, so all we need to do is follow the Generate a client SSL certificate section of the article.
First, let’s download the server side certificate from the browser. Click on the Lock icon > Show Connect Details > More Information > View Certificate > Details > Export.
So now we have the certificate authority key (ca.key) and the certificate that the server is using. Let’s confirm that the CA key we have was used to sign the server certificate. This can be done by verifying that the public key of ca.key is the same as the public key of server certificate.
Now let’s generate the client certificate.
First, generate a private key for the SSL client.
Use the client’s private key to generate a cert request.
You’ll be prompted to enter the following information.
Issue the client certificate using the cert request and the CA cert/key.
Convert the client certificate and private key to pkcs#12 format for use by browsers.
You’ll be prompted for an export password. This is optional when importing into the browser, however, it’s mandatory in Burp to provide a password, therefore, let’s set the password as “password”.
Now we need to import the client certificate into our browser. To do that click on the hamburger icon > Preferences > __search for Certificates >View Certificates > Your Certificates > Import.
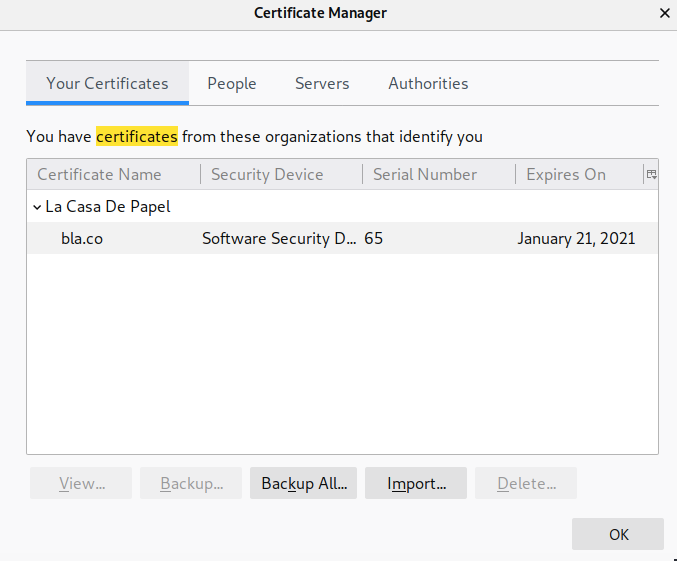
In the above Certificate Manager window, click on the Authorities tab and find the La Casa De Papel certificate authority.

Click on Edit Trust and select the option This certificate can identify websites. Then restart the browser and visit the page again. Now you’ll be prompted with a User Identification Request.
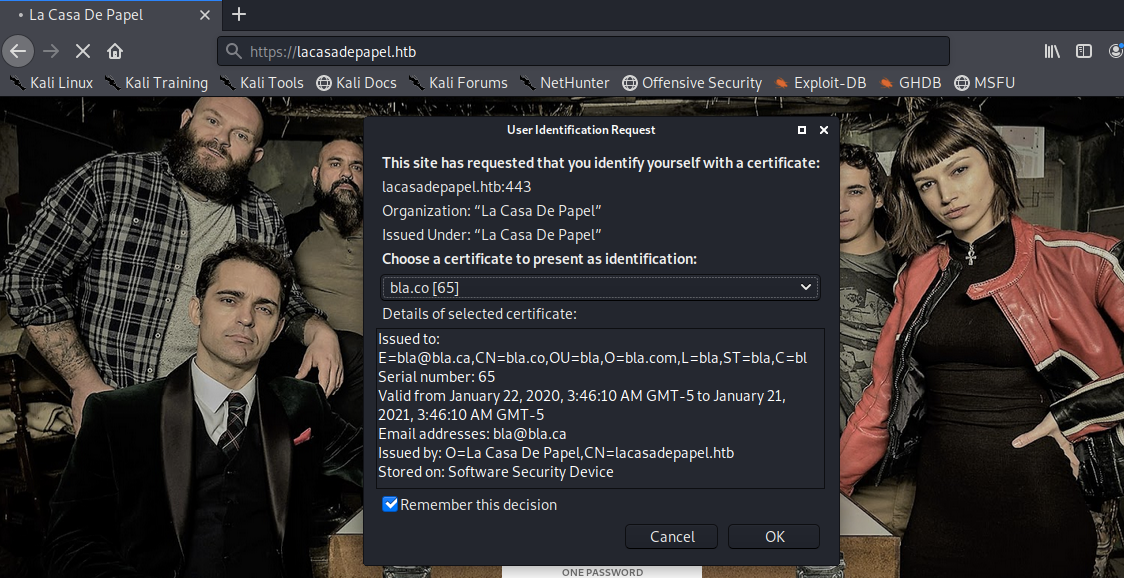
Click OK and we’re in!
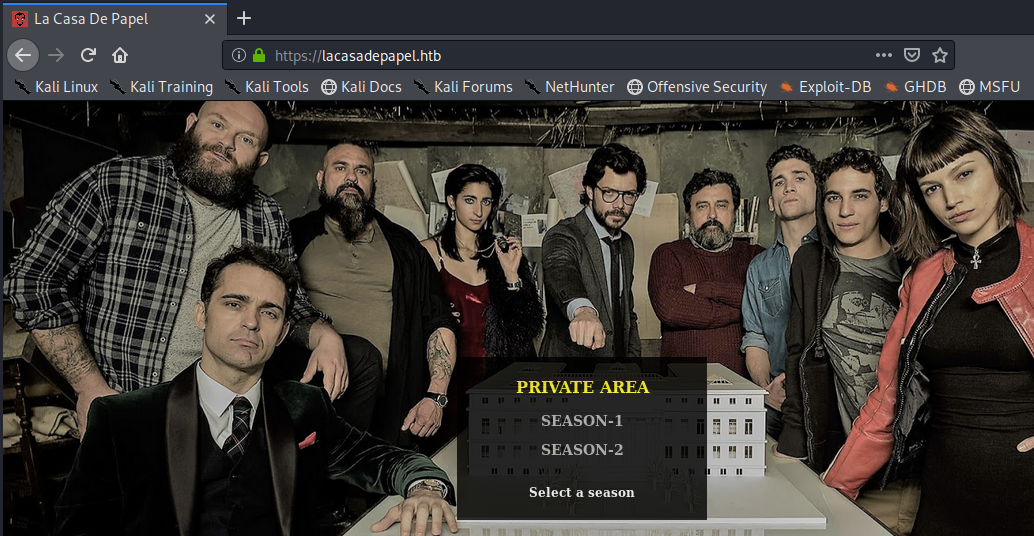
Click on SEASON-1.
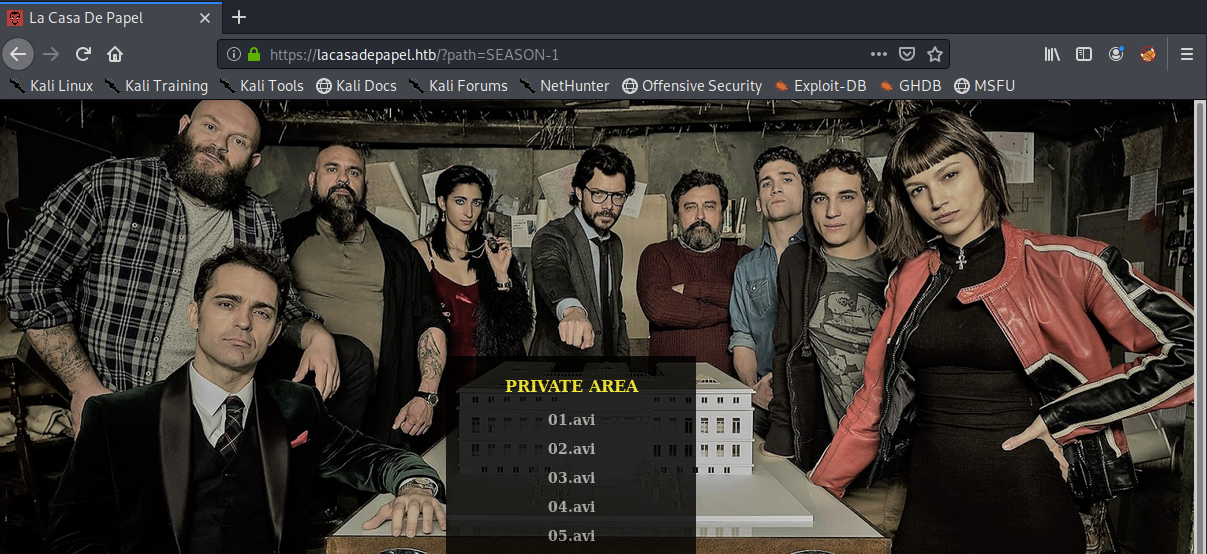
It uses a path parameter. Let’s see if it is vulnerable to LFI.
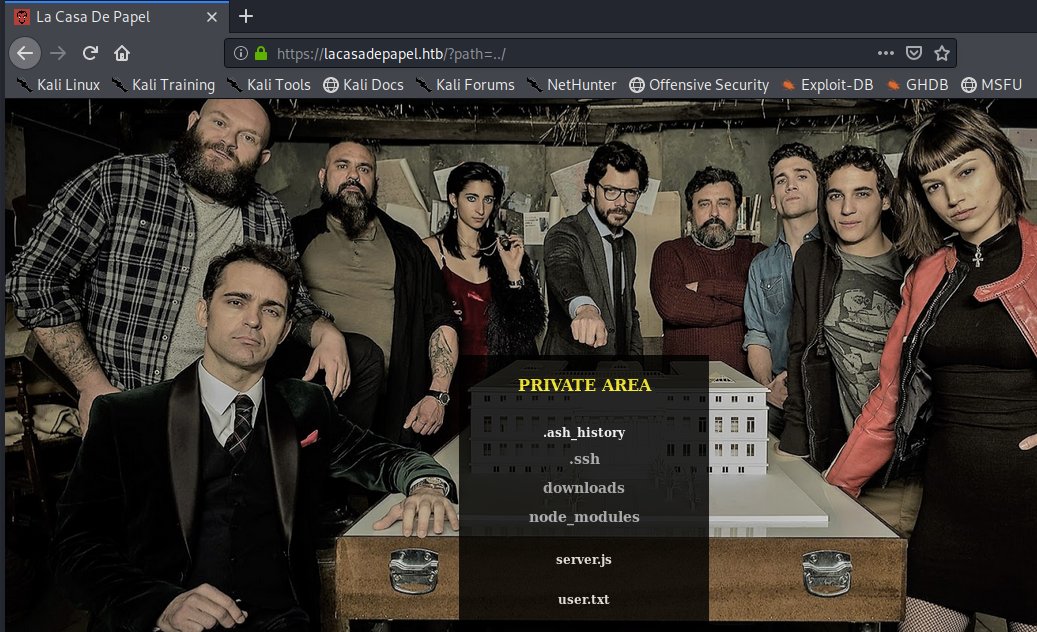
It definitely is. However, when we try to view the user.txt file, we get an error.
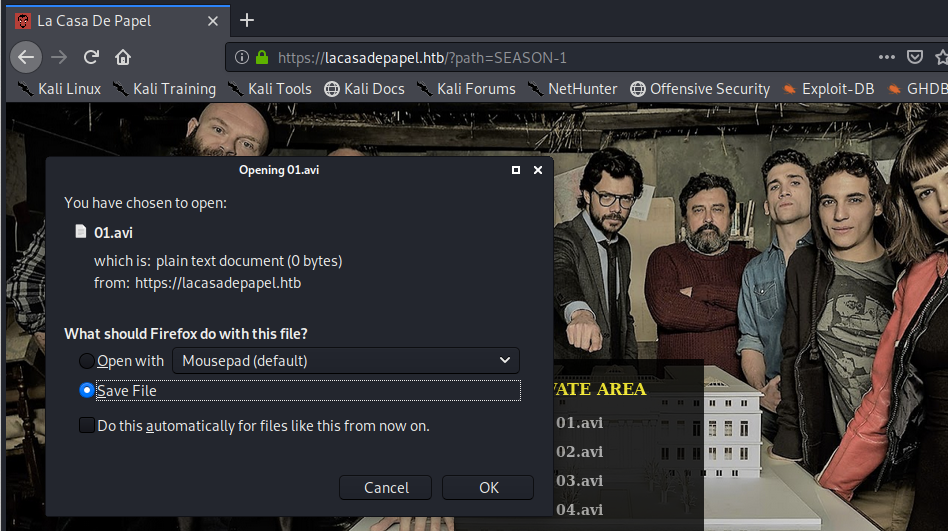
Let’s go back to the SEASON-1 path. If we click on 01.avi, we get prompted with a file download.
View the source code on the download link.
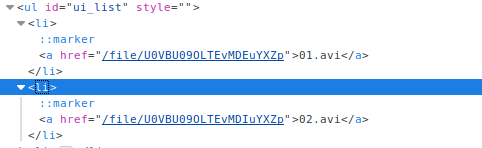
Notice that the href attribute for 01.avi and 02.avi are very similar with only one character difference. Considering that the names of the files are also only slightly different, this leads me to believe that the file download link is dependant on the file name. It looks like base64 encoding, so let’s try decoding them.
It’s simply base64 encoding the path to the file. Now that we know how the backend allows file downloads, let’s try to download the user.txt file.
Open Burp and click on User Options > SSL > Client SSL Certificates > Add. In the Destination host field, add lacasadepapel.com and select the File (PKCS#12) option_._ Click Next and import the client cert. Now, we can intercept requests using Burp.
Intercept the 01.avi file download request in Burp and change the base64 value to the one we generated for user.txt.
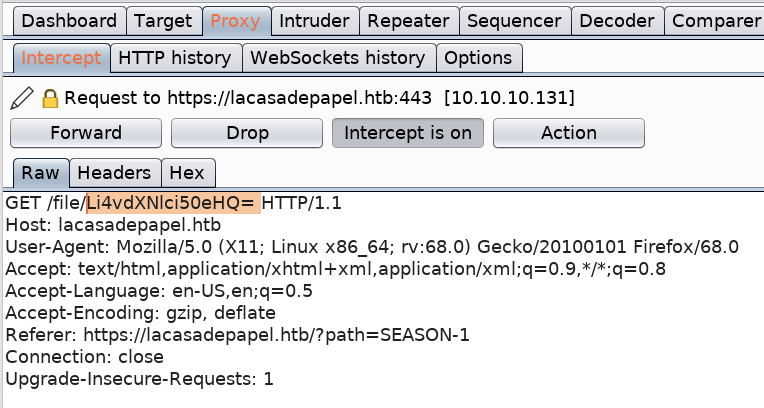
Forward the request. This prompts a download for the user.txt file! Save the file and grab the user.txt flag.

We also noticed that there is a .ssh directory that contains an ssh key.
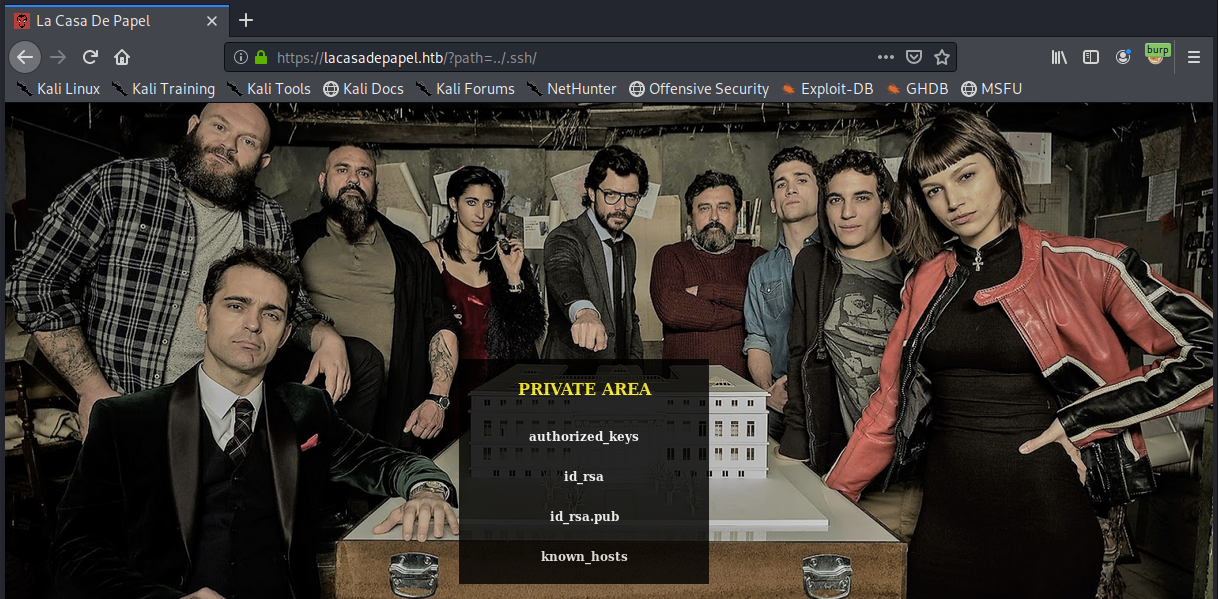
In the same way we downloaded user.txt, we download the id_rsa file.
Change the permissions on the id_rsa file.
Try to login into Berlin’s account.
It doesn’t work. Let’s try other accounts.
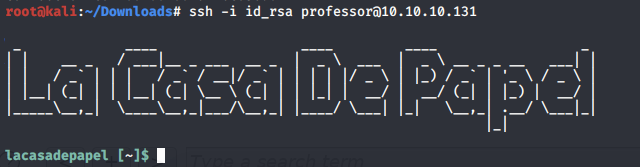
We’re in! Now we need to escalate privileges.
Privilege Escalation
In the attack machine, start up a server in the same directory that the script resides in.
In the target machine, change to the /tmp directory where we have write privileges and download the LinEnum script.
Give it execute privileges.
Run the script.
We don’t get anything useful. Next, let’s try pspy64.
It’s running this script every one minute. View permissions on the file.
We don’t have read, write or execute privileges on the memcached.js file. However, notice that we have read access on the memcached.ini file. Let’s view the content of the file.
It seems to be a configuration file that is running the sudo command on the memcached.js file. Chances are it is running as root since only root has read/write access on it.
We can’t write to the file, however, we can overwrite it since we own the directory. First, copy the content of the file into a test file.
Then edit the test.ini file to send a reverse shell back to our attack machine.
Change the name of the file to memcached.ini.
Now set up a listener on the attack machine and wait for the command to execute.
We are root! Grab the root.txt flag.

Lessons Learned
To gain an initial foothold on the box we exploited one vulnerability.
FTP backdoor command execution. The FTP version used is famously known for its backdoor vulnerability. This allowed us to gain initial access on the machine. This could have been avoided if the administrator had patched the system and installed the most recent version of vsftpd.
To escalate privileges we exploited three vulnerabilities.
Loose permissions and insecure storage of Certificate Authority (CA) key. Once we had initial access on the machine we were able to download the CA key. This in turn allowed us to create a client side certificate and authenticate to the server. The administrator should have secured the CA key by restricting access to it and encrypting it.
Local File Inclusion (LFI) vulnerability that allowed us to view files on the host. Using this vulnerability, we were able to find and view the SSH private key of the professor user. This could have been easily avoided if the developer properly validated user input.
Security misconfiguration of a scheduled task. The task was being run with root privileges using a file that is in a directory owned by a non-privileged user. Since the non-privileged user owned the directory, we were able to simply overwrite the file with a malicious one that contained a reverse shell.
Last updated