Magic Writeup w/o Metasploit

When working on the initial foothold of this box, I found it to be very similar to an exercise I worked on in the OSWE labs and therefore, made the decision to solve this box in a slightly different way.
The blog will be divided into three sections:
Box Walkthrough: _****_This section provides a walkthrough of how to solve the box.
Automated Script(s): This section automates the web application attack vector(s) of the box. This is in an effort to improve my scripting skills for the OSWE certification.
Code Review: This section dives into the web application code to find out what portion(s) of the insecure code introduced the vulnerabilities. Again, this is in an effort to improve my code review skills for the OSWE certification.
Box Walkthrough
This section provides a walkthrough of how to solve the box.
Reconnaissance
Run AutoRecon to enumerate open ports and services running on those ports.
View the full TCP port scan results.
We have two ports open.
Port 22: running OpenSSH 7.6p1
Port 80: running Apache httpd 2.4.29
Before we move on to enumeration, let’s make some mental notes about the scan results.
The OpenSSH version that is running on port 22 is not associated with any critical vulnerabilities, so it’s unlikely that we gain initial access through this port, unless we find credentials.
Port 80 is running a web server. AutoRecon by default runs gobuster and nikto scans on HTTP ports, so we’ll have to review them. Since this is the only other port that is open, it is very likely to be our initial foothold vector.
Enumeration
Visit the application in the browser.
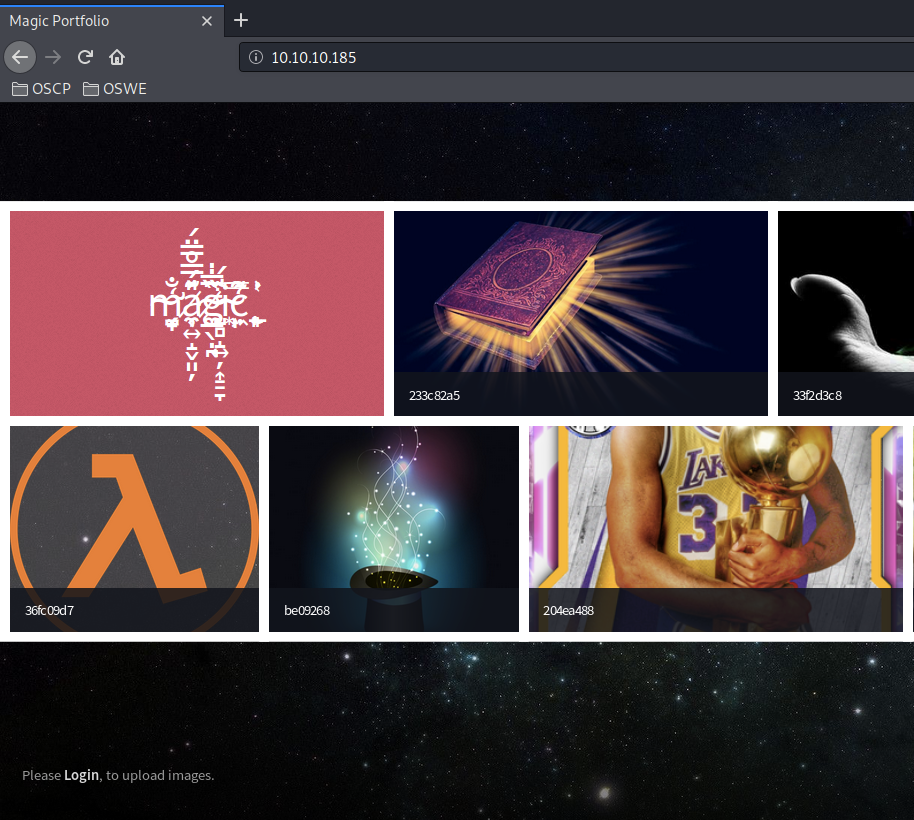
Viewing the page source doesn’t give us any useful information. Next, view Autorecon’s gobuster scan.
Right off the bat, I see something that could potentially be very concerning. The upload.php & logout.php pages are internal pages (require authentication) that lead to a 302 redirect when a user attempts to access them. However, the interesting part is the response size. The upload.php response size is much larger than what a normal 302 redirect response would be. So if I had to guess, the PHP script is not properly terminated after user redirection, which could give us unrestricted access to any internal page in the application.
We can confirm this using Burp proxy. Visit the upload.php script and intercept the traffic in Burp. As can be seen in the below image, before the request is redirected to the login page, we are served with the upload page.
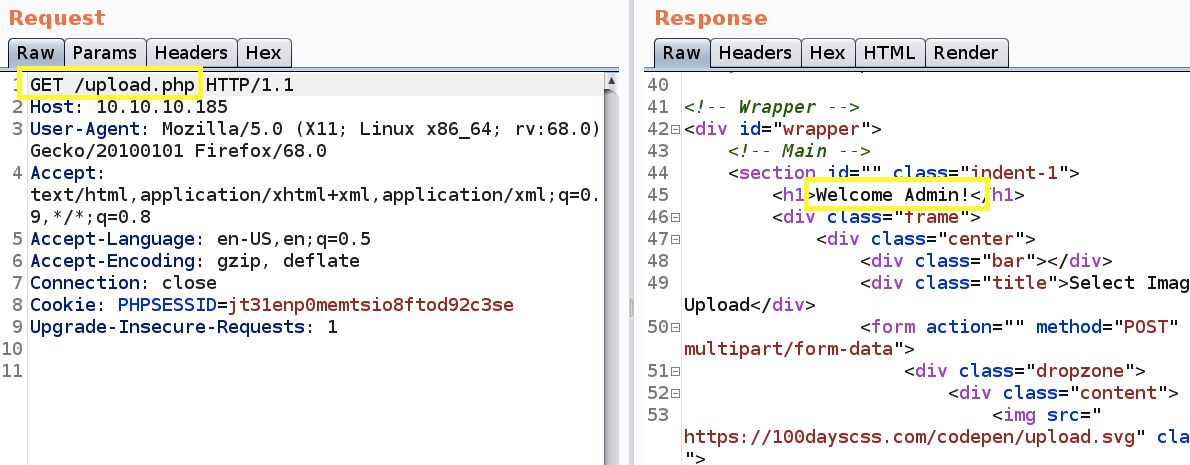
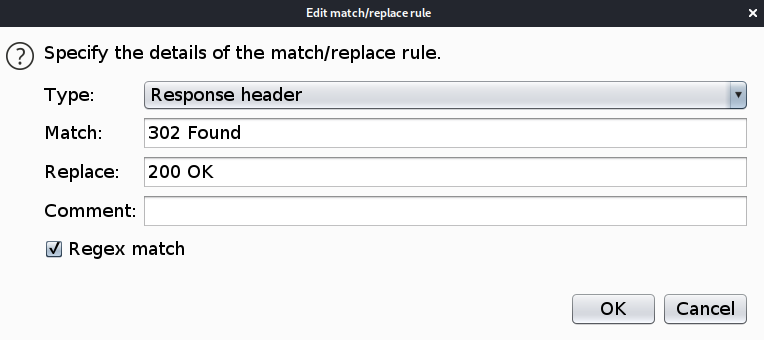
Now all we have to do is change the HTTP Status Code from “302 Found” to “200 OK” and we get access to the upload page. To have Burp automatically do that for you, visit the Proxy > Options tab. In the Match and Replace section, set the following options.
Now visiting the upload.php page in the browser does not redirect to the login.php page.
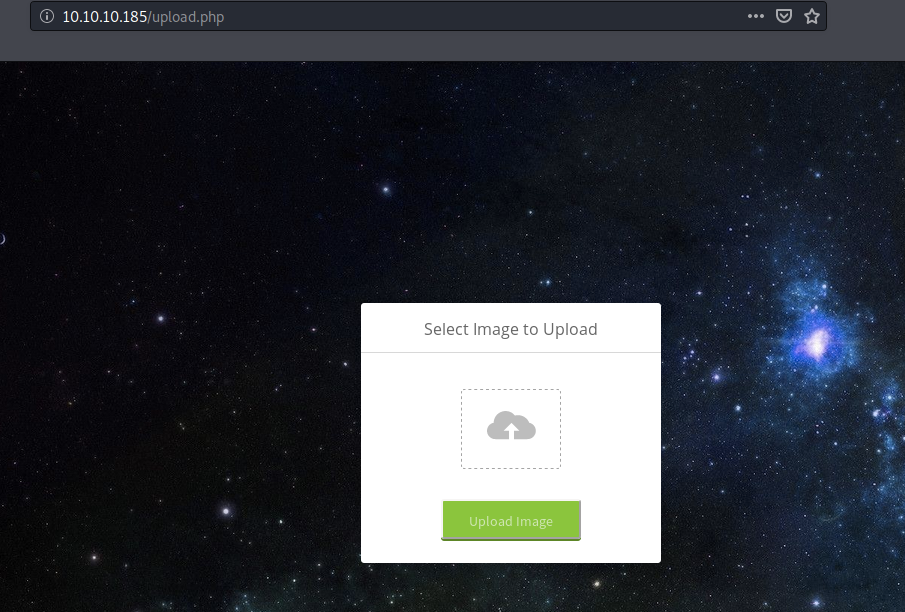
An improperly implemented upload functionality could potentially give us code execution on the box. However, that would require two conditions:
Being able to upload a shell on the box
Being able to call and execute that shell
Even if I could upload PHP code, it’s not much use if I can’t call it. So let’s upload a JEPG image and see if we can call it through the web server.
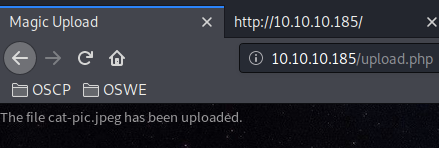
We get a file has been uploaded message. Visiting the root directory, we see that our image is included in the slide show.
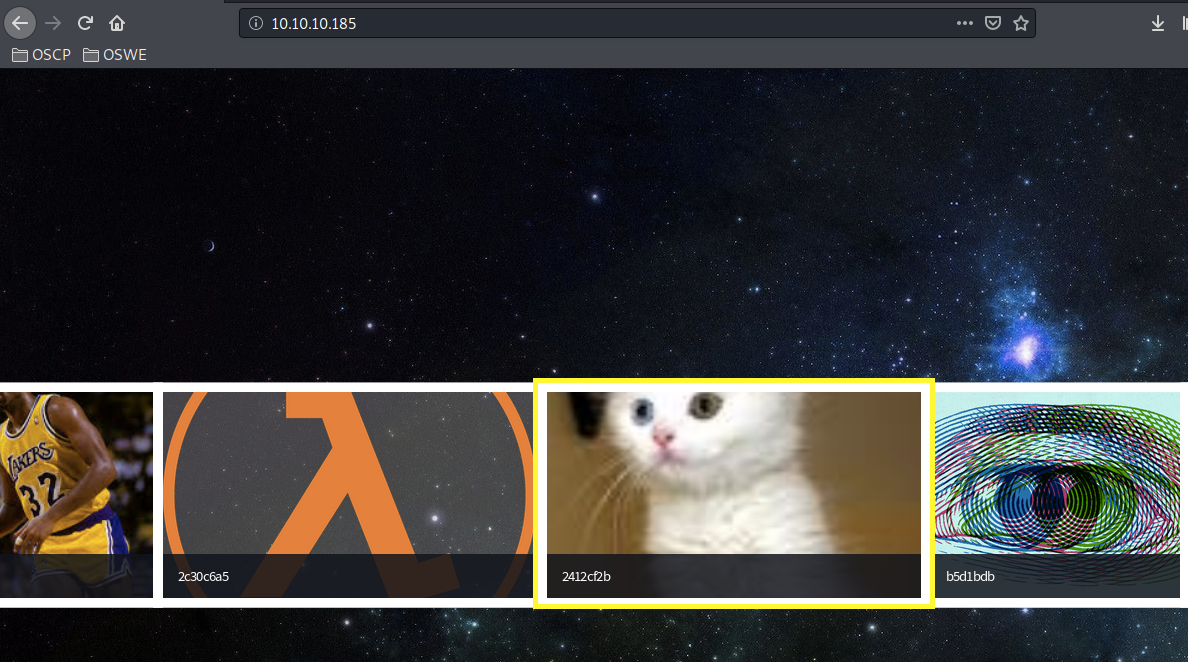
Viewing the page source gives us the path to the image.

Good. So we do have a way to call the image. Now all we need to do is figure out a way to bypass file upload restrictions to upload PHP code.
Initial Foothold
Try and upload a file with a “.php” extension.
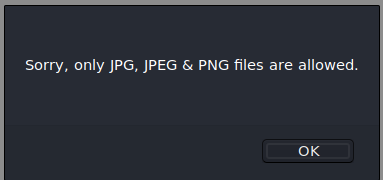
We get the above message indicating that there are backend restrictions on the file extension. Next, try and upload a file with the extension “.php.jpeg”.
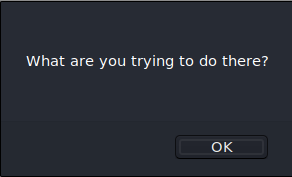
We get a different error message. So we bypassed the extension restriction, but we’re now faced with another restriction. My guess is it is checking the mime type of the file. To bypass that, we’ll use exiftool to add PHP code to our cat image.
This adds a parameter to the GET request called cmd that we’ll use to get code execution. View the type of the file.
The file is still a JPEG image, so it should bypass MIME type restrictions. Upload the file.

Perfect! Now call the file with the cmd parameter to confirm that we have code execution.

We have code execution! Now, let’s get a reverse shell. First, set up a listener on the attack machine.
Then run the request again and send it to Repeater. Next, visit pentestmonkey and add the bash reverse shell in the ‘cmd’ parameter.
Make sure to URL encode it before you send the request (Ctrl + U).

We get a shell! Let’s upgrade it to a better shell.
This gives us a partially interactive bash shell. To get a fully interactive shell, background the session (CTRL+ Z) and run the following in your terminal which tells your terminal to pass keyboard shortcuts to the shell.
Once that is done, run the command “fg” to bring netcat back to the foreground. Then use the following command to give the shell the ability to clear the screen.
Unfortunately, we’re running as the web daemon user www-data and we don’t have privileges to view the user.txt flag. Therefore, we need to escalate our privileges.
Privilege Escalation
Going through the web app files, we find database credentials in the db.php5 file.
Let’s check if theseus is a user on the system.
He is. Let’s see if he reused his database credentials for his system account.
Doesn’t work. The next thing to try is logging into the database with the credentials we found.
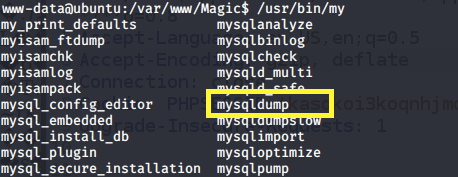
We can see that mysqldump is installed on the box, which we’ll use to dump the database.
Try the credentials we found on the theseus account.
We’re in! View the user.txt flag.

Now we need to escalate our privileges to root. I downloaded the LinEnum script and ran it. It looks like the SUID bit is set for the sysinfo program, which means that the program runs with the privileges of the owner of the file.
Let’s run strings on the program to see what it’s doing.
We can see that it runs the fdisk & lshw programs without specifying the full path. Therefore, we could abuse that to our advantage and have it instead run a malicious fdisk program that we control.
In the tmp folder (which we have write access to), create an fdisk file and add a python reverse shell to it.
Give it execute rights.
Set the path directory to include the tmp directory.
This way when we run the sysinfo program, it’ll look for the fdisk program in the tmp directory and execute our reverse shell.
Setup a netcat listener to receive the reverse shell.
Then run the sysinfo command.
We get a shell!

Upgrade the shell and get the root.txt flag

Automated Scripts
This section automates the web application attack vector(s) of the box. I’ve written the code in such a way that it should be easily read, therefore, I won’t go into explaining it here.
The script automates the initial foothold vector for this box and can be found on my GitHub page. Refer to the Usage Instructions in the main method for instructions on how to run the script.

Secure Code Review
This section dives into the code to find out what portion(s) of the code introduced the vulnerabilities.
Setup
Zip the www directory.
Start a python server on the target machine.
Download the zipped file on the target machine.
Unzip the file.
Note: I have uploaded the code on GitHub.
Code Review
We observed two vulnerabilities while testing the web application.
Improper redirection
Insecure file upload functionality.
Both vulnerabilities were discovered in the upload.php page, so we’ll start with that page.
Vuln #1: Improper Redirection
Lines 2–6 of the upload.php script handle the redirection functionality.

The following is an overview of the code:
Line 2: Calls the session_start function which creates a session or resumes the current one based on a session identifier passed via a GET or POST request, or passed via a cookie.
Lines 4–6: Call the isset function to check whether the user is logged in or not. This is done by checking if the user_id index of the global $_SESSION variable evaluating to anything other than null. If the user is not logged in, the header function gets called which redirects the user to the login page.
Before we dive into why this code is vulnerable, it’s worth looking at how sessions are created on the server-side.
Sessions are saved in the following folder on the system. In the below image, the first session (sess_6aen…) was created by logging into the application using a valid username/password. Therefore, the size of the image is larger than zero b/c it contains session information. Whereas, the second session (sess_tkas...) was created by navigating to the upload.php script w/o logging in. Therefore, although the session got created, it does not contain any information.

Viewing the content of the first session we see the user id is associated to a value and therefore when the isset function is called, it evaluates to true which skips the redirection to the login page.
Why is this code vulnerable? Notice that when a user does not have a valid session id, the user is redirected but any code after line #6 is still rendered in the HTTP response before the redirect. That’s why when we stopped the redirection in the proxy, we were able to see the upload functionality.
To make this really clear, we can write a small PHP script that redirects to another page if a session is not valid.
To test the code, setup a PHP server.
Then visit page 1 in the browser. This automatically redirects you to page 2.

However, if we see the request in the proxy, we can see that before it redirects the user, the code in page 1 is rendered.

The way to fix this vulnerability is simply to add the die() or exit() functions after the Location header. This makes sure that the code below the function does not get executed when redirected.
Therefore, to fix the vulnerability, make the following change to page1.php.
Now when you visit page 1 in the browser, you automatically get redirected to page 2 but anything after the exit function is no longer rendered.

Vuln #2: Insecure File Upload Functionality
Lines 7–44 describe the upload functionality. We can see that there are two validation checks that are being performed, the first one checks the file format and the second checks the file type using magic bytes.
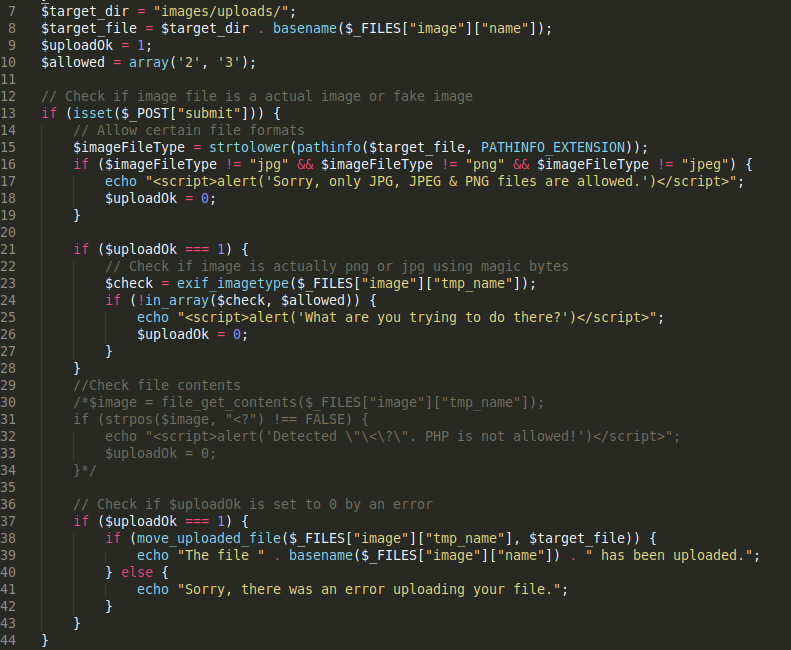
Let’s dive into the first validation check. Lines 14–19 verify if the file format is anything other than JPG, PNG & JPEG.

The following is an overview of the code:
Line 15: Calls ****the pathinfo function which takes in the uploaded file and uses the option PATHINFO_EXTENSION to strip out the extension of the file and save it in the variable imageFileType. The thing to note about this option is that if the file has more than one extension, it strips the last one.
Lines 16–18: Checks if the file extension is one of the three: jpg, png & jpeg. If not, it outputs an alert and the file upload fails.
How can we bypass this validation check? Since the PATHINFO_EXTENSION option only strips out the last extension, if the file has more than one extension, we could simply name the file “test.php.png”. When the filename passes through this validation check, it outputs that the file extension is png.
The next validation check being performed is on Lines 21–28 which verifies that the image is actually a png or jepg using magic bytes.

The following is an overview of the code:
Line 23: Calls the exif_imagetype function which takes in the uploaded file and reads the first bytes of an image and checks its signature. When a correct signature is found, the appropriate constant value will be returned (1 for GIF, 2 for JPEG, 3 for PNG, etc.), otherwise the return value is False.
Lines 23–27: Use the in_array function to see if the constant value outputted from the exif_imagetype function exists in the array of the allowed values which was initialized at the beginning of the script to 2 & 3. Therefore, this validation check only accepts signatures for JPEG and PNG images.
How can we bypass this validation check? Since the exif_imagetype function only reads the first bytes of the image to check the signature, we can simply add a malicious script to an existing JPEG or PNG file like we did with exiftool.
The remaining lines of the code upload the file in the directory images/uploads if the file passed the above two validation checks.

How do you fix this vulnerability? Ideally you would use a third party service that offers enterprise security with features such as antivirus scanning to manage the file upload system. However, if that option is not possible, the OWASP guide has a list of prevention methods to secure file uploads. These include but are not limited to, the use a virus scanner on the server, consider saving the files in a database instead of a filesystem, or if a filesystem is necessary, then on an isolated server and ensuring that the upload directory does not have any execute permissions.
Last updated