Conceal Writeup w/o Metasploit

Reconnaissance
Run the nmapAutomator script to enumerate open ports and services running on those ports.
All: Runs all the scans consecutively.
We get back the following result.
We have one open port.
Port 500: running isakmp
Before we move on to enumeration, let’s make some mental notes about the scan results.
I’m not familiar with the service that is running on port 500. A quick google search tells us that it is the Internet Security Association and Key Management Protocol( ISAKMP) which is commonly called Internet Key Exchange (IKE). A lot of the documentation references configuring IPsec and ISAKMP standards to build VPNs.
So there are probably other ports that are open, however, we won’t be able to see them before we establish that VPN connection. In order to do that, we need some kind of key for authentication and since this is an HTB box, we have to find this key somewhere. So what we’ll do is rerun all the nmap scans to see if we missed any ports the first time around.
Enumeration
Rerunning the UDP scan does give us an extra port.
Port 161 is open. This usually runs the SNMP service. Let’s check that using nmap.
-p: port
-sU: UDP scan
-sC: run default scripts
-sV: version detection
We get back the following result.
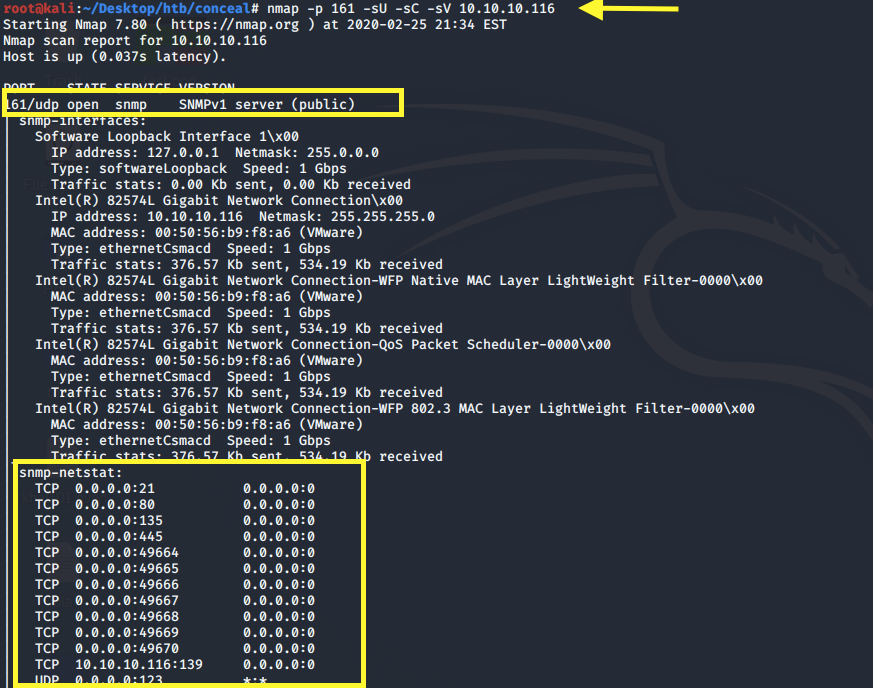
The port is running SNMP version 1 and was able to query the service using the default “public” community string. We see that there are a bunch of ports that are open including FTP, HTTP and SMB. We won’t get access to these ports until we establish a secure connection.
For now, we can only interact with the SNMP and ISAKMP ports. Let’s first query SNMP for any sensitive information.
-c: community string
-v: SNMP version
We get back the following result.
It leaks the IKE VPN password hash!
This looks like an MD5 hash. Let’s use the CrackStation to crack it.

Now that we have a plaintext password, let’s try and establish a connection to the VPN.
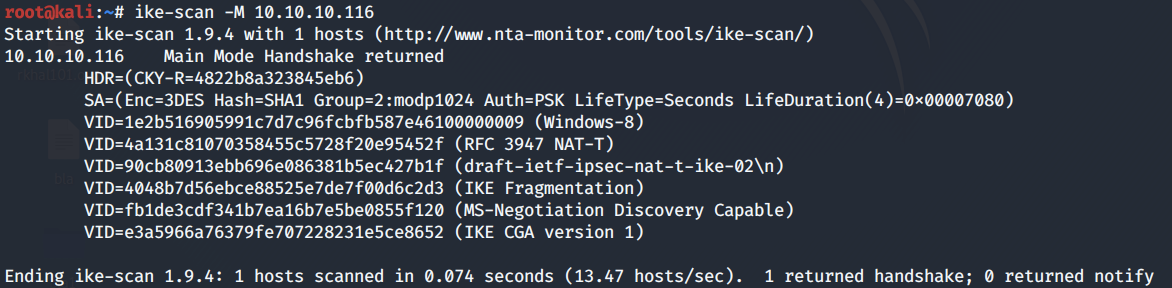
First run ike-scan to determine the IKE implementation and configuration that the host is using.
-M: multiline
We get back the following result.
Next, we’ll use strongswan to establish the IPsec connection. This does not come preinstalled on Kali. To install it, run the following command.
We have to make changes to two files: ipsec.secrets and ipsec.conf.
In the /etc/ipsec.secrets, add the following entry.
In the /etc/ipsec.conf, add the following entry.
Then run the following command to establish the connection.
Perfect, the connection was established successfully. Now let’s try and run an nmap scan.
The default TCP SYN scan (-sS) does not seem to work, but a TCP connect scan does.
I have no idea why you would need a TCP connect scan for it to work. However, in the interest of moving forward, let’s run a more comprehensive TCP connect scan.
More Enumeration
I always start off with enumerating HTTP.
Port 80 HTTP
Visit the application in the browser.
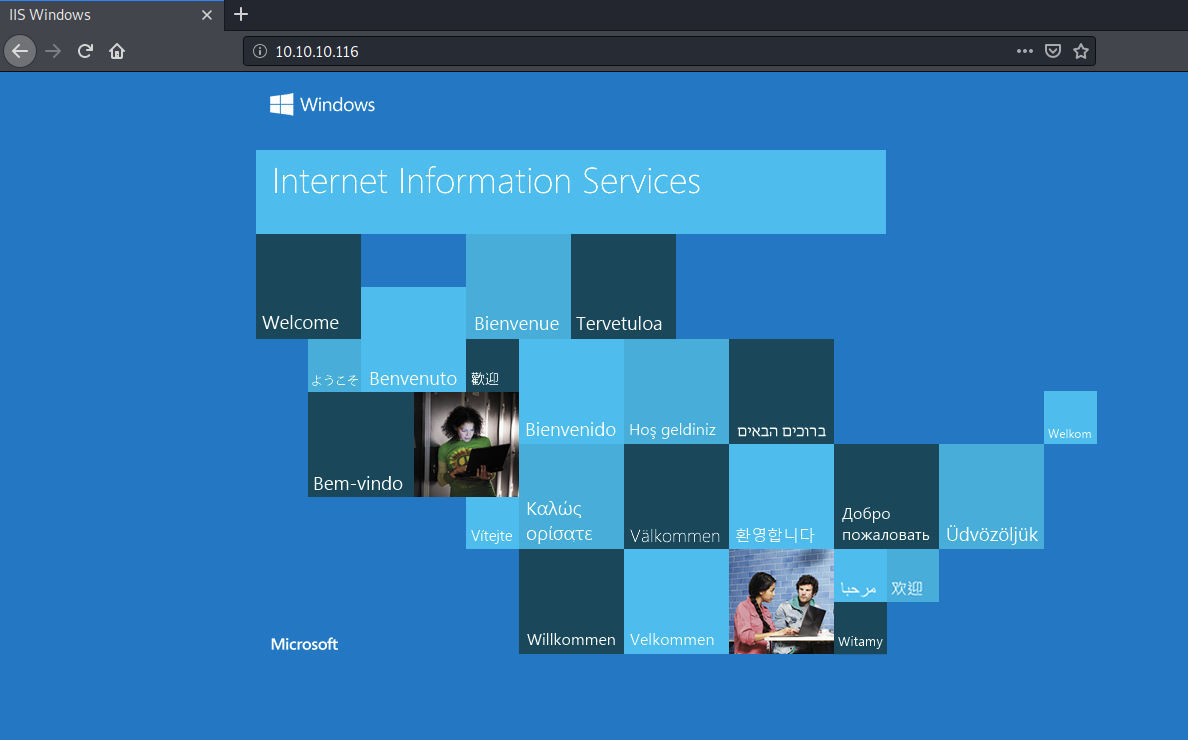
We get the default Windows Microsoft IIS welcome page. The page source doesn’t contain any sensitive information.
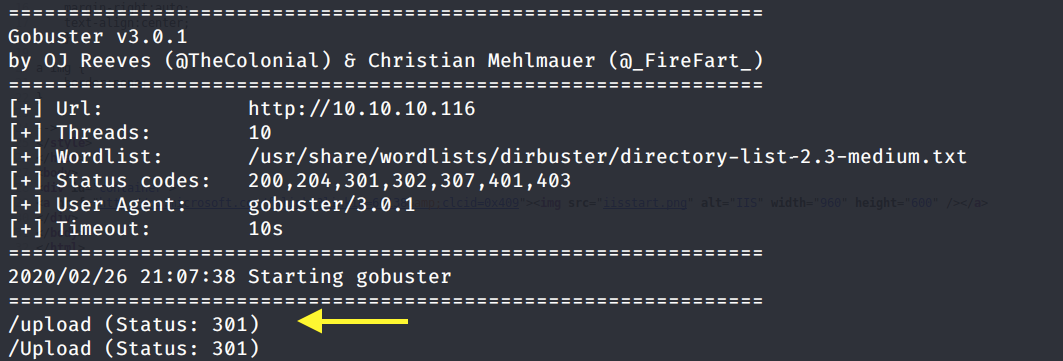
Next, run gobuster to enumerate directories/files.
dir: directory mode
-w: wordlist
-u: URL
-o: output file
We get back the following result.
Visit the directory in the browser.
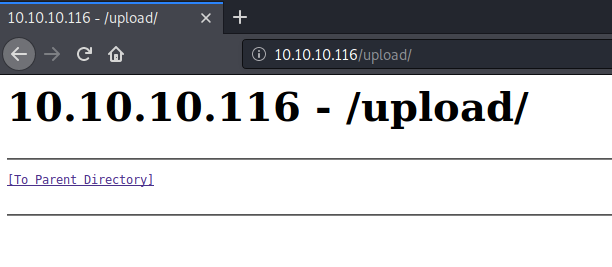
It doesn’t contain anything. Let’s see if we can upload files through FTP.
Port 21 FTP
The nmap scan showed anonymous login is allowed.
Let’s test if we’re allowed to upload files. Create a test.txt file on the attack machine.
Upload the test.txt file on the FTP server.
The upload was successful. Let’s see if we can execute the file from the /upload directory on the web server.
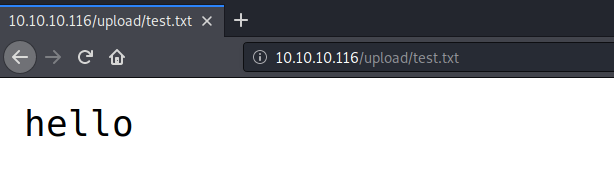
Perfect! According to the nmap scan, this is a Microsoft IIS server version 10, so it should be able to execute ASP and ASPX code. Let’s test this out on the web server.
Create a test.aspx file on the attack machine and upload it on the FTP server in the same way we did before. Then execute the file from the /upload directory on the web server.
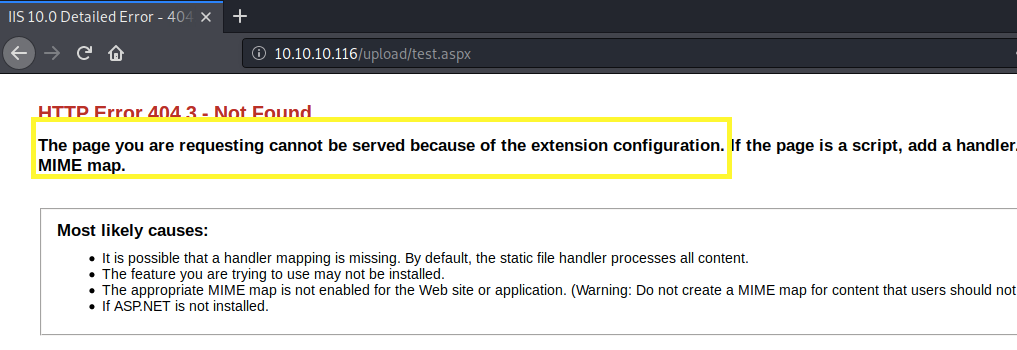
We get an HTTP error saying that the file can’t be served because of the extension configuration. So we can’t upload ASPX files. Next, let’s try an ASP file.
Create a test.asp file on the attack machine and upload it on the FTP server in the same way we did before. Then execute the file from the /upload directory on the web server.
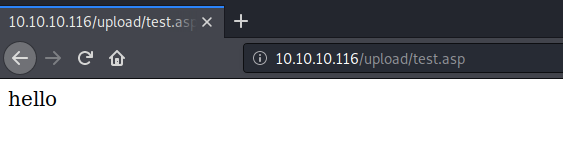
Perfect, it does execute ASP code! We’ll use this to gain an initial foothold on the system.
Initial Foothold
Create a cmd.asp file on the attack machine that contains the following simple web shell.
The above code executes the whoami command and outputs it on the screen. Upload the cmd.asp file on the FTP server and view it on the browser.

We have code execution! Download the Nishang repository and copy the Invoke-PowerShellTcp.ps1 script into your current directory.
Add the following line to the end of the script with the attack machine configuration settings.
When called, this sends a reverse shell back to our attack machine on port 1234.
Setup a listener to receive the reverse shell.
Next, change the cmd.asp file to download the PowerShell script and execute it.
Start up a python server in the directory that the shell script resides in.
Upload the cmd.asp file on the FTP server and view it on the browser.
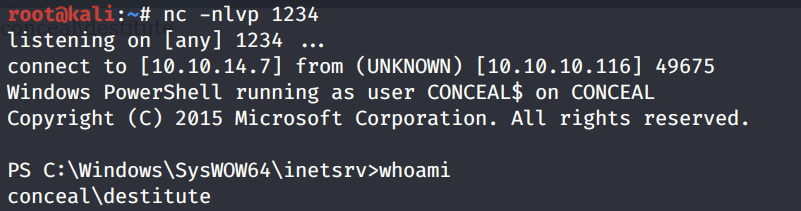
We get a shell! Grab the user.txt flag.

Privilege Escalation
Run the systeminfo command.
We’re on a Microsoft Windows 10 Enterprise 64-bit OS. Let’s first check the system privileges that are enabled for this user.
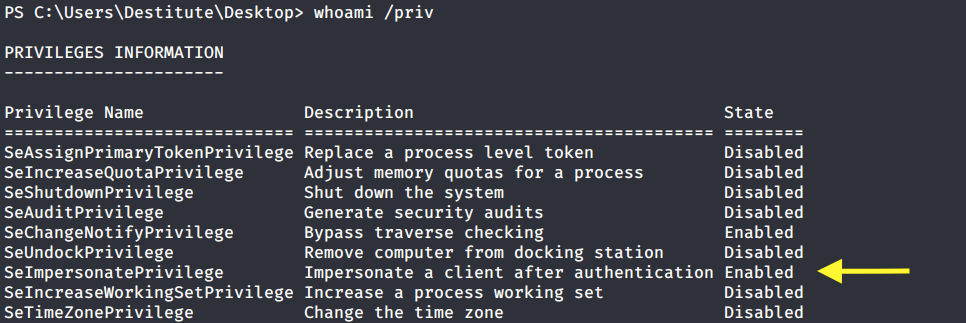
SetImpersonatePrivilege is enabled so we’re very likely to get SYSTEM using Juicy Potato. Users running the SQL server service or the IIS service usually have these privileges enabled by design. This privilege is designed to allow a service to impersonate other users on the system. Juicy Potato exploits the way Microsoft handles tokens in order to escalate local privileges to SYSTEM.
Let’s test it out. Grab the Juicy Potato executable from here and transfer it to the target machine using the following command.
Run the executable file to view the arguments it takes.
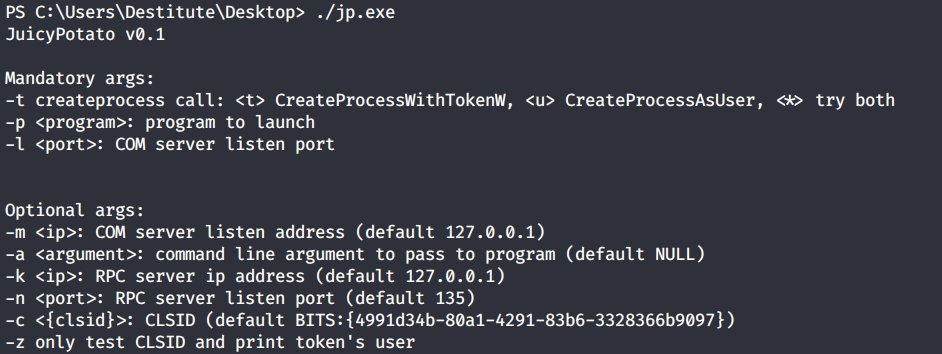
It requires 3 mandatory arguments.
-t: Create process call. For this option we’ll use * to test both options.
-p: The program to run. We’ll need to create a file that sends a reverse shell back to our attack machine.
-l: COM server listen port. This can be anything. We’ll use 4444.
First copy the Invoke-PowerShellTcp.ps1 script once again into your current directory.
Add the following line to the end of the script with the attack configuration settings.
When called, this sends a reverse shell back to our attack machine on port 6666.
Next, create a shell.bat file that downloads the above shell-2.ps1 PowerShell script and runs it.
Then download the shell.bat file on the target machine.
Setup a listener on the attack machine to receive the reverse shell.
Then run the Juicy Potato executable. This should attempt to get a token that impersonates SYSTEM and then run our shell.bat file with elevated privileges.
It fails to escalate privileges with the default CLSID. We can get the list of CLSIDs on our system using this script. However, let’s first manually try one of the Windows 10 Enterprise CLSIDs available on the Juicy Potato github repo.
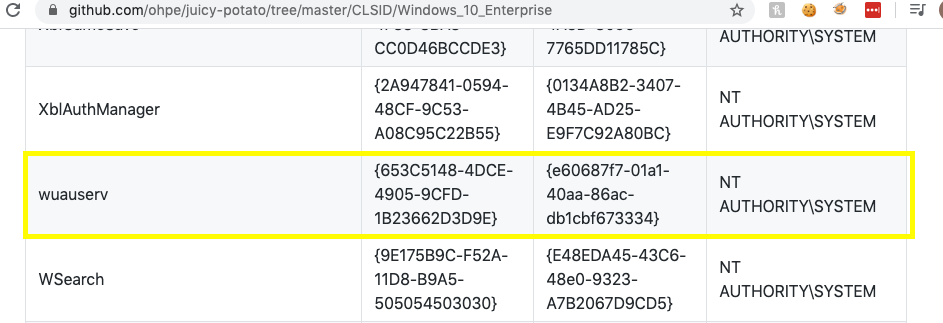
Rerun the Juicy Potato executable with the above specific CLSID.
We get a shell back with SYSTEM privileges!
Grab the root.txt flag.

Lessons Learned
To gain an initial foothold on the box we exploited three vulnerabilities.
Outdated version of SNMP and the use of default SNMP community string. The community string essentially acts as a password to gain access to the service. Using the default “public” string, we were able to query SNMP for the IKE VPN hashed password. The administrator should have instead used SNMPv3 since it’s the only version that provides strong authentication and data encryption. If it is necessary that version 1 be used, the administrator should have changed the community string to one that is not easily guessable.
Weak authentication credentials. The shared secret used to establish a secure connection was cracked in a matter of seconds using an online password cracker. The administrator should have either used a stronger shared key that is difficult to crack or considered using asymmetric encryption.
Insecure configuration of FTP server that allowed anonymous login and file upload. The administrator should have disabled anonymous access to the FTP server. If anonymous access was necessary, the administrator should have configured the FTP server to only allow downloads. This way we would not have been able to upload a reverse shell.
To escalate privileges we didn’t necessarily exploit a vulnerability but an intended design of how Microsoft handles tokens. So there’s really not much to do there but put extra protections in place for these sensitive accounts.
Last updated