Lightweight Writeup w/o Metasploit

Reconnaissance
Run the nmapAutomator script to enumerate open ports and services running on those ports.
All: Runs all the scans consecutively.
We get back the following result.
Note: This scan generates a lot of results. I only show the results that contributed to rooting this machine.
We have three ports open.
Port 22: running OpenSSH 7.4
Port 80: running Apache httpd 2.4.6
Port 389: running OpenLDAP 2.2.X — 2.3.X
Before we move on to enumeration, let’s make some mental notes about the scan results.
The OpenSSH version that is running on port 22 is not associated with any critical vulnerabilities, so it’s unlikely that we gain initial access through this port, unless we find credentials.
The nmap scan leaks the domain name lightweight.htb. We’ll have to add it to our /etc/hosts file.
Gobuster and nikto scans error out after a few tries, which leads us to believe there is some kind of brute force protection mechanism enabled on the site.
OpenLDAP is running on port 389. We’ll have to enumerate this service to see if it leaks usernames, passwords, etc.
Enumeration
Add the domain name to the /etc/hosts file.
I always start off with enumerating HTTP.
Port 80 HTTP
Visit the web application in the browser.
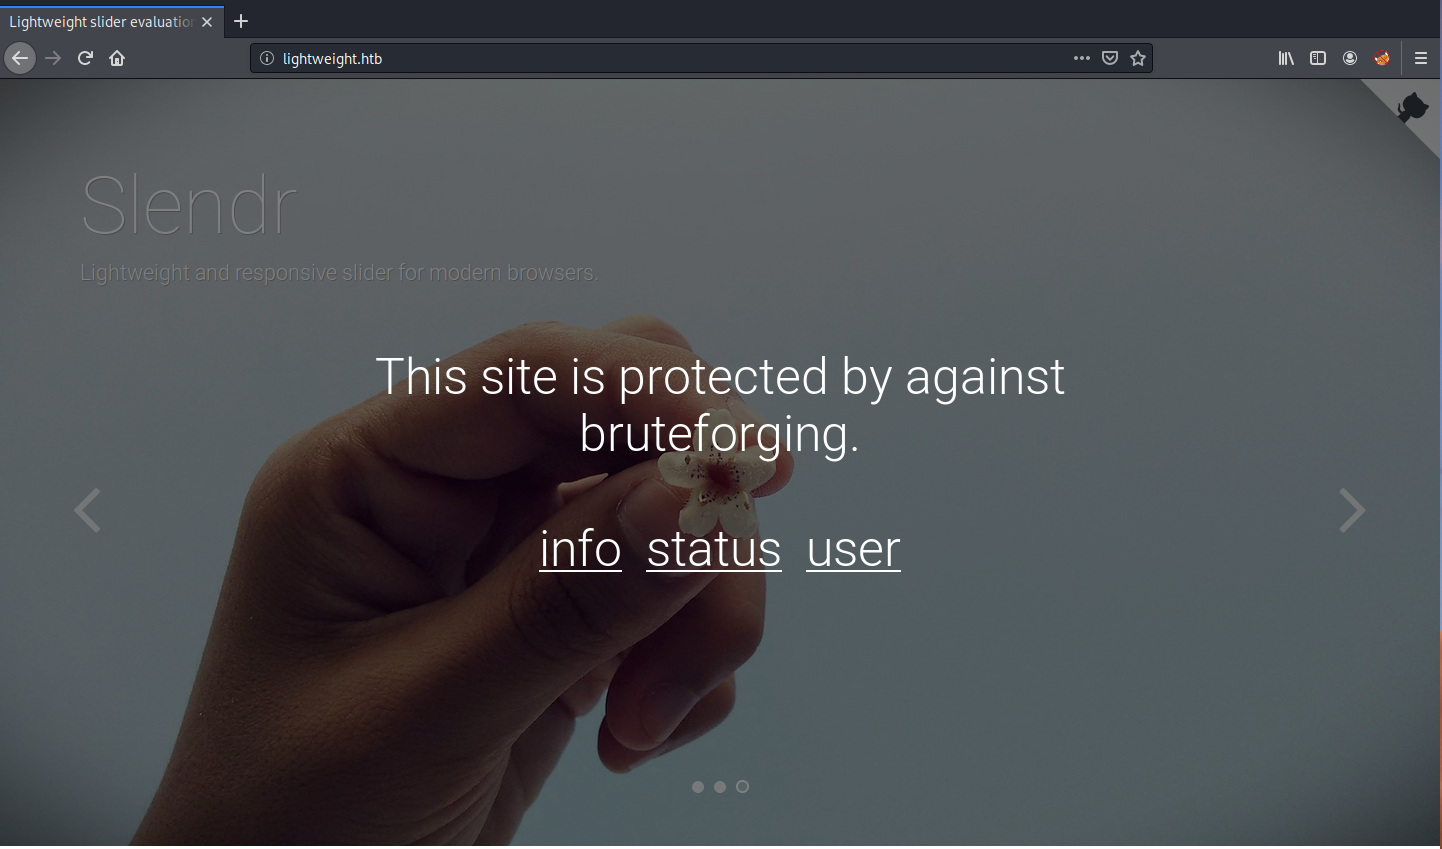
As we suspected, the site is protected against brute force attacks. This is why our gobuster and nikto scans erred out. The index page does link to three other pages: info, status and user.
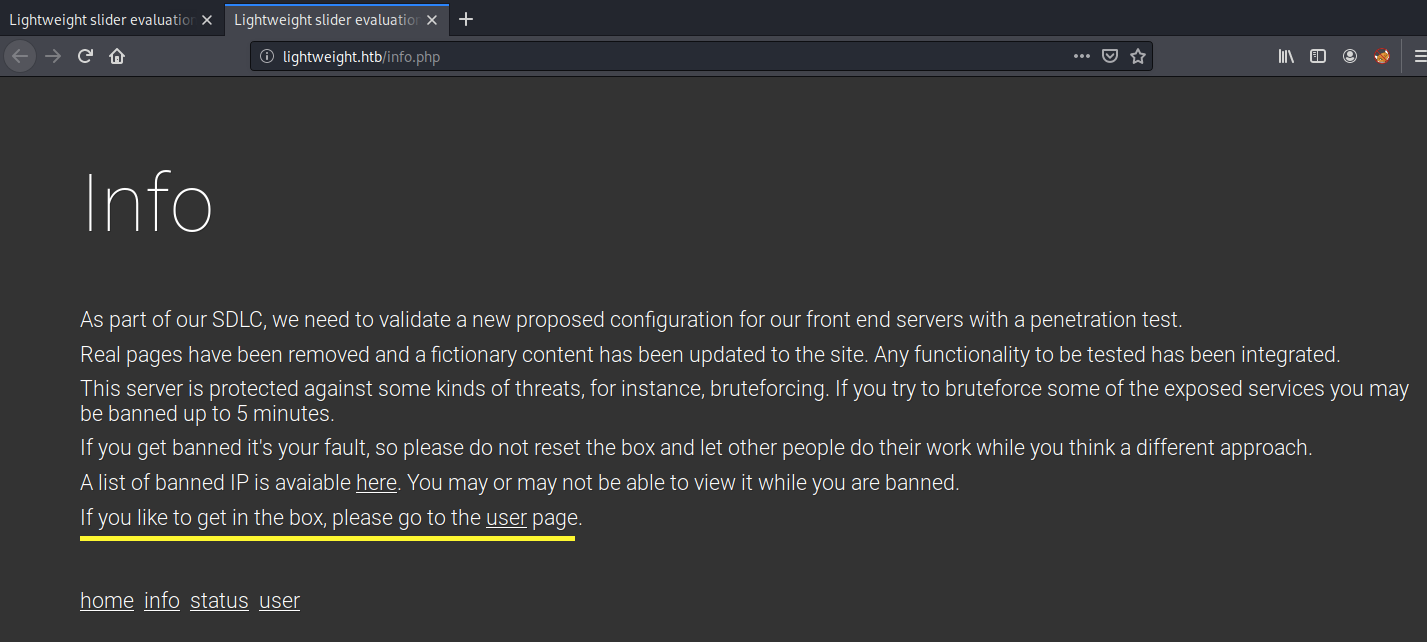
Visit the info page.
Visit the user page.
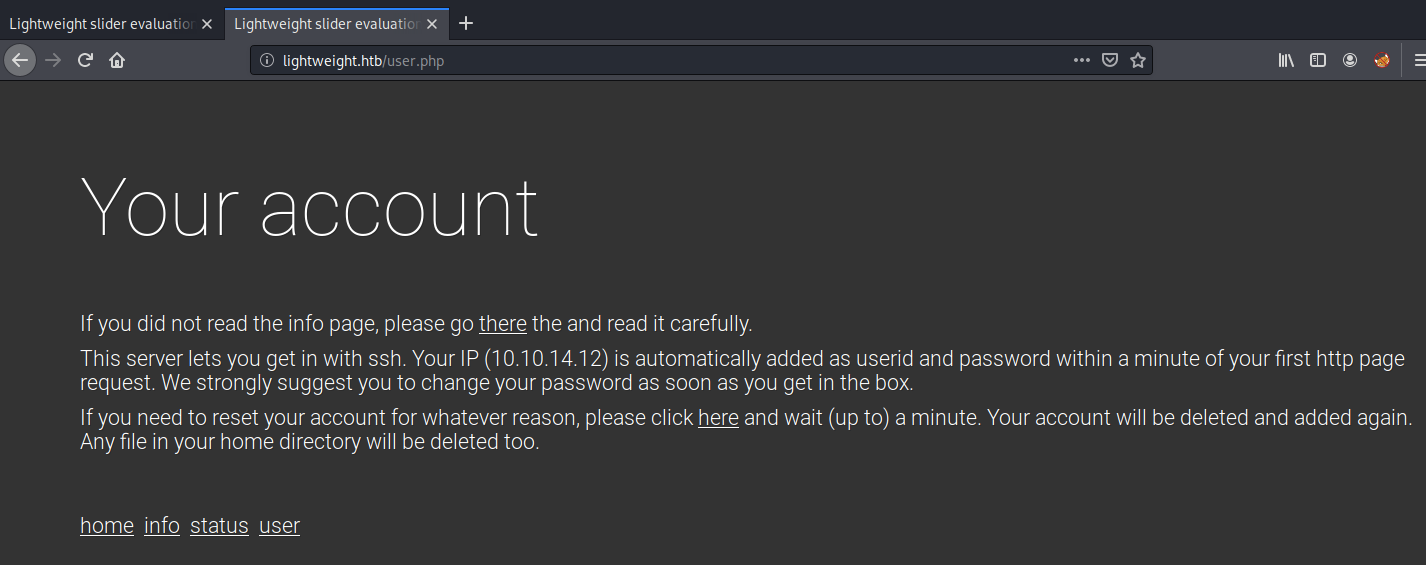
This page tells us that it created an SSH account for us with both the username and password being our IP address.
Port 22 SSH
Let’s use these credentials to log into our account.
We’re in. Let’s do some enumeration.
There’s two ldapuser accounts in the home directory that we don’t have access to. The user.txt flag is probably in one of them, so let’s move on to enumerating port 389 to see if we can get the passwords to these users.
Port 389 LDAP
Nmap has an NSE script that enumerates LDAP.
Let’s run the script on port 389.
The script found hashed passwords for both ldapuser1 and ldapuser2. Let’s save both hashes in a file called hashes.txt.
Then run John on the hashes.
John identifies the hashes to be SHA512, so it’ll probably take a while to crack these hashes. In the meantime, let’s look for an alternative way to get access to these user accounts.
Note: The ****Extra Content __section at the end of this blog explains how to enumerate LDAP manually without having to use the NSE script.
Initial Foothold
Let’s go back to our SSH session and see if there are any security misconfigurations that allow us to escalate privileges to ldapuser1 or ldapuser2.
To do that, let’s transfer the LinEnum script from our attack machine to the target machine. In the attack machine, start up a server in the same directory that the script resides in.
In the target machine, change to the /tmp directory where we have write privileges and download the LinEnum script.
Give it execute privileges.
Run the script.
We see an interesting result pop up.
The tcpdump binary is assigned the cap_net_admin and cap_net_raw capabilities. We can also manually check that using the getcap command.
If you’re not familiar with linux capabilities, here’s a great article that explains the concept in detail. As described in the article:
Linux capabilities provide a subset of the available root privileges to a process. This effectively breaks up root privileges into smaller and distinctive units. Each of these units can then be independently granted to processes. This way the full set of privileges is reduced and hence decreases the risk of exploitation.
In the above entry, tcpdump is assigned two capabilities.
cap_net_admin
cap_net_raw
The “+ep” at the end stands for adding the capability as Effective and Permitted.
So we’re allowed to run tcpdump on any network interface. This will allow us to dump the traffic and analyze it for any sensitive information.
Let’s run tcpdump on all the interfaces of the target machine.
-i any: capture packets from all interfaces
-U: packet buffered output
-w: write the raw packets to file rather than parsing and printing them out
not port 22: exclude traffic from port 22
Now go back to the application and visit the info, status and user pages. We know that the user page triggers something at the backend that creates user accounts, so we’re hoping that we intercept an ldap password from there.
Leave it running for some time, then view the intercepted traffic using wireshark.
We’re looking for entries that have the LDAP protocol.
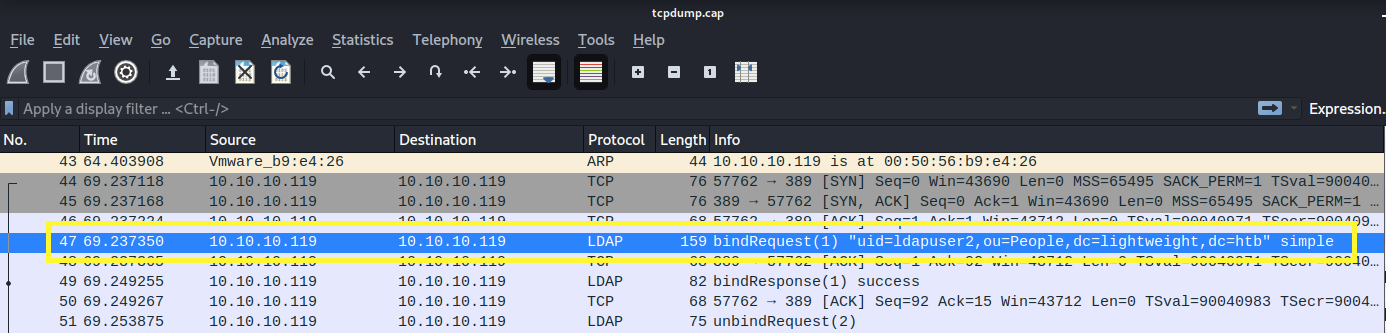
Click on the above highlighted entry.
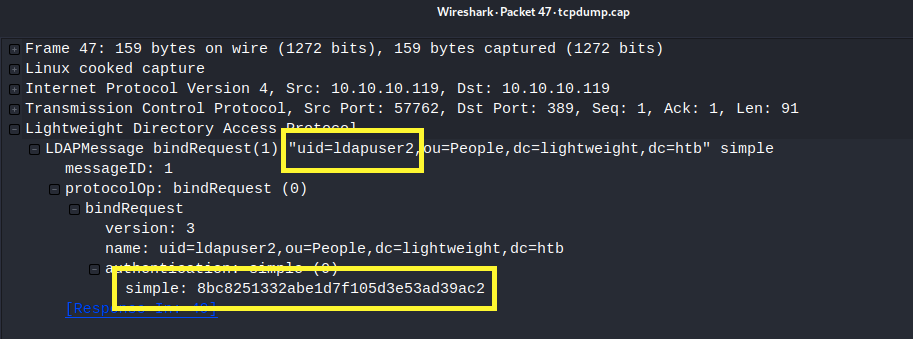
We have a password for ldapuser2!
Let’s change our user to ldapuser2 using the password we found.
Grab the user.txt flag.

List the content of the home directory.
There’s a backup.7z file. We need to decompress it. Check if 7z is installed on the target machine.
It’s not but 7za is. Let’s use that to extract the content of the compressed file.
It requests a password. Let’s transfer it to our attack machine and run a password cracker on it.
SCP doesn’t seem to work, so we’ll transfer it by first base64 encoding the file.
Then taking the base64 encoded string and saving it in the file backup.7z.base64 on the attack machine. The base64 encoded string does contain a bunch of new lines, you can remove them in vi using the command “:%s/\n/g”.
Next, base64 decode the file and save it in backup.7z.
In order to crack the password with John, we first need to convert it to JtR format using the 7z2john script.
If you’ve never used it before, you do have to install the following dependency.
Now run the program on the compressed file and save it in the file backup-john.txt.
Then run John on the backup-john.txt file.
It found the password to be “delete”. Let’s use that to decrypt the file.
Looking through the files, we find that the file status.php contains the credentials for ldapuser1.
This allows us to pivot to that user.
Enumerate the directories and files in the home directory.
That’s odd, the user has his own instance of openssl in his home directory. We can’t run it with sudo or suid privileges, so let’s check if the binary is configured with any linux capabilities.
It’s assigned “ep” which means that this openssl binary has ALL the capabilities permitted (p) and effective (e). We can use this misconfiguration to escalate privileges to root.
Privilege Escalation
If you visit the openssl page on gtfobins, you’ll see that the binary can be used to upload, download, read and write files. Since this gives us the ability to read and modify any file on the system, we’ll escalate privileges by changing the root password in the /etc/shadow file.
First, let’s verify that we can read the _/etc/shado_w file.
Perfect! Let’s generate a hash of the password “password” that we’ll use for the root account.
-1: uses the MD5 based BSD password algorithm 1
Create a file shadow and save the content of /etc/shadow in it. Then change the root password to the hash we generated above.
Replace the /etc/shadow file with the shadow file we just created.
Confirm that the change was made.
Perfect! Now we can su into root using our newly created password.
Grab the root.txt flag.

Extra Content
This section describes how to manually enumerate LDAP, on the off chance that the NSE script does not work.
To get the domain component (dc), run the following command,
-x: Use simple authentication instead of SASL.
-h: ldaphost
-s: scope of search
Now that we have the dc values, we can use them to dump the information that the NSE script was outputting.
-b: search base
We get back the following information.
Lessons Learned
To gain an initial foothold on the box we exploited one vulnerability.
Security misconfiguration of linux capabilities on tcpdump binary that allowed us to dump traffic on all network interfaces and intercept the password of ldapuser2. The administrator should have conformed to the principle of least privilege when setting permissions.
To escalate privileges we exploited three vulnerabilities.
Weak credentials on backup file. The home directory of ldapuser2 contained a backup file that was encrypted using a weak password. John the Ripper cracked the password in a matter of seconds, which gave us access to the content of the folder. The administrator should have used a strong password that is difficult to crack.
Hard coded credentials in backup folder. When we decrypted the backup file, we found cleartext credentials that allowed us to pivot to the account of ldapuser1. When possible, developers should not embed credentials in files and security awareness training should be given to developers on password management best practices.
Security misconfiguration of Linux capabilities on openssl binary that allowed us to modify the /etc/shadow file and escalate our privileges to root. Again, the administrator should have conformed to the principle of least privilege when setting permissions.
Last updated